When you install new apps from Store in Windows 10, they got downloaded to the drive on which Windows is installed. So in case if your Windows 10 is low on memory and you’ve trouble working with Windows 10 due to heavy memory usage, you may want to move some of apps to another drive/partition.
This guide is for those users, who want to move apps to another drive partition, external drive or USB drive. See, when you move apps to external or USB drive, the app became ‘plug and play’ type and it will be only available when you attach the corresponding drive.
Moving apps to different drive seems complicated with older Windows editions such as Windows 8.1 and Windows 8. But Microsoft has worked out an easiest way in Windows 10 and the way is mentioned below.
How To Move Apps To Different Drive In Windows 10
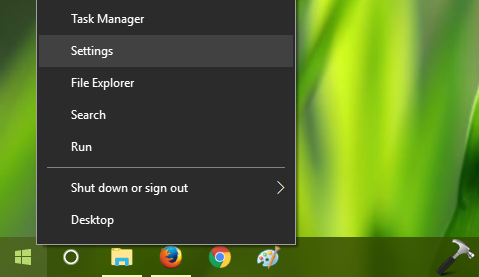
1. Right click on Start Button and select Settings.
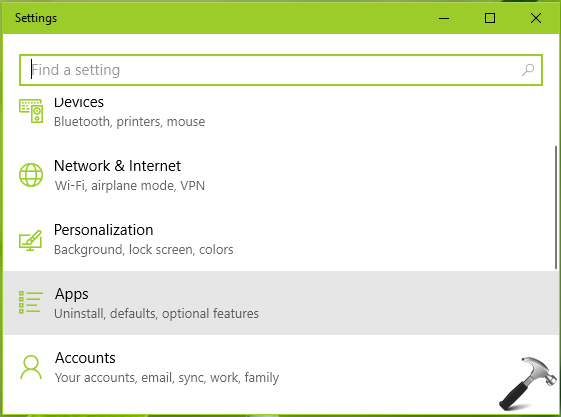
2. In the Settings app, click Apps.
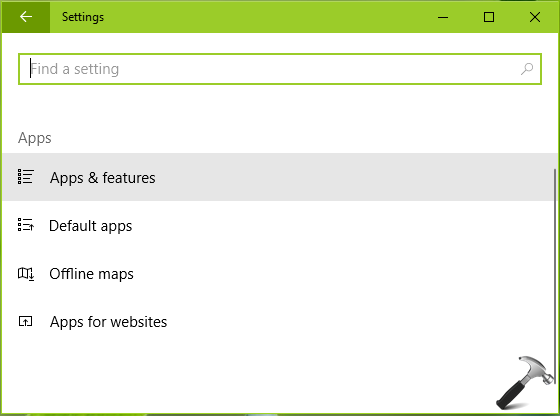
3. Next, click Apps & features under Apps.
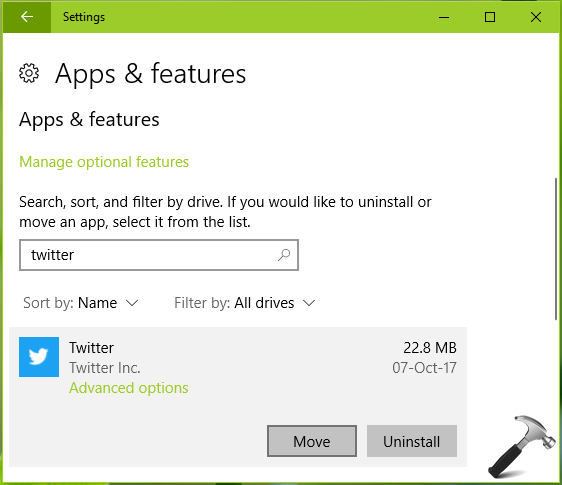
4. Now under Apps & features, look for the app you want to move to different drive. If you’ve lots of apps installed, you can search for the particular app as well. Once you spot the app you want to move, click on it and select Move.
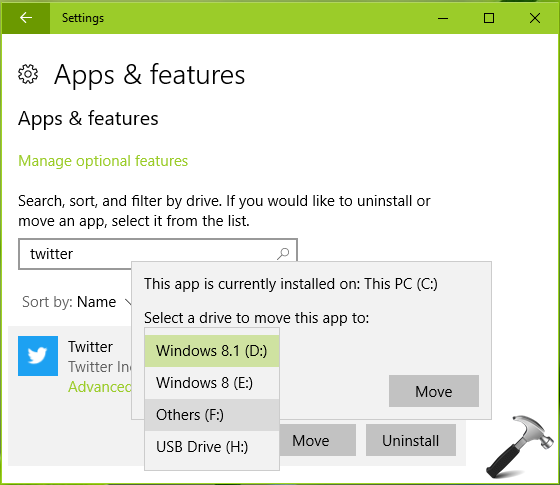
5. Next, choose the another drive to which you want to move the app. Notice here, that you can move the app to other external drive or USB drive as well. Once you’re done with selection, click Move.
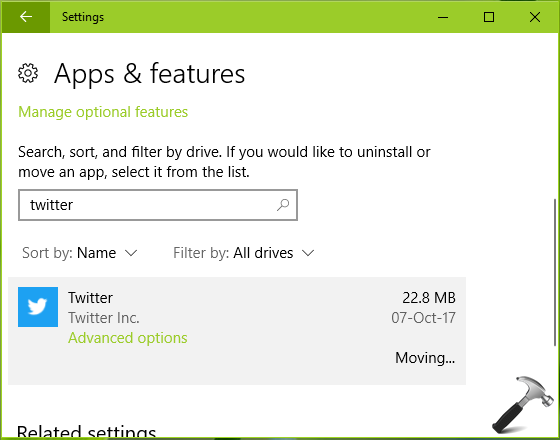
For few moments, you may see the ‘Moving‘ status and once the app is moved, it will be removed.
In this way, you’ve moved the app to different drive. The app should work as usual as it would’ve worked with its installation on system root drive.
Hope you find the guide useful! Go here to learn how to reset apps in Windows 10.