We all know that atm, Microsoft is releasing two feature upgrades in a year. These feature upgrades makes your system more secure and keep you up-to-date with latest features. When any of the feature upgrade is released, it is available to you via Windows Update. However, Microsoft also provides Windows 10 Update Assistant which can help you to install the feature update.
The main purpose of Windows 10 Update Assistant is to check, if your system is compatible with new feature update. It can also be used as an alternative, if you’re unable to upgrade via Windows Update. Windows 10 Update Assistant, when installed on your system, runs automatically in background and can itself check for latest feature updates.
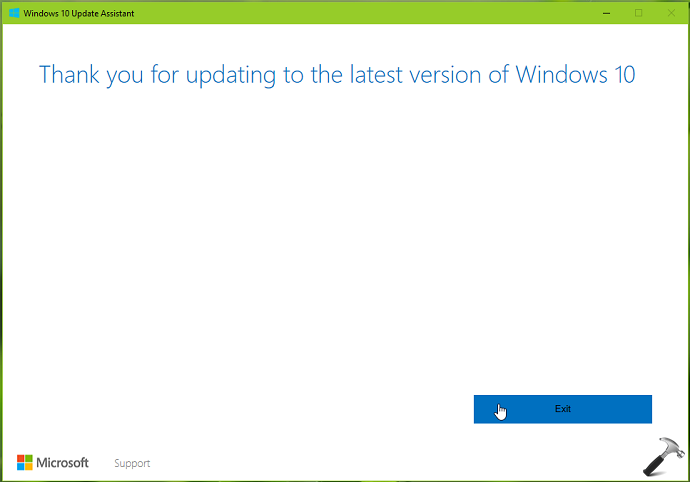
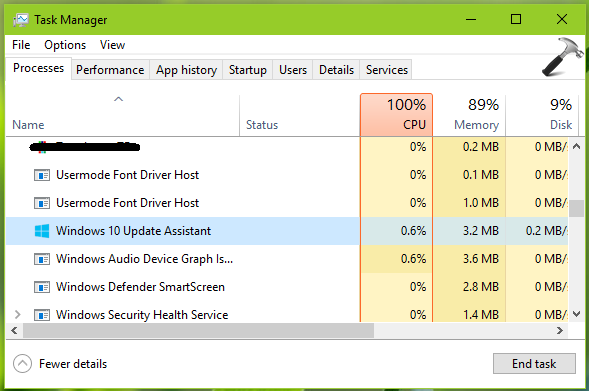
From past experiences, we’ve seen that users may need to remove Windows 10 Update Assistant after upgrade, but it then reinstall itself. Some users complains that Windows 10 Update Assistant is not completely removing from their system and keeps slowing down the machine. This can be clearly observe in the Task Manager.
So if you’re also facing this issue and want to remove Windows 10 Update Assistant permanently, here is how you can do that.
How To Remove Windows 10 Update Assistant Permanently
1. Right click Start Button or press  + X keys and select Settings.
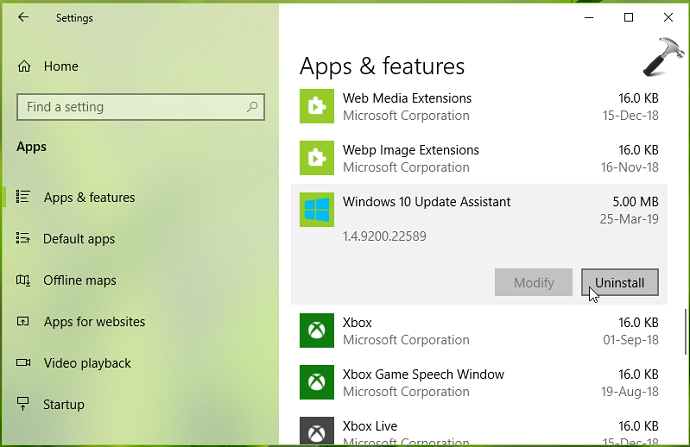
2. In Settings app, go to Apps > Apps & features, scroll down and click on Windows 10 Update Assistant. Then click on Uninstall button.
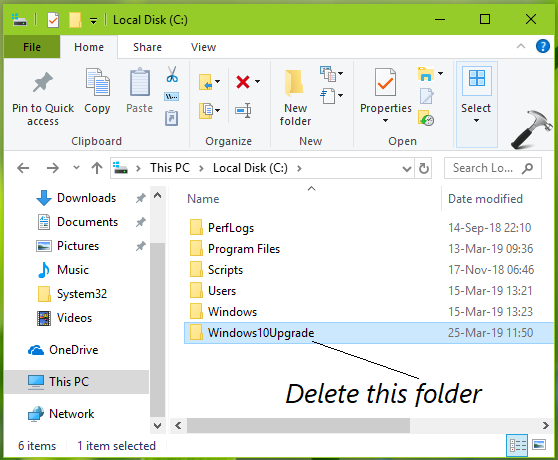
3. Moving on, press + E keys to open File Explorer. In the system root drive, where Windows is installed, for example C:, look for Windows10Upgrade folder and delete it.
4. Open Services snap-in by running services.msc command. Look for Update Orchestrator Service, double click on it and click Stop and set its Startup type to Disabled.
5. Open Task Scheduler using search or Cortana.
6. In Task Scheduler, go to Task Scheduler library > Microsoft > Windows > UpdateOrchestrator.
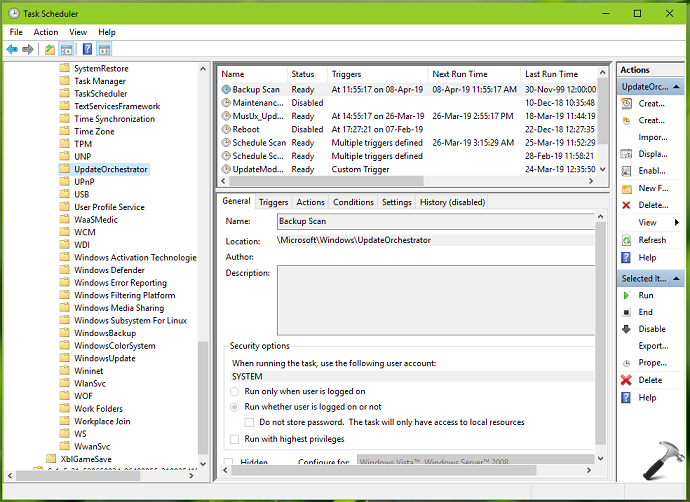
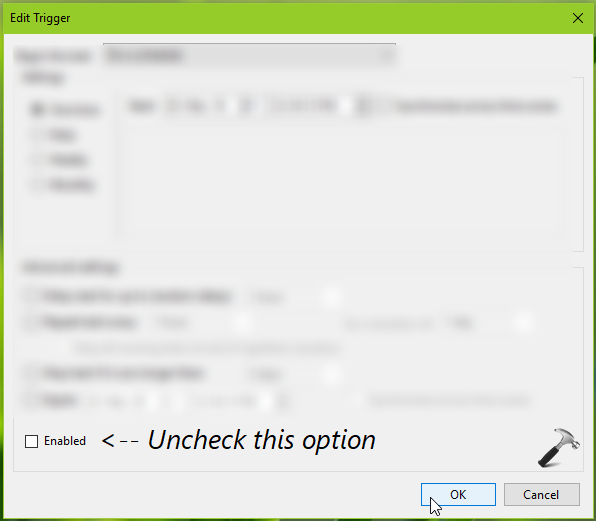
7. In the middle pane, double click on Update Assistant. On the window so open, switch to Triggers tab. Click on the triggers such as At log on, At startup etc. one by one and on the Edit Trigger window, uncheck Enabled option. Click OK.
8. Repeat step 7 for Update Assistant CalendarRun as well. Close Task Scheduler.
Reboot and you system and Windows 10 Update Assistant will no longer run, even in background.
Thanks to our friend DaveM121 for steps 5-8.
That’s it!