As we rely more on our computers for various tasks and data storage, the health of our system’s storage devices becomes increasingly important. Disk errors can, unfortunately, occur over time and potentially lead to data loss or system instability. Windows 11 provides users with robust tools and features to detect and repair disk errors, ensuring your data remains safe and your computer runs smoothly. In this guide, we will walk you through How to repair disk errors on Windows 11.
Page Contents
What causes Disk Errors in Windows 11?
Disk errors in Windows 11 can be caused by a variety of factors, and understanding these causes is crucial for effective troubleshooting and prevention. Here are some common reasons for disk errors in Windows 11:
- Physical Hard Drive Issues
- Sudden Power Loss
- Software or Operating System Issues
- Virus and Malware Infections
- Improper Shutdowns
- Overheating
- File System Corruption
- Disk Fragmentation
- Firmware or Driver Problems
- Excessive Read/Write Operations
How to repair disk errors on Windows 11
Here are some effective solutions to help you repair disk errors on Windows 11:
Solution 1: Run CHKDSK Repair Command
Disk errors can cause a variety of problems, such as system crashes, data loss, and performance issues. If you are experiencing any of these problems, it is a good idea to run CHKDSK to scan and repair your disks.
CHKDSK is a built-in Windows utility that scans and repairs disk errors. It can be used to fix a variety of problems, including file system corruption, bad sectors, and lost clusters.
To repair disk errors on Windows 11 using Run CHKDSK Repair Command, follow these steps:
1. Open the Command prompt and run as administrator.
2. Copy and paste the below command:
chkdsk /f C:

3. After executing the command, restart the PC.
4. Open the search menu and type “Event Viewer“. Open the App.

5. In the left panel, expand the “Windows Logs” and click on “Application“.

6. Under the “Source” column, search for “Wininit“.
7. Double-click on “Wininit” and review the CHKDSK scan results.
If you see “no disk errors” then it’s good and if the disk shows some errors then you can use other solutions to solve the issue.
Solution 2: Use the Startup Recovery Screen
The Startup Recovery Screen is a set of tools that can help you troubleshoot and repair problems with your computer.
Follow the below steps to repair the disk errors using the startup recovery screen:
1. Shut down the PC.
2. Now, turn on the PC and press F2, F8, or F12 to boot. This will open the startup recovery screen.
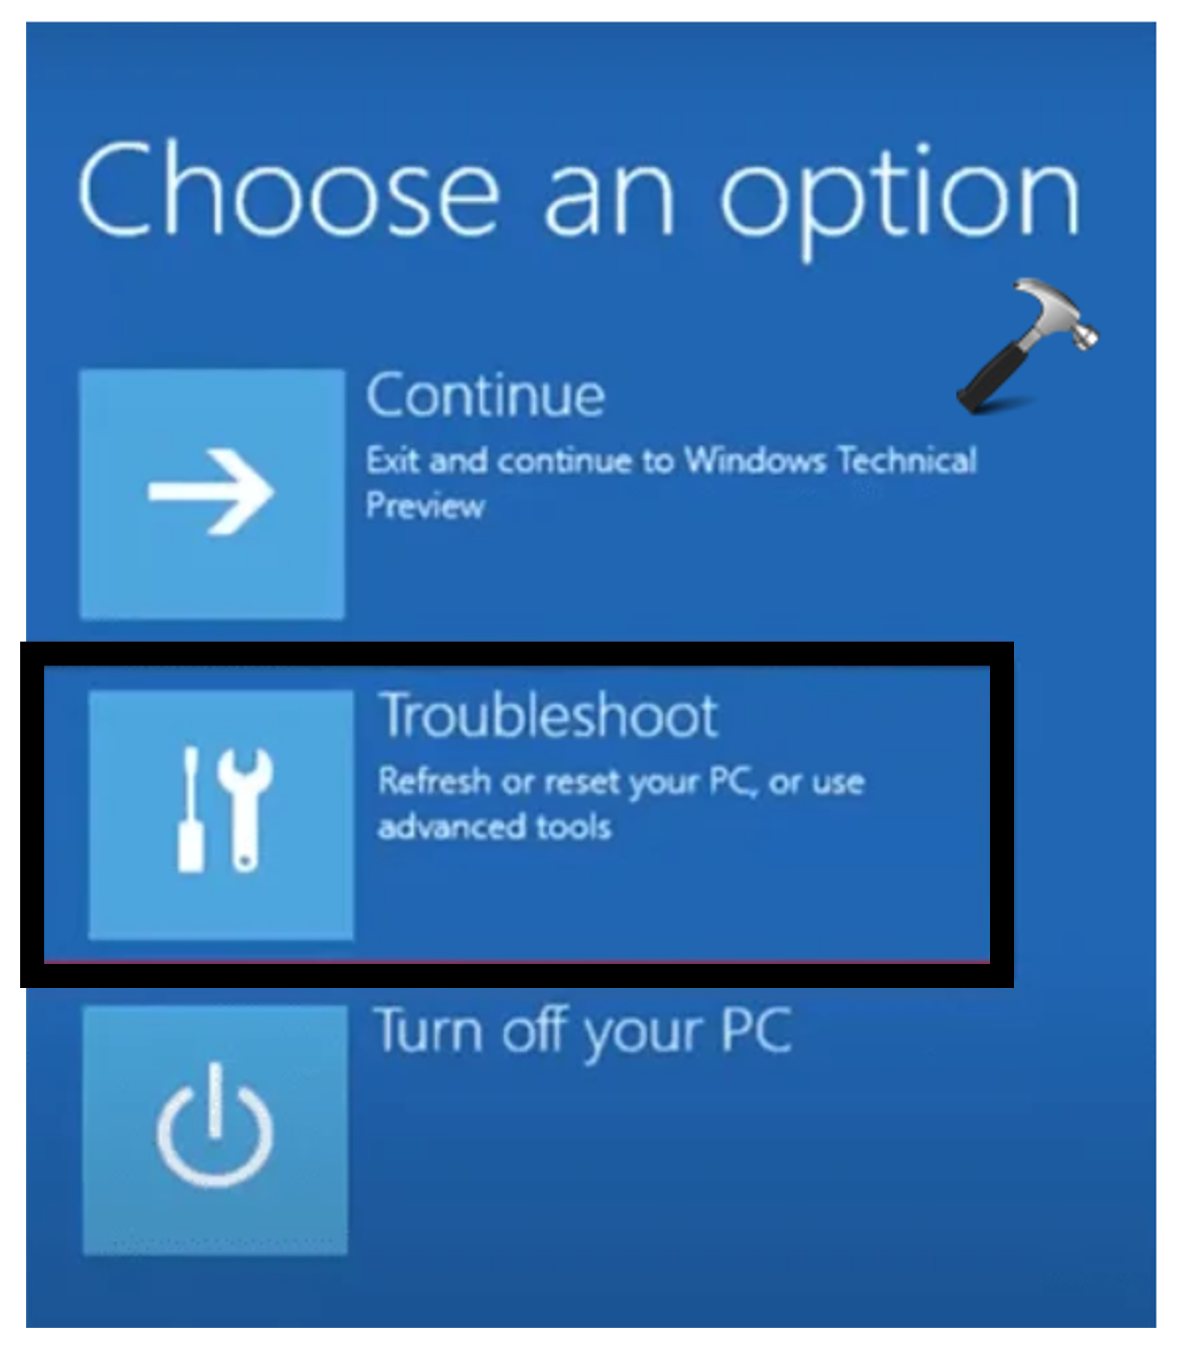
3. Here, click on “Advanced options“.
4. Go to “Troubleshoot“.
5. Next, go to “Advanced options“.
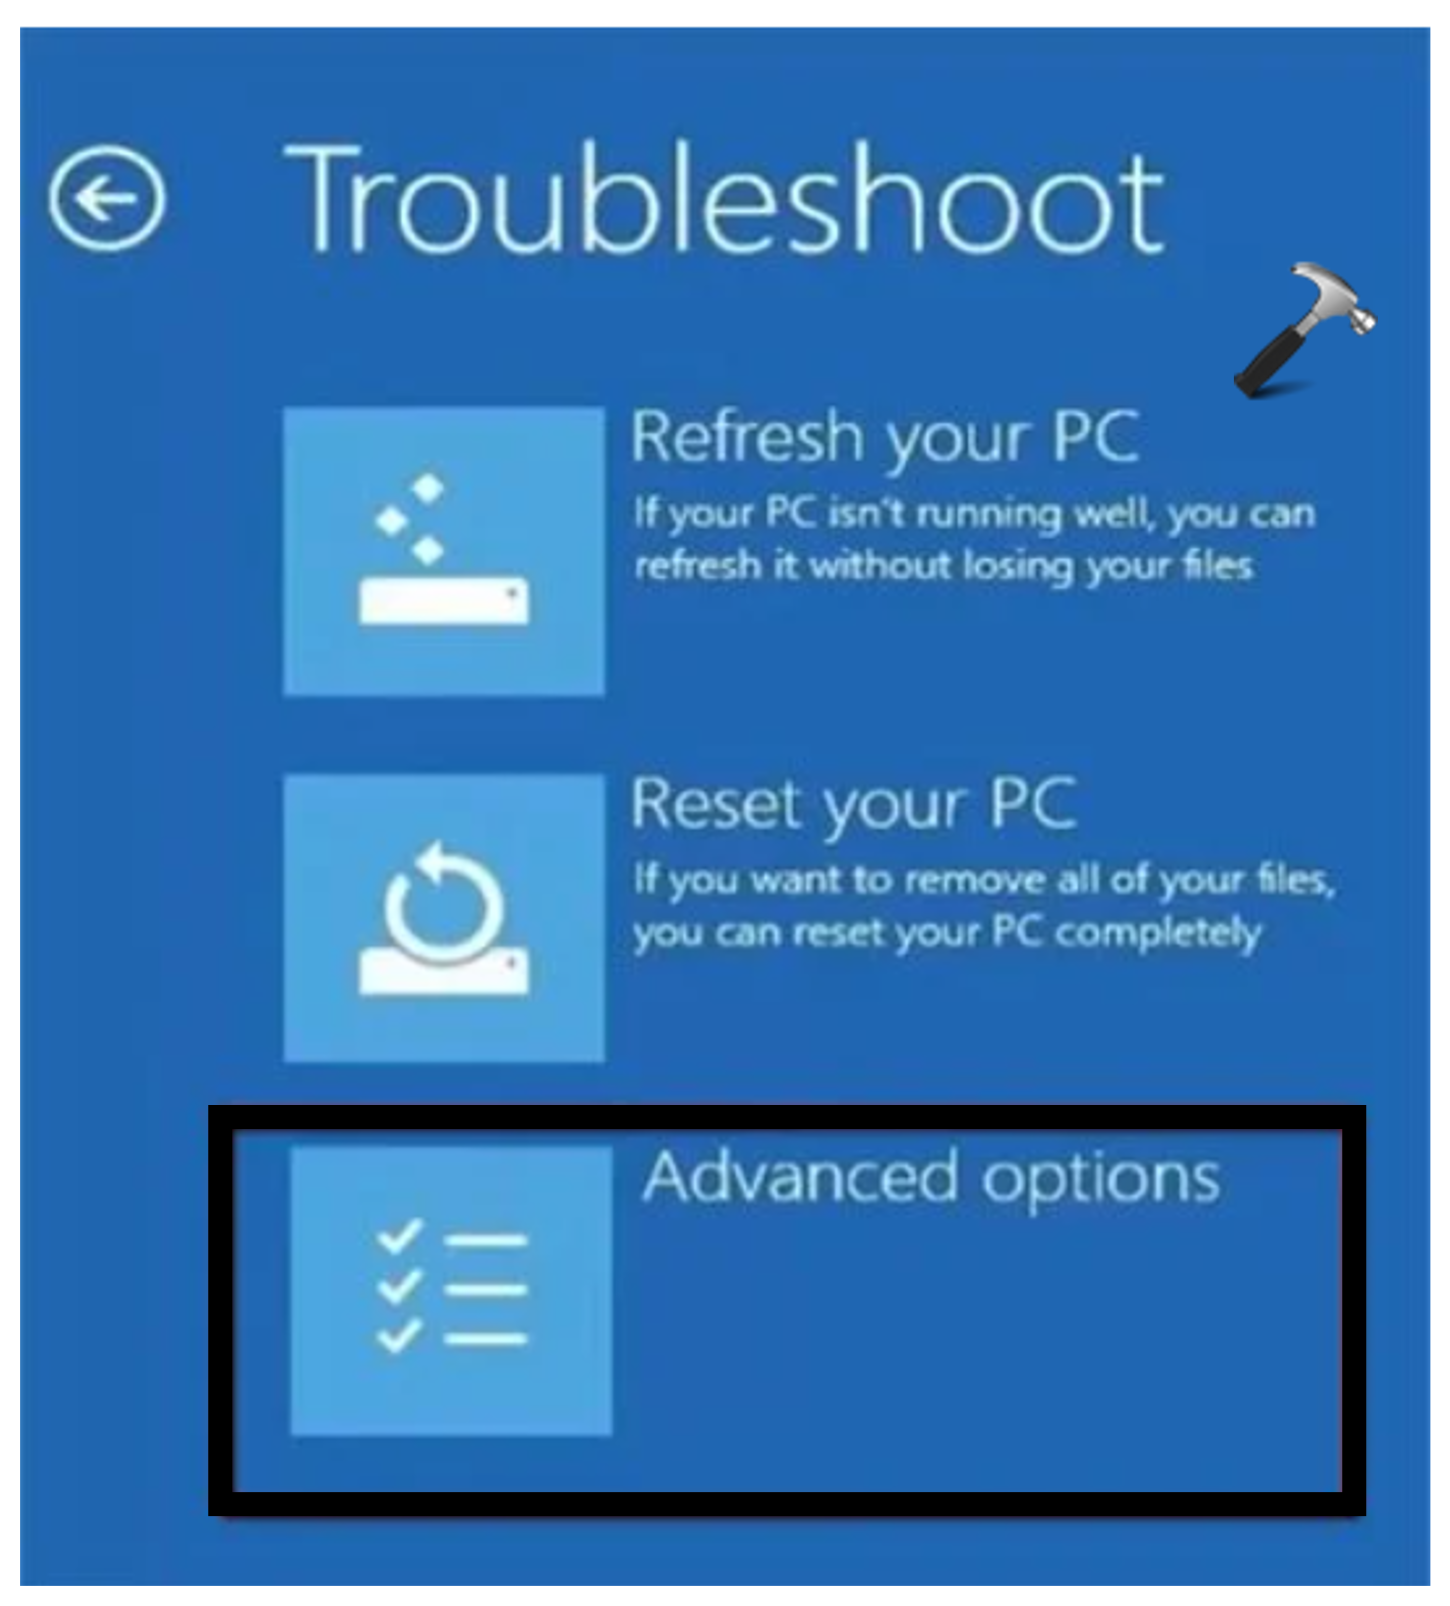
6. Click “Command Prompt“.
7. Now, copy and paste the below commands:
bootrec /fixmbr

The bootrec /fixmbr command repairs the master boot record (MBR). The MBR is a small piece of code that tells the computer where to find the operating system.
bootrec /fixboot

The bootrec /fixboot command repairs the boot sector. The boot sector is the first sector of the hard drive and contains the code that starts the operating system.
bootrec /rebuildbcd

The bootrec /rebuildbcd command rebuilds the boot configuration data (BCD). The BCD is a file that stores information about the operating systems installed on your computer.
8. After executing all the commands, restart your PC and check whether the issue is resolved or not.
Solution 3: Defragment Hard Disk
Defragmentation is the process of rearranging the files on your hard disk so that they are stored contiguously. This can improve performance because it reduces the amount of time it takes for the computer to read and write files.
To defragment your hard disk in Windows 11, follow these steps:
1. Open the search bar and type “Defragment”. Open the “Defragment and Optimize Drives” app.

2. Now, select the “(C:)” drive and then click on the “Optimize” option.

Solution 4: Boot to Safe Mode
Safe Mode is a diagnostic mode that starts Windows with a limited set of drivers and services. This can help you to troubleshoot problems that may be caused by third-party software or drivers.
To repair disk errors on Windows 11 Boot to Safe Mode:
1. Shut down the PC. After that, turn on the PC
2. A Recovery screen will appear.
3. Click on “Troubleshoot” and then click on “Startup Settings“.
4. Now, press F4 or 4 to “Enable Safe Mode“.
5. Windows will take a few seconds and will boot to safe mode.
Solution 4: Check the System Error in the Disk
If you are experiencing problems with your computer, such as system crashes, data loss, or performance issues, it is possible that there are disk errors.
To check the system error in the disk on Windows 11, follow these steps:
1. Right-click on “Local Disk (C:)” and select “Properties“.
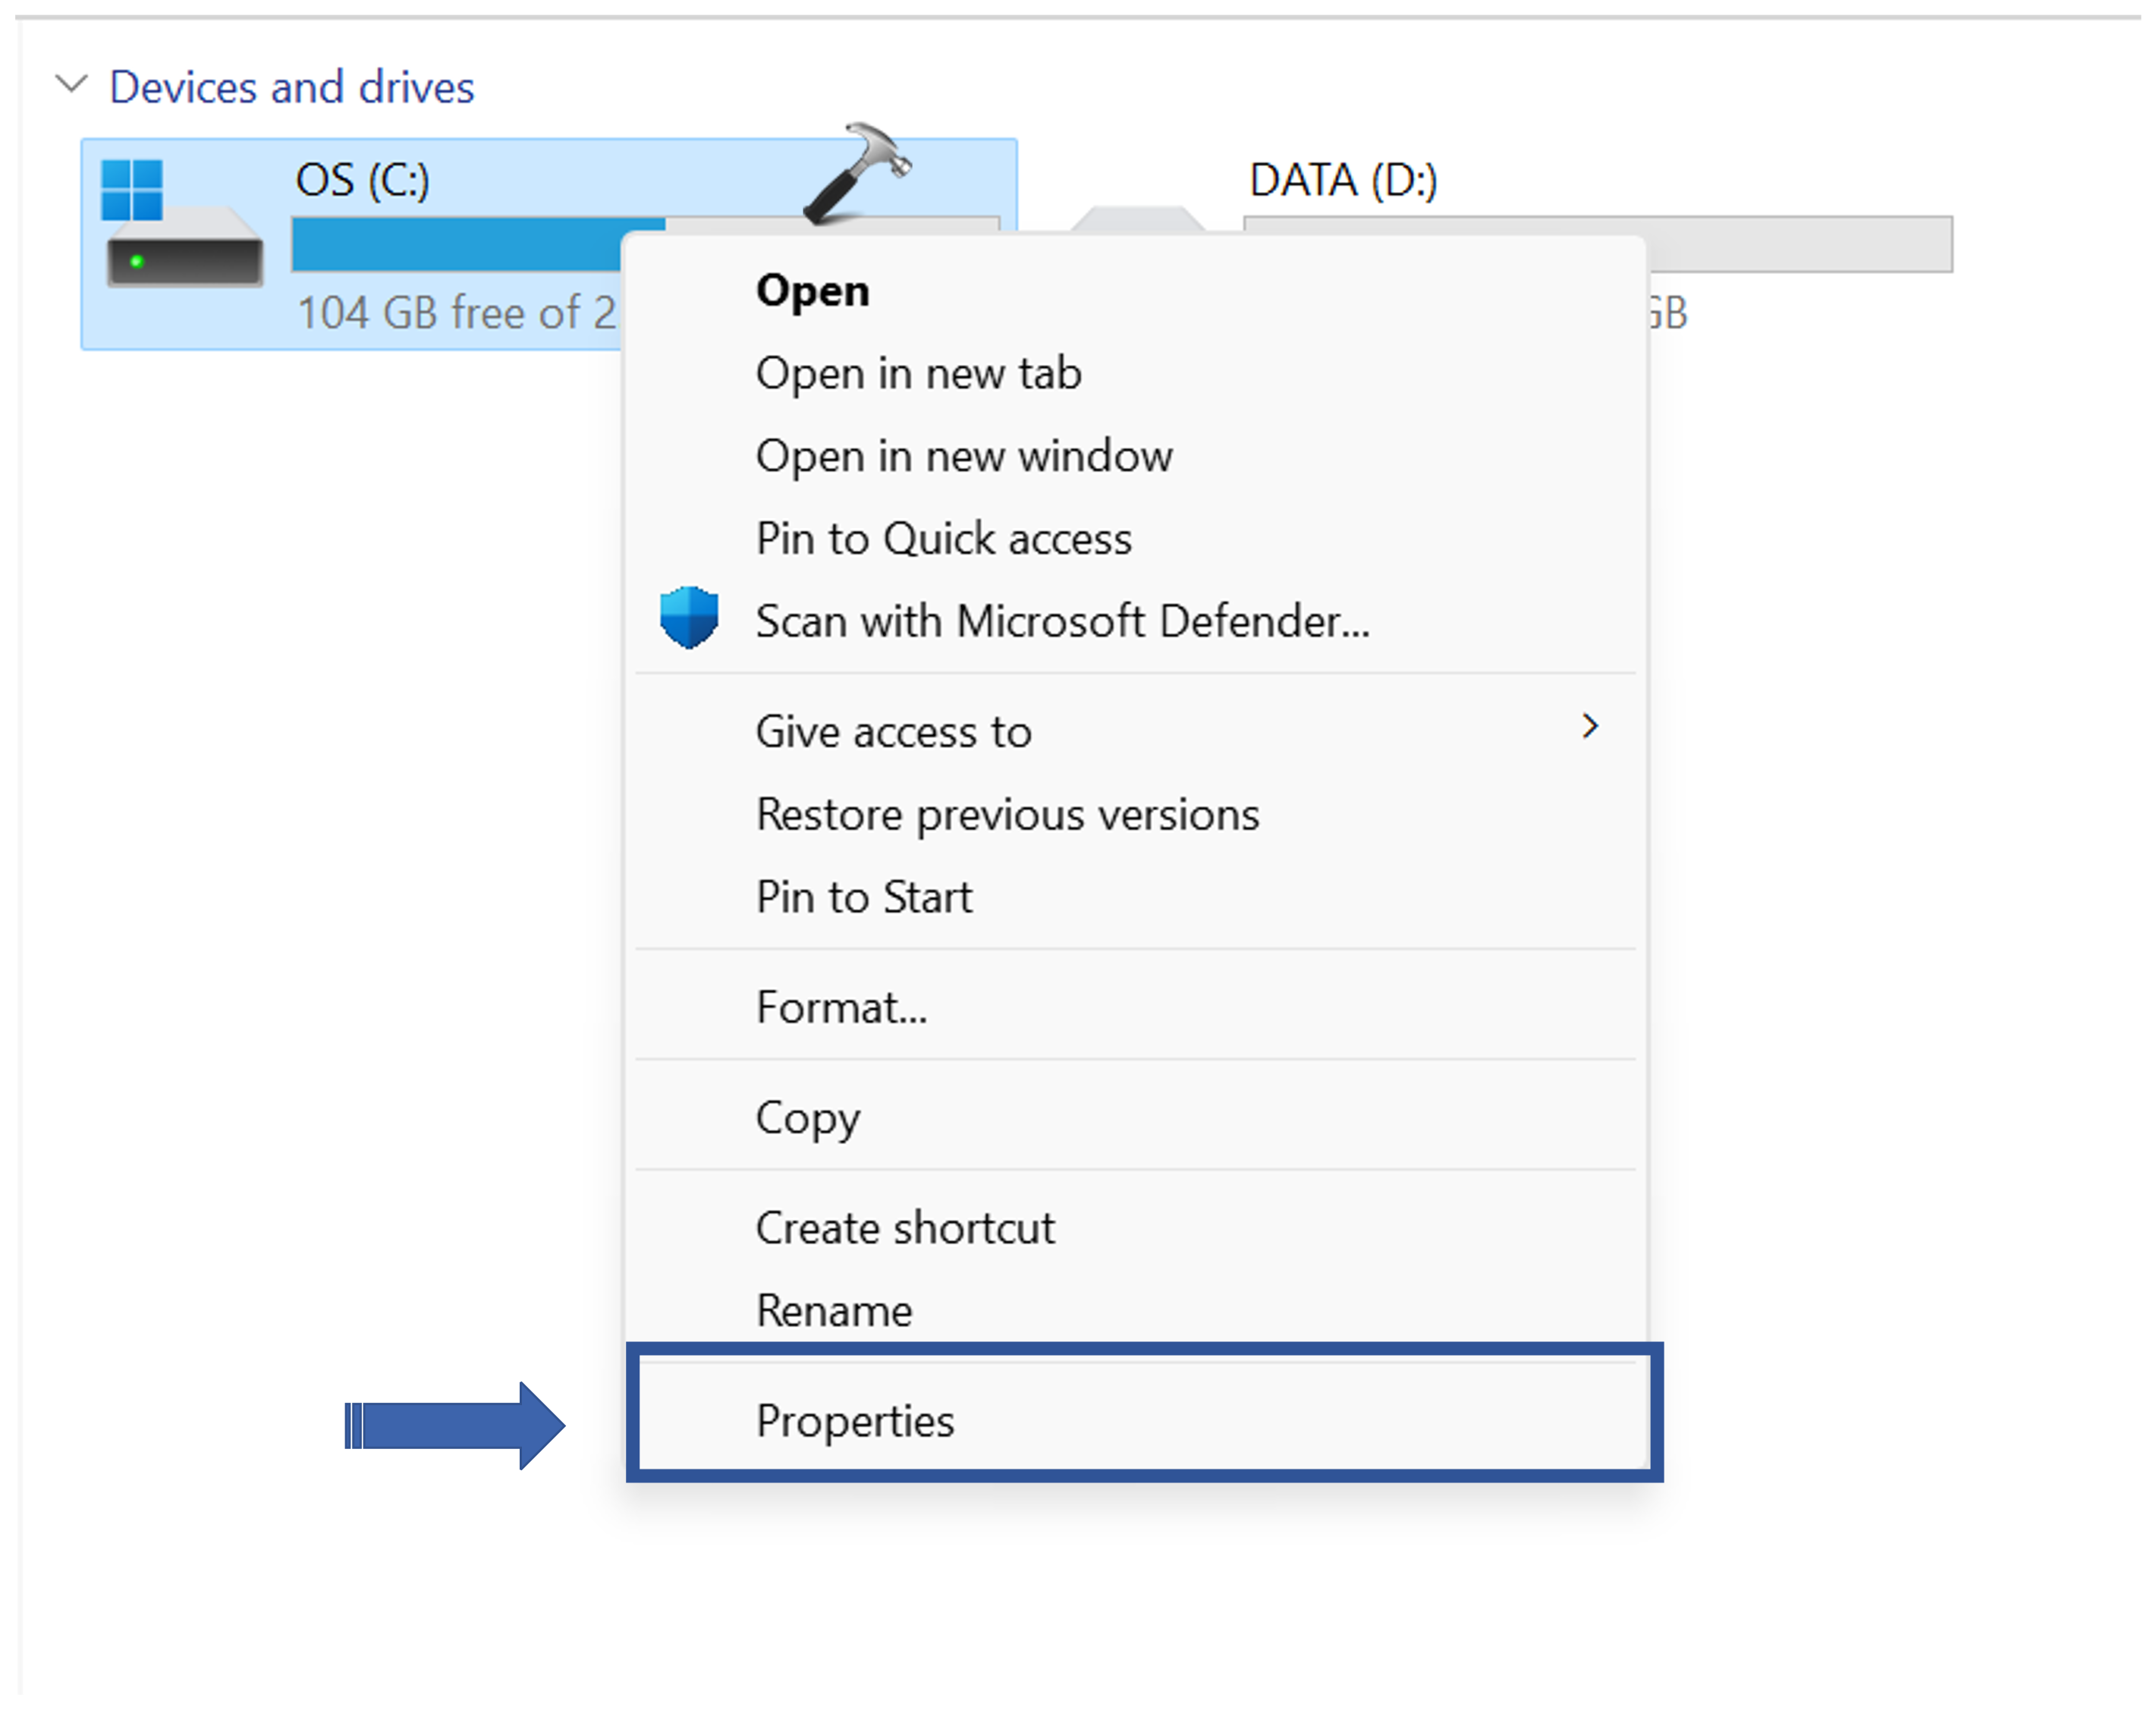
2. Now, go to the “tools” tab and click on “Check“.

3. A pop-up window will appear. Click on “Scan drive“.

Windows 11 will look for system errors in the drive and if any issue is found, it will allow you to repair the disk.
Solution 5: Repair Disk Errors with PowerShell
You can repair disk errors on Windows 11 using the PowerShell command-line tool. PowerShell provides a more powerful and flexible way to repair disk errors than the built-in Check Disk tool.
1. Open the Windows PowerShell and run as administrator.
2. Copy and paste the below command and press Enter:
Repair-Volume C –OfflineScanAndFix

This command will scan and repair disk errors on drive C:. If any errors are found, the command will fix them.
3. Now, copy and paste the below command and press Enter:
Repair-Volume C –Scan
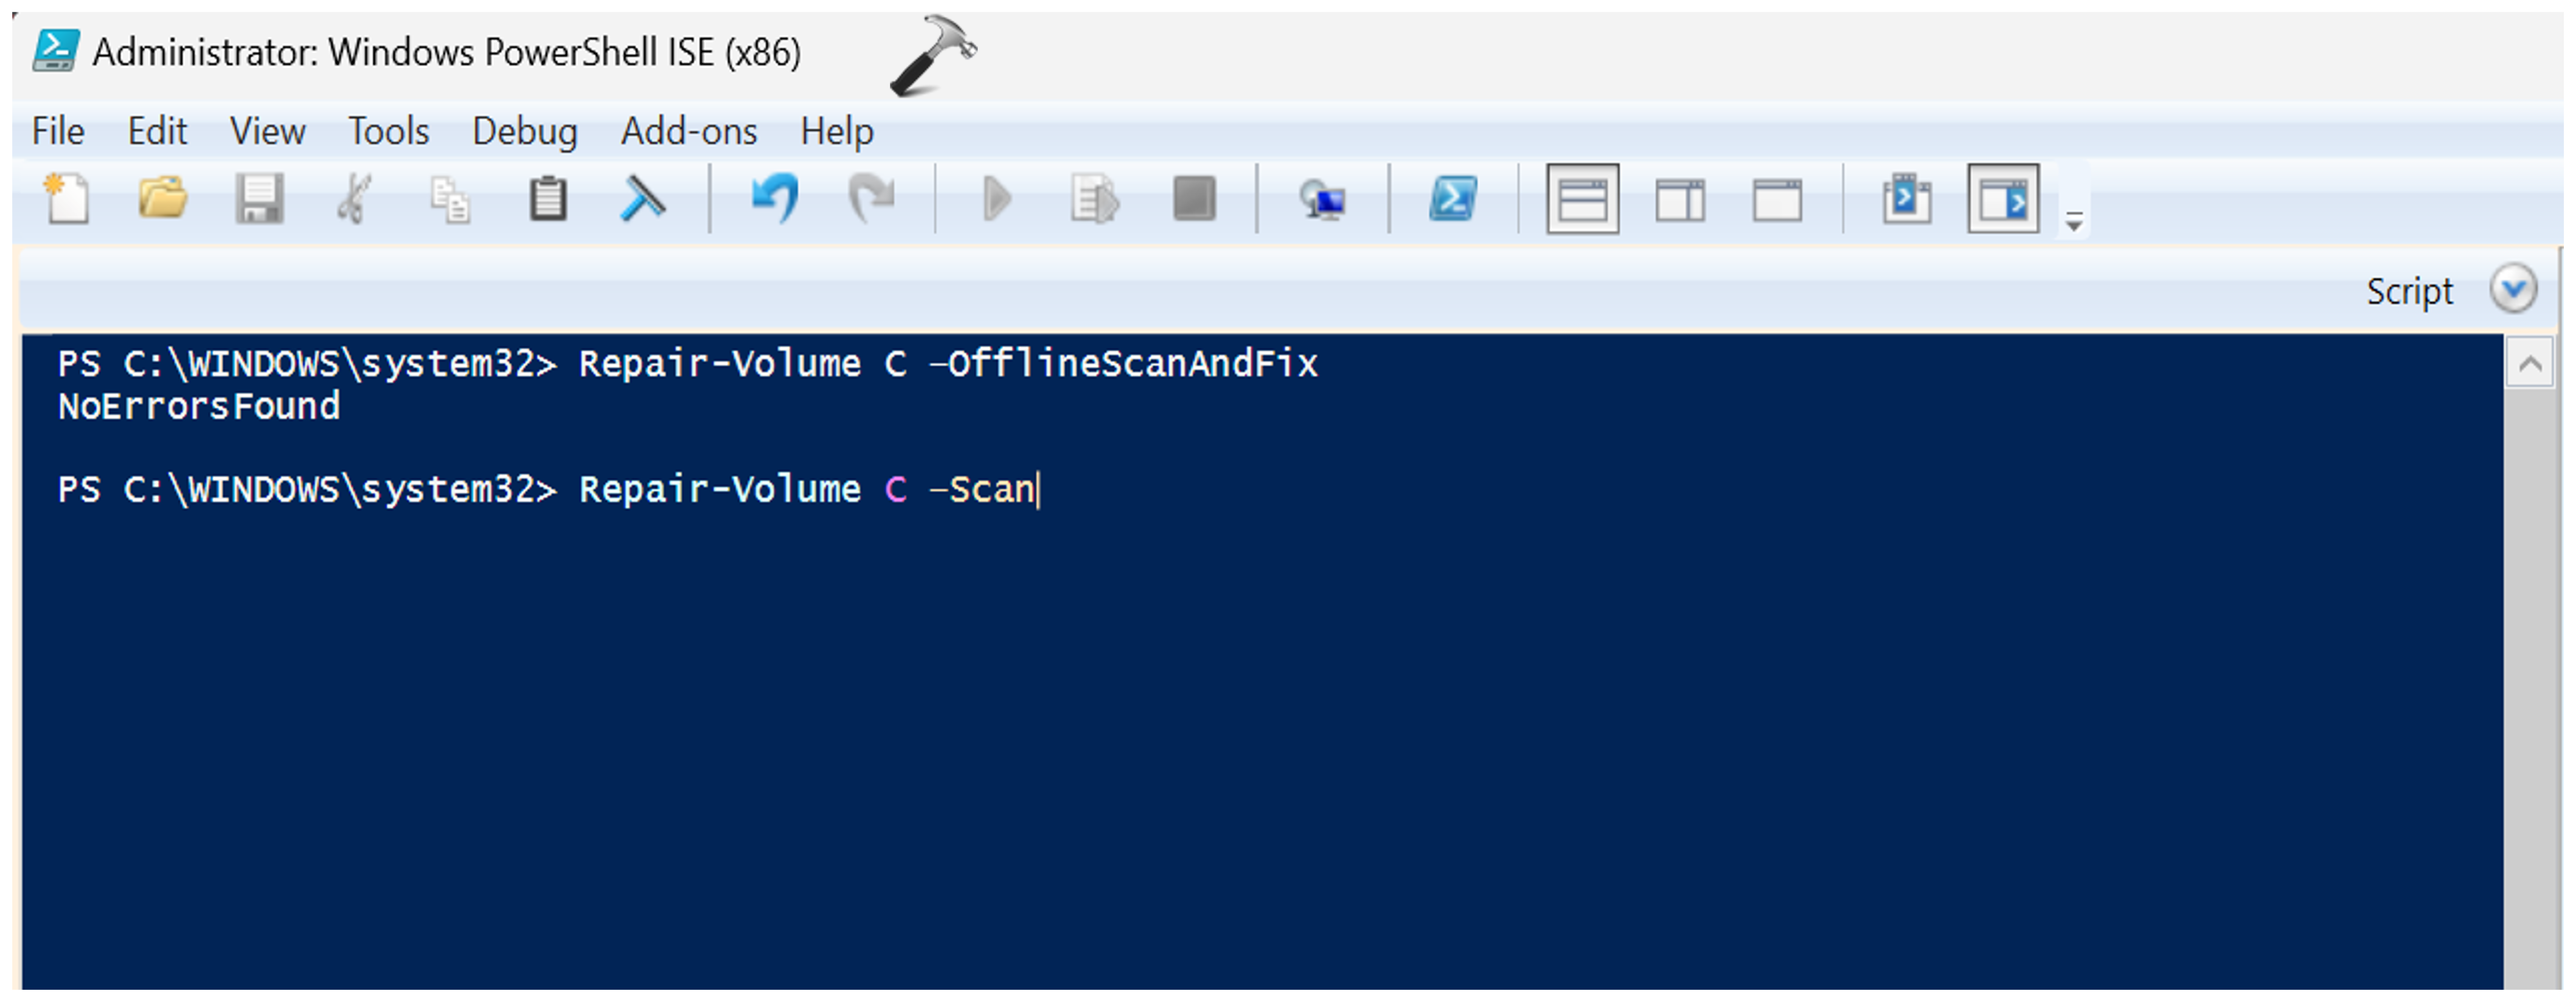
This command will scan drive C for disk errors, but it will not repair them. This command is useful for checking the status of your disk after the first command has finished running.
4. After executing both commands, close the PowerShell window and restart the PC.
Solution 7: Re-install Windows 11
If you are unable to repair disk errors using the other methods, you may need to reinstall Windows 11. Reinstalling Windows 11 will erase all of the data on your system drive, so be sure to back up your important files before you begin.
Follow the below steps to re-install Windows 11:
1. Connect your PC to the installation media you created.
2. Boot your PC from the installation media.
3. Select Next.
4. Select “Install now” when Windows Setup Launches.
5. Enter your Windows 11 product key, or select “I don’t have a product key” if you don’t have one.
6. Select the Windows edition that you want to install and then click “Next”.
7. Select Custom: Install Windows only (advanced).
8. Select the partition or disk that you want to install Windows 11 on.
9. Click Next to start re-installing Windows 11.
That’s It!