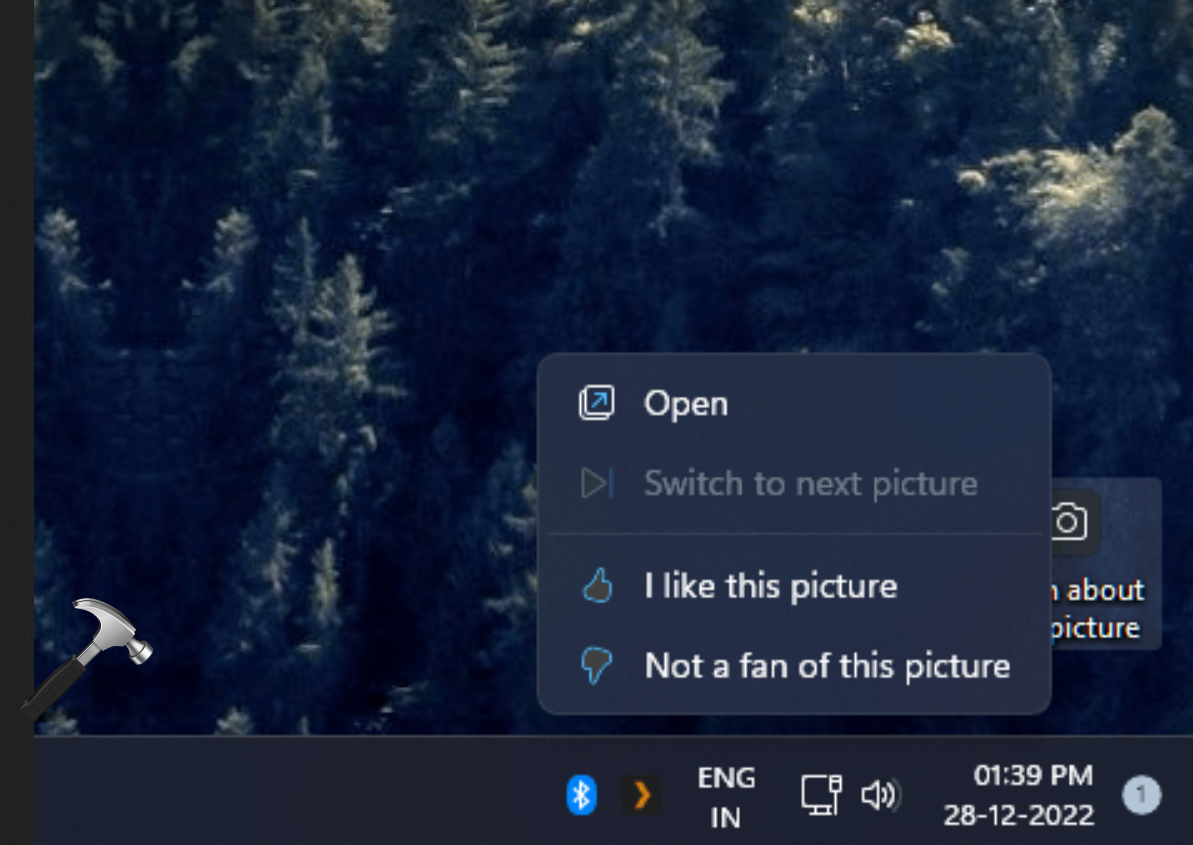
If you are on Windows 11 and you are using Windows Spotlight on Desktop, then this article may interest you. Usually, on Desktop. Windows Spotlight places a new wallpaper regularly. If you don’t like that wallpaper, you can just click on the Spotlight desktop icon and select Switch to next picture. But if the Switch to next picture is already greyed out, you won’t be able to skip to next picture. In this article, we will see how to fix Windows Spotlight Switch to next picture is greyed out.
Here’s how it looks when the Switch to next picture is greyed out or not click-able:
Page Contents
Fix: Windows Spotlight ‘Switch to next picture’ is greyed out
Solution 1
1. Press Windows key + I to open Settings.
2. Select Personalization.
3. Click Lock Screen.
4. Under Background option, select Picture.
5. Set a picture as a default lock screen background.
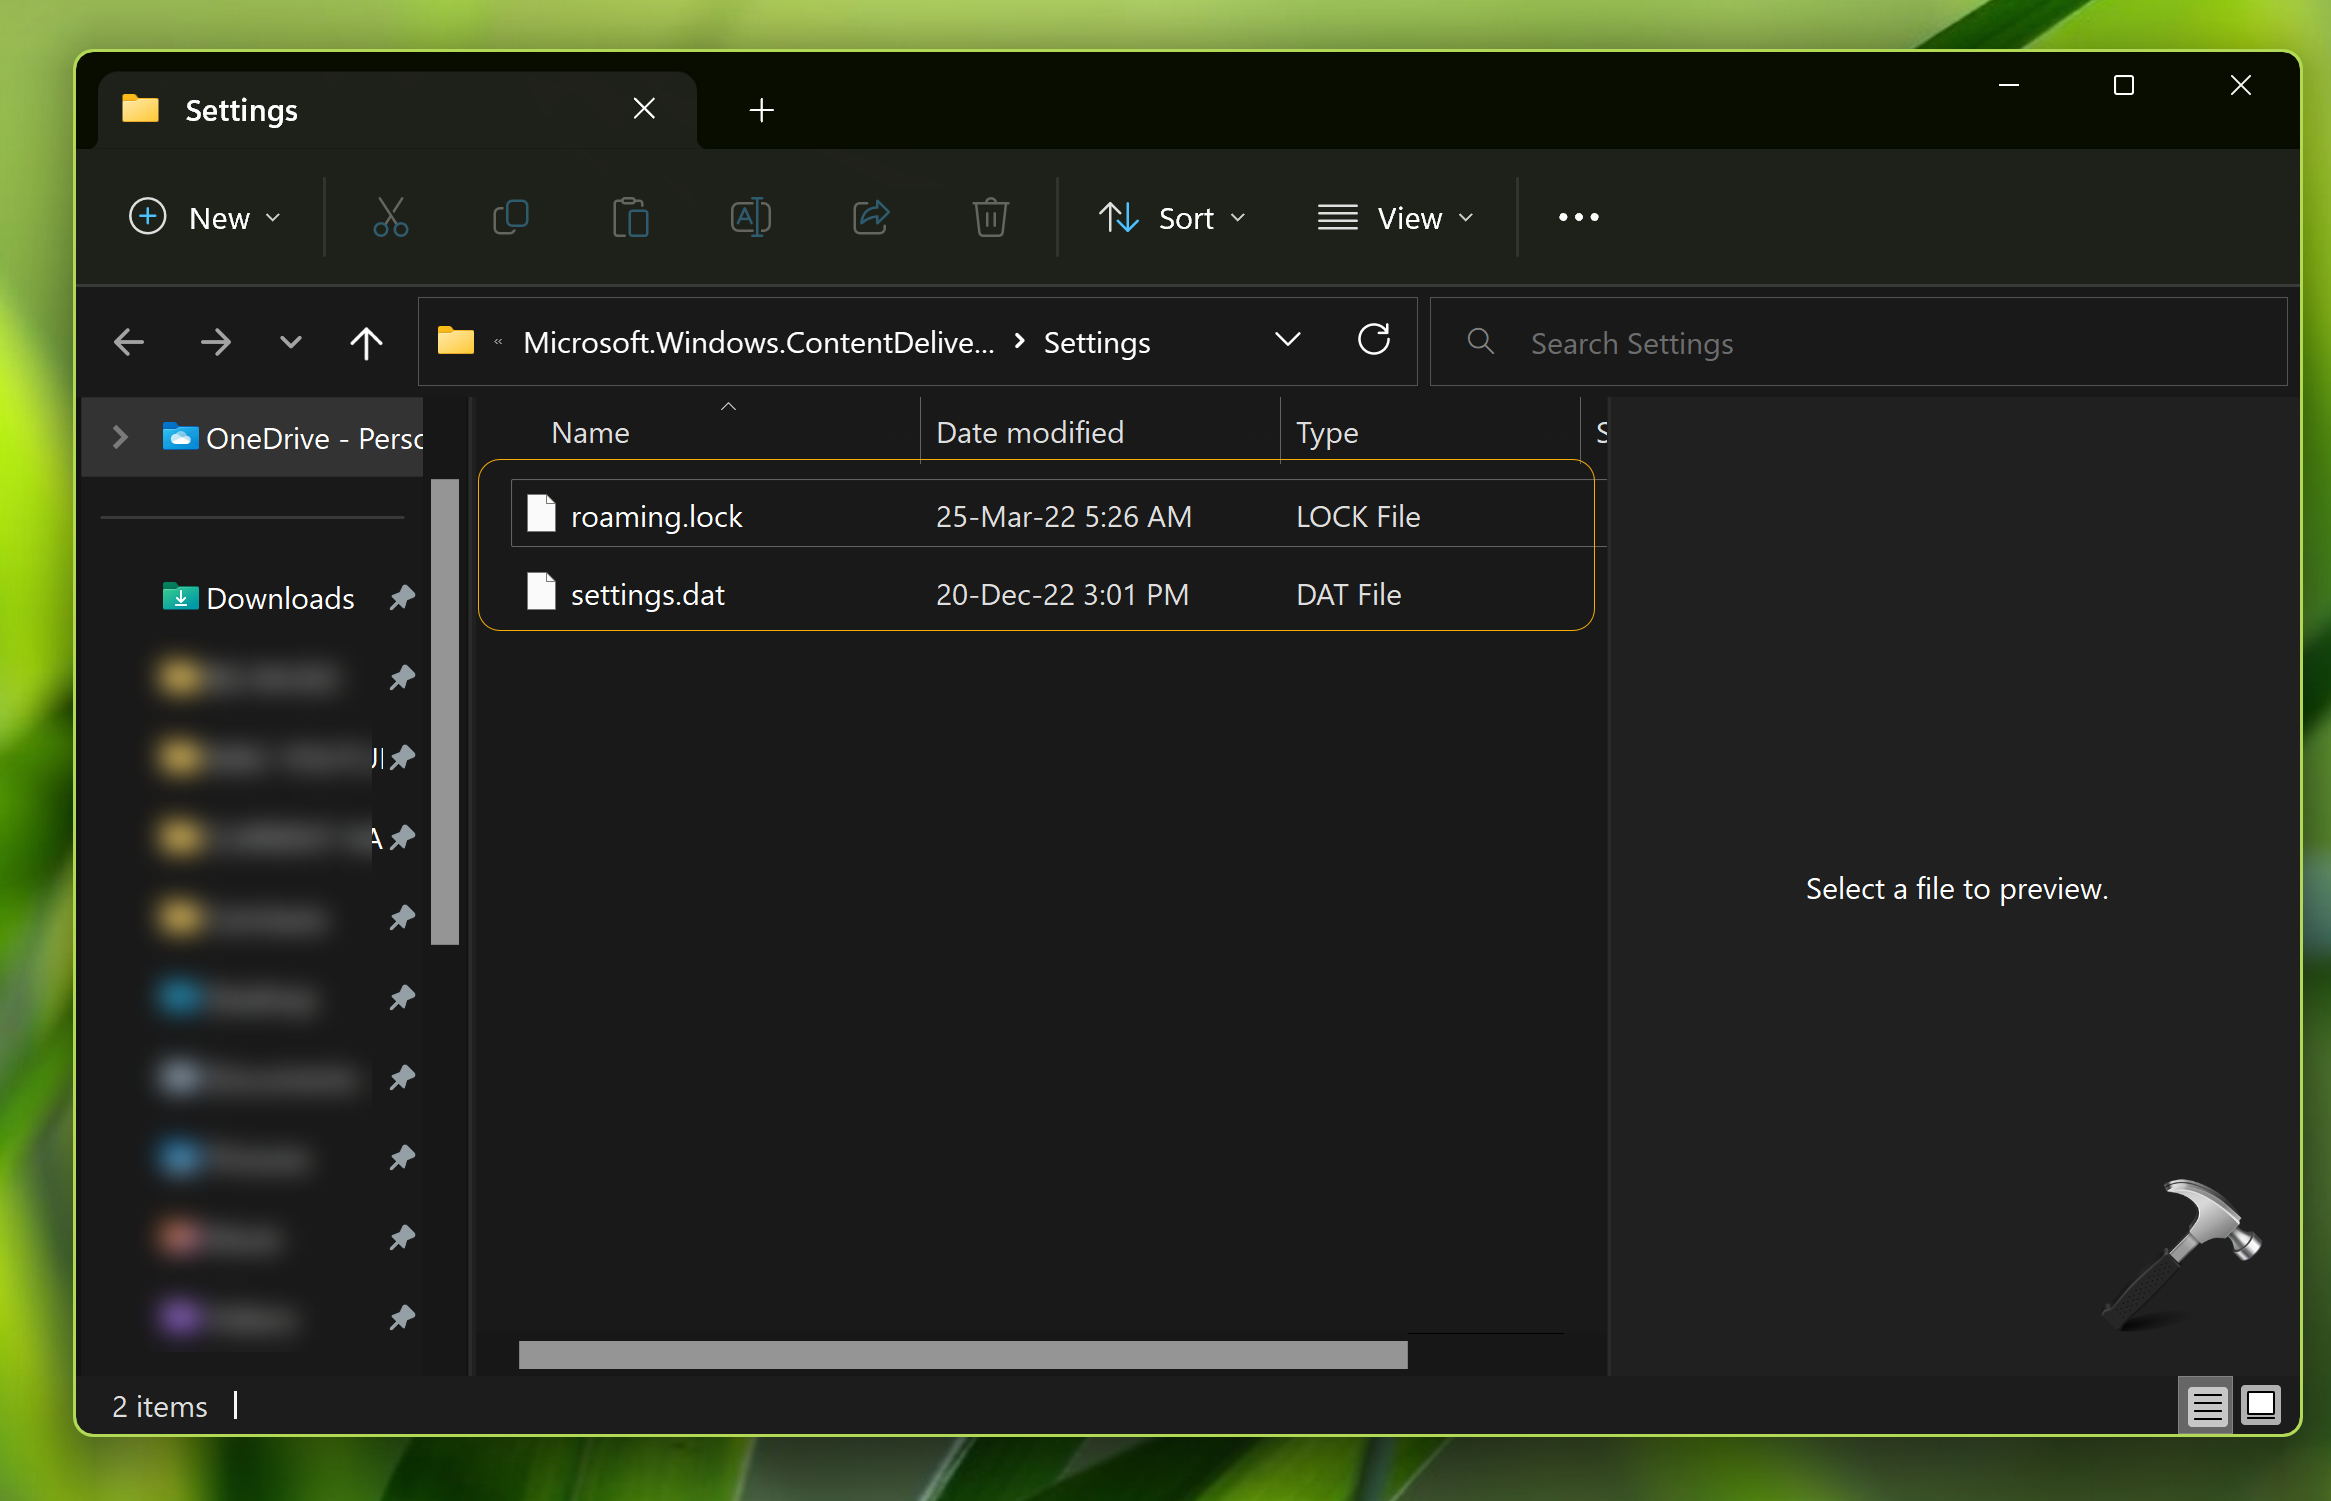
6. Open File Explorer and go to:
C:\Users\<username>\AppData\Local\Packages\Microsoft.Windows.ContentDeliveryManager_<characters>\Settings
Note: It is recommend to manually access these folders. Also make sure to unhide all hidden folders on Windows 11.
In this folder, delete these files: roaming.lock and settings.dat to roaming-old.lock and settings-old.dat, respectively.
Repeat steps 1-3.
Under Background option, select Windows Spotlight.
See if the issue will persist, if yes, Go to Solution 2.
Solution 2
If the issue still persist, re-register Windows Spotlight:
1. Press Windows key + S.
2. Type powershell.
3. Select Windows PowerShell.
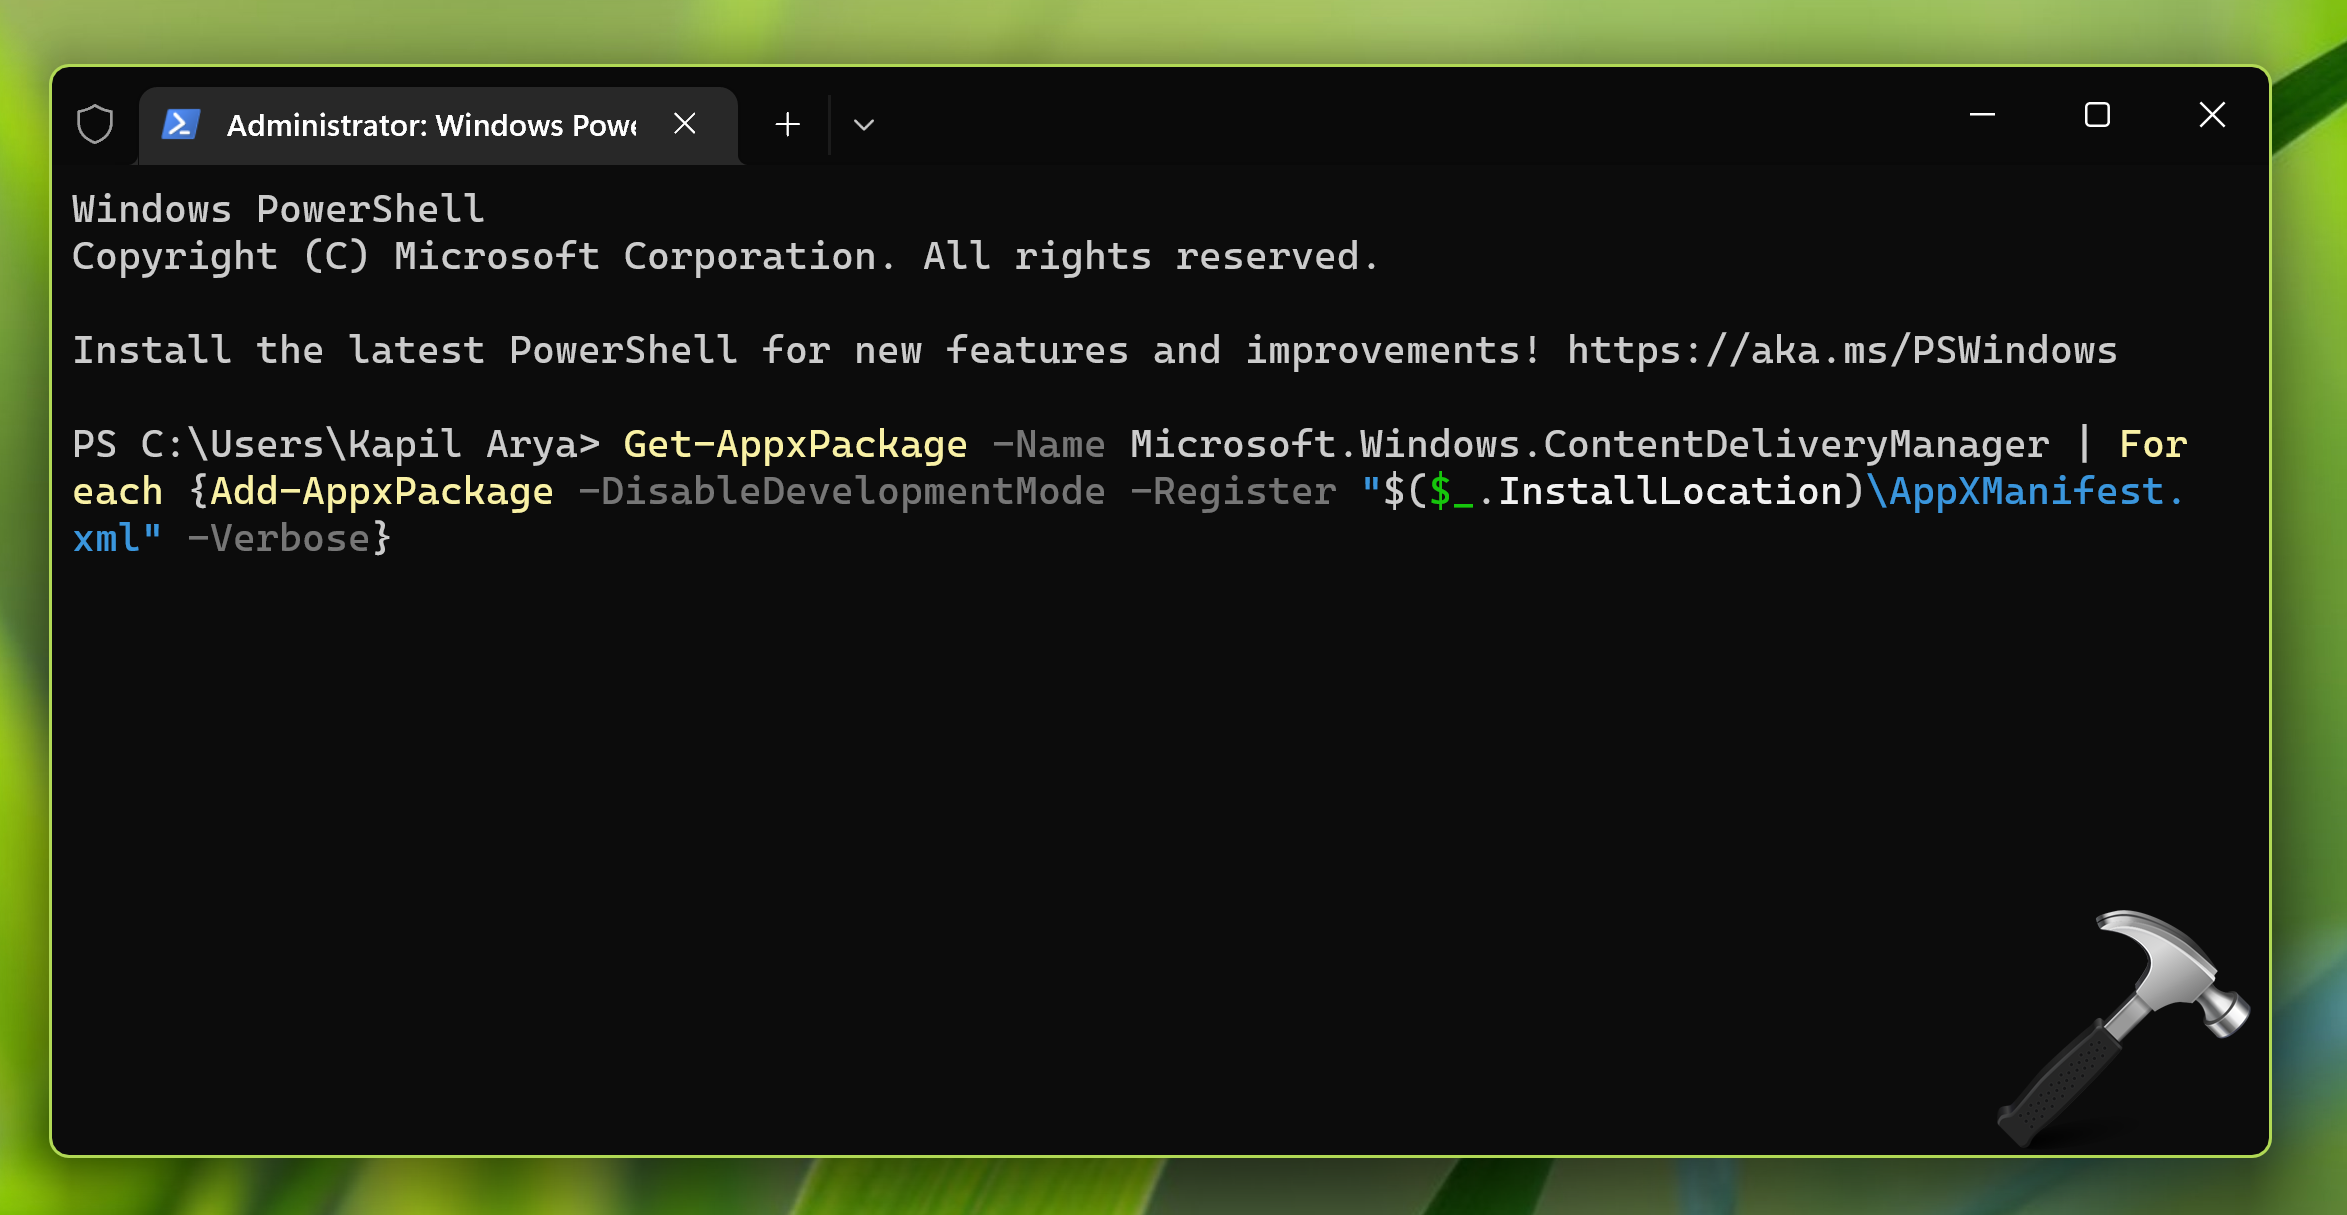
4. On the PowerShell window, type and press Enter:
Get-AppxPackage Microsoft.Windows.ContentDeliveryManager -allusers | foreach {Add-AppxPackage -register "$($_.InstallLocation)\appxmanifest.xml" -DisableDevelopmentMode}
See if your wallpaper will change now.
Solution 3
If Solution 1 & 2 doesn’t help, check if there’s something wrong with network. You can try this solution and see if it helps, else you can revert changes.
1. Press Windows + Q to open the search box, enter ncpa.cpl, press Enter to open the Network Connections window.
2. Select your network adapter, right-click > Properties, double-click Internet Protocol Version 4 (TCP/IP), then set values as shown below. This example uses Google Public DNS servers.
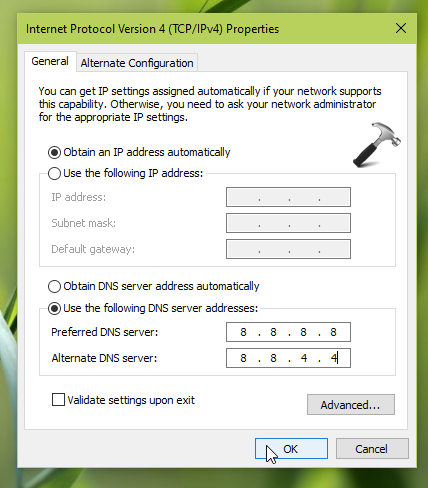
3. Click Apply, OK.
Hope something helps!