The ShellExecuteEx failed error in Windows 11/10 can appear when you try to open an application or install software. It often occurs because of permission issues, corrupted system files, conflicting applications, or incorrect settings that block the command the operating system uses to launch or install programs.
Page Contents
Solved: ShellExecuteEx Failed Error in Windows 11/10
This guide helps you resolve the problem using trusted methods. Try each of them one by one to see which one fixes the issue.
Fix 1: Run the Program with Administrative Rights
Some apps fail to open or install because they don’t have enough privileges.
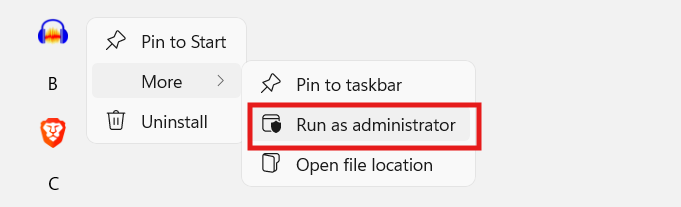
1. Find the installer or program file that triggers the error.
2. Right-click it and choose Run as administrator.
3. If a prompt appears, confirm it and allow the app to run with elevated rights.
4. Check whether the error still appears.
Running with admin privileges gives the application more access to system components, which can fix the error.
Fix 2: Repair System Files Using Built-In Tools
Corrupt system files often interfere with normal program execution.
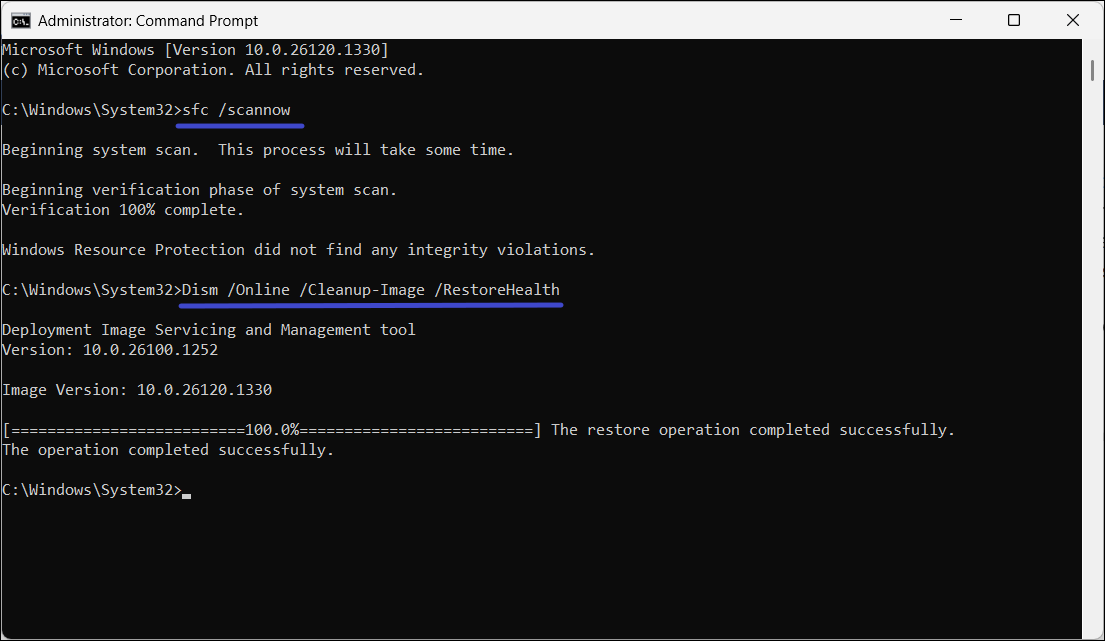
1. Open Command Prompt with administrator privileges.
2. Type:
sfc /scannow
and press Enter.
3. Once that completes, run:
DISM /Online /Cleanup-Image /RestoreHealth
to repair deeper system image issues.
4. Restart your PC when done and try the program again.
This checks and replaces damaged or missing files that might be causing the error.
Fix 3: Use Clean Boot Mode
Conflicts from startup programs or services can trigger the error.
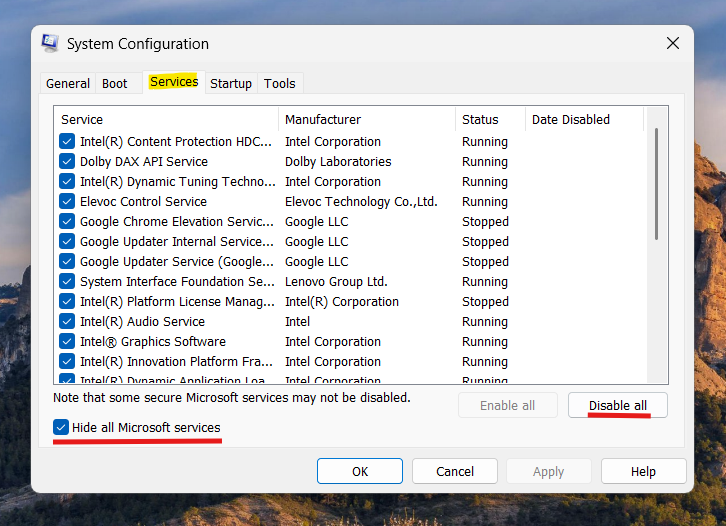
1. Press Windows + R, typemsconfig, and open System Configuration.
2. In Services, check Hide all Microsoft services and then click Disable all.
3. Go to the Startup tab, open Task Manager, and disable all startup items.
4. Restart your computer and test the problematic app.

If it runs fine in a clean boot, gradually re-enable services to find the conflict.
Fix 4: Adjust Local Policy for Executables
A strict policy can block unsigned or unverified applications.
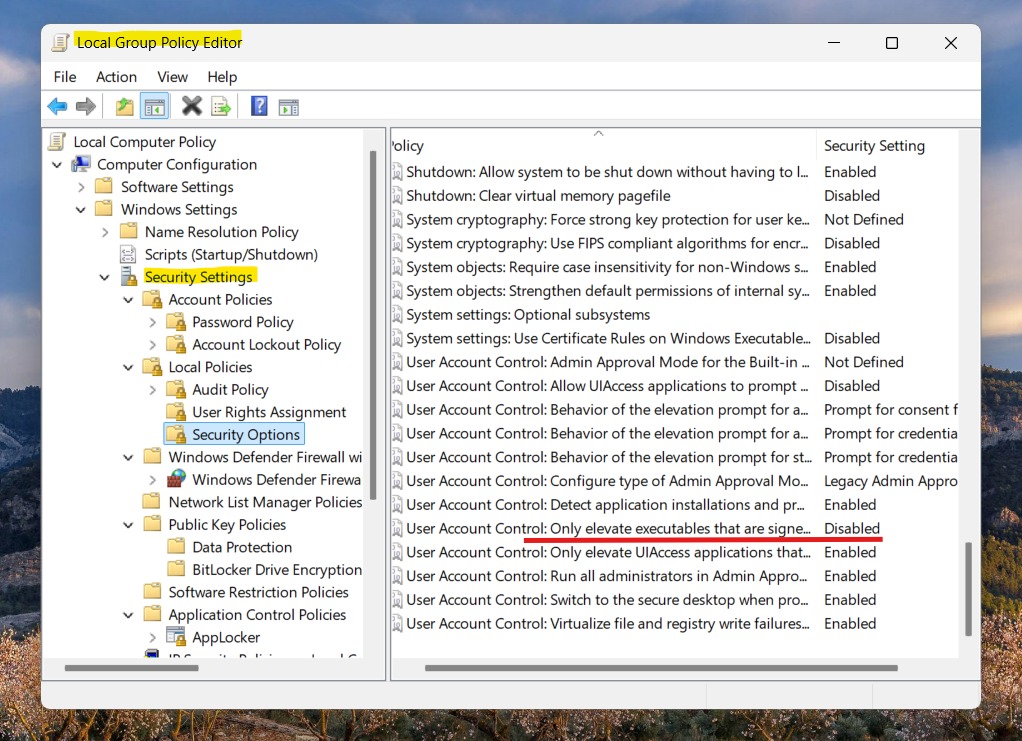
1. Press Windows + R, typegpedit.msc, and open Local Group Policy Editor.
2. Go to Computer Configuration and then Windows Settings and go to Security Settings.
3. Find User Account Control: Only elevate executables that are signed and validated.
4. Set it to Disabled, apply, and restart your PC.
This allows non-signed apps to run properly.
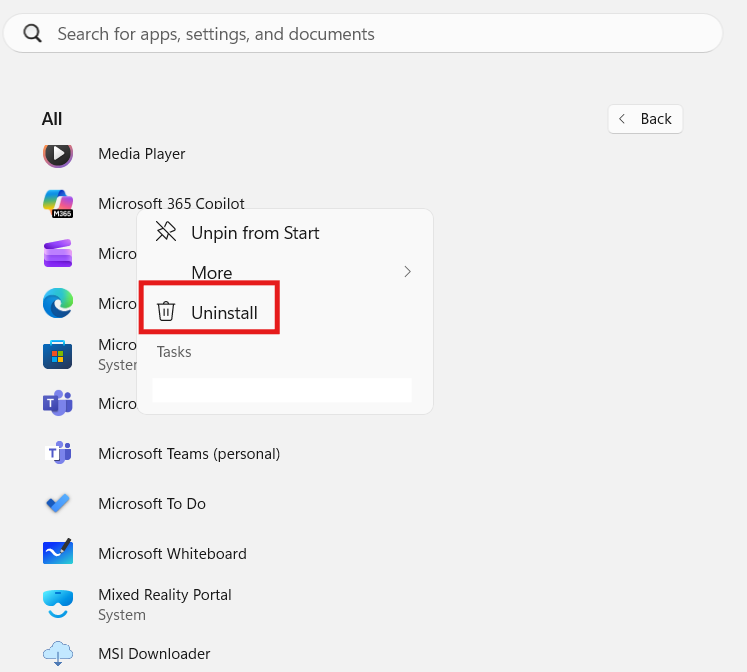
Fix 5: Reinstall or Repair the App
If all else fails, the application itself may be broken.
1. Uninstall the app or installer completely.
2. Download the latest version from a trustworthy source.
3. Run the setup as administrator.
Reinstalling ensures you are using a valid and up-to-date installer.
Quick Tips
1. After trying a fix, restart your PC before testing again.
2. Keep Windows updated for compatibility.
3. If the error occurs for a specific file type, ensure a proper application is associated with it.