

Windows Security (earlier: Windows Defender Security Center or Windows Defender) is available in Windows 11/10 for basic security protection. The app has been evolved as an excellent solution for safeguarding your machine against security threats. This eliminates the need of third-party software/antivirus programs for your Windows 10, by saving your money and time.
If you feel that some files, folders, process or file type is 100% safe for you, add them to exclusion list of Windows Security app. Here, an exclusion is referred as skip of scan for the excluded item. In simple words, if you add an item to Windows Security exclusion list, it won’t be scanned, when you’re running Quick, Full or custom scan. This will help you to reduce the time elapsed in scanning your system.
Here’s how you can add an exclusion to Windows Security app.
How To Add Exclusion To Windows Security In Windows 11/10
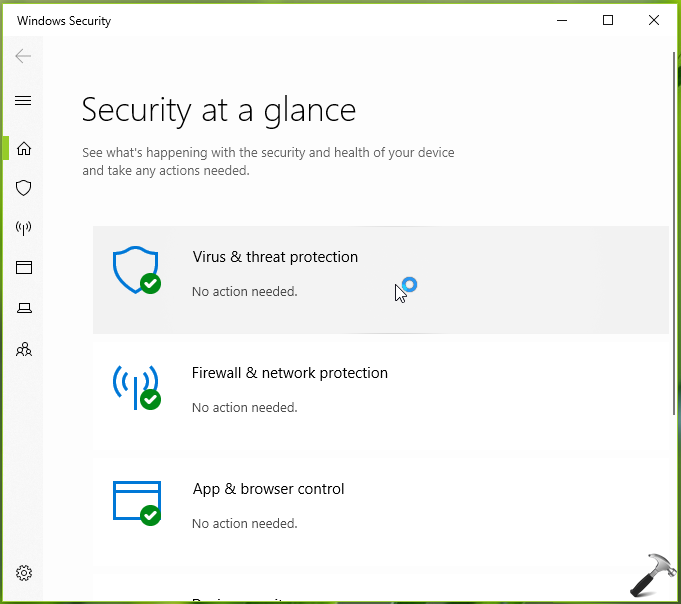
- Open Windows Security app and click on Virus & threat protection link. See this article, if you can’t open/configure Virus & threat protection section because of ‘Your Virus & threat protection is managed by your organization/administrator‘ message.

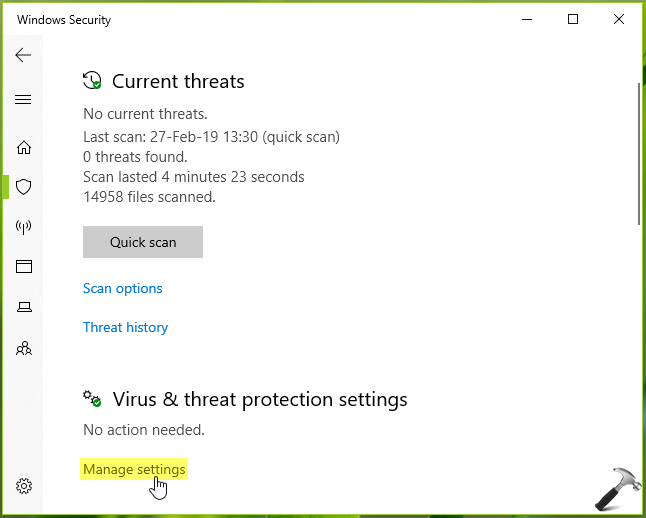
- Next, under Virus & threat protection settings section, click on Manage settings link.
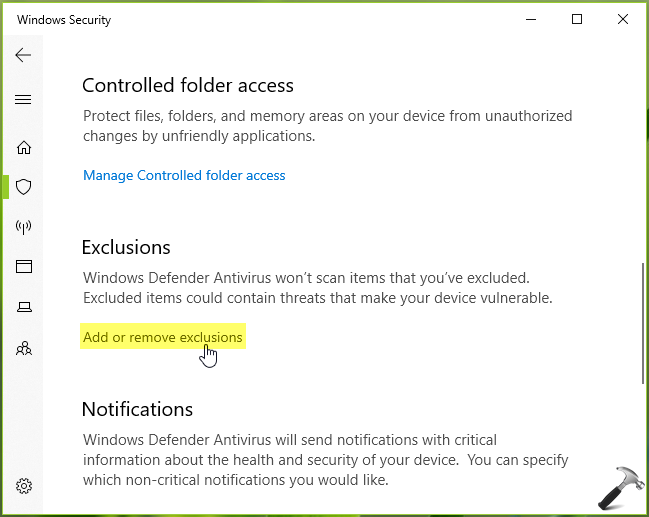
- Then in next screen, click Add or remove exclusions link under Exclusions.
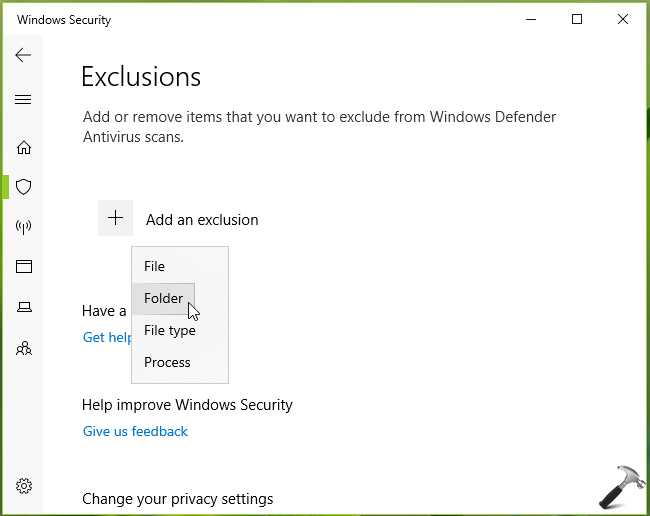
- Now in Exclusions, click on Add an exclusion. You can then select type of exclusion between File, Folder, File type/format, Process. In this example, we opted for the Folder option here.
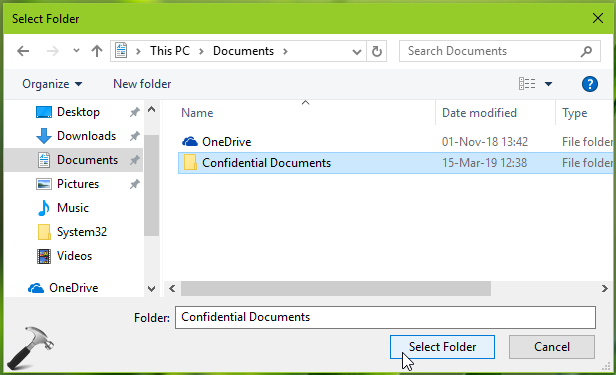
- Then in browser, you can select the item for which you opted in previous step. So we selected the folder to be excluded, and hit Select Folder.
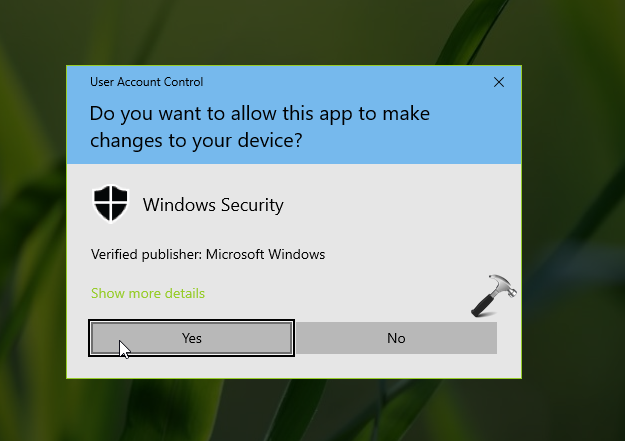
- You’ll then receive the below shown UAC permission dialog. So you can input your credentials (only if you’re not administrator) and select Yes to continue. See this fix, if you don’t have Yes option on UAC dialog.
- Finally, you can confirm that the exclusion is added successfully.
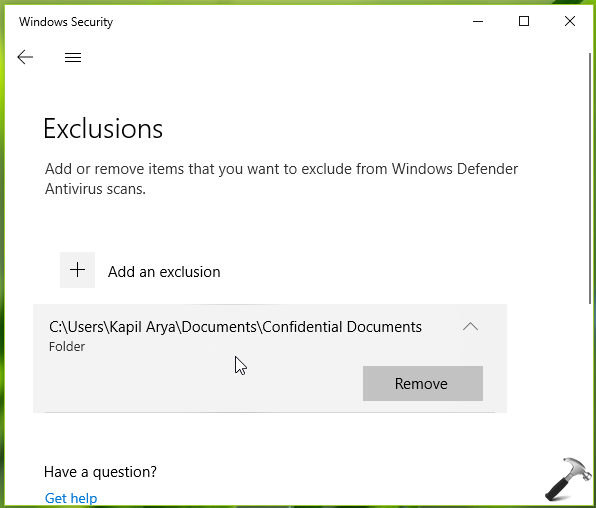
If you want to delete this exclusion later, simply hit Remove button next to it.
So in this way, you can add/remove exclusions to Windows Security.
That’s it!
Related: Configure Exploit Protection For Windows Security In Windows.

 high CPU usage")


Leave a Reply