
If your Windows 11 PC is showing incorrect date and time, then you can change it easily. Sometimes, when the time settings are off, your system can display incorrect date and time. Also, this issue could arise due to many reasons like if you got a brand-new laptop or if the Microsoft NTP servers are down. It does not matter why your PC is displaying incorrect date and time zone, there’s an option to change it manually. Windows users can adjust date and time zone manually right from the taskbar.
In this post, learn how to change date and time zone in Windows 11. Now, go through the following instructions to modify these settings effectively and easily!
Change Date and Time Zone in Windows 11
1. To change date and time zone in Windows 11, right-click on the clock displayed on the taskbar. After that, click on the Adjust date and time option.

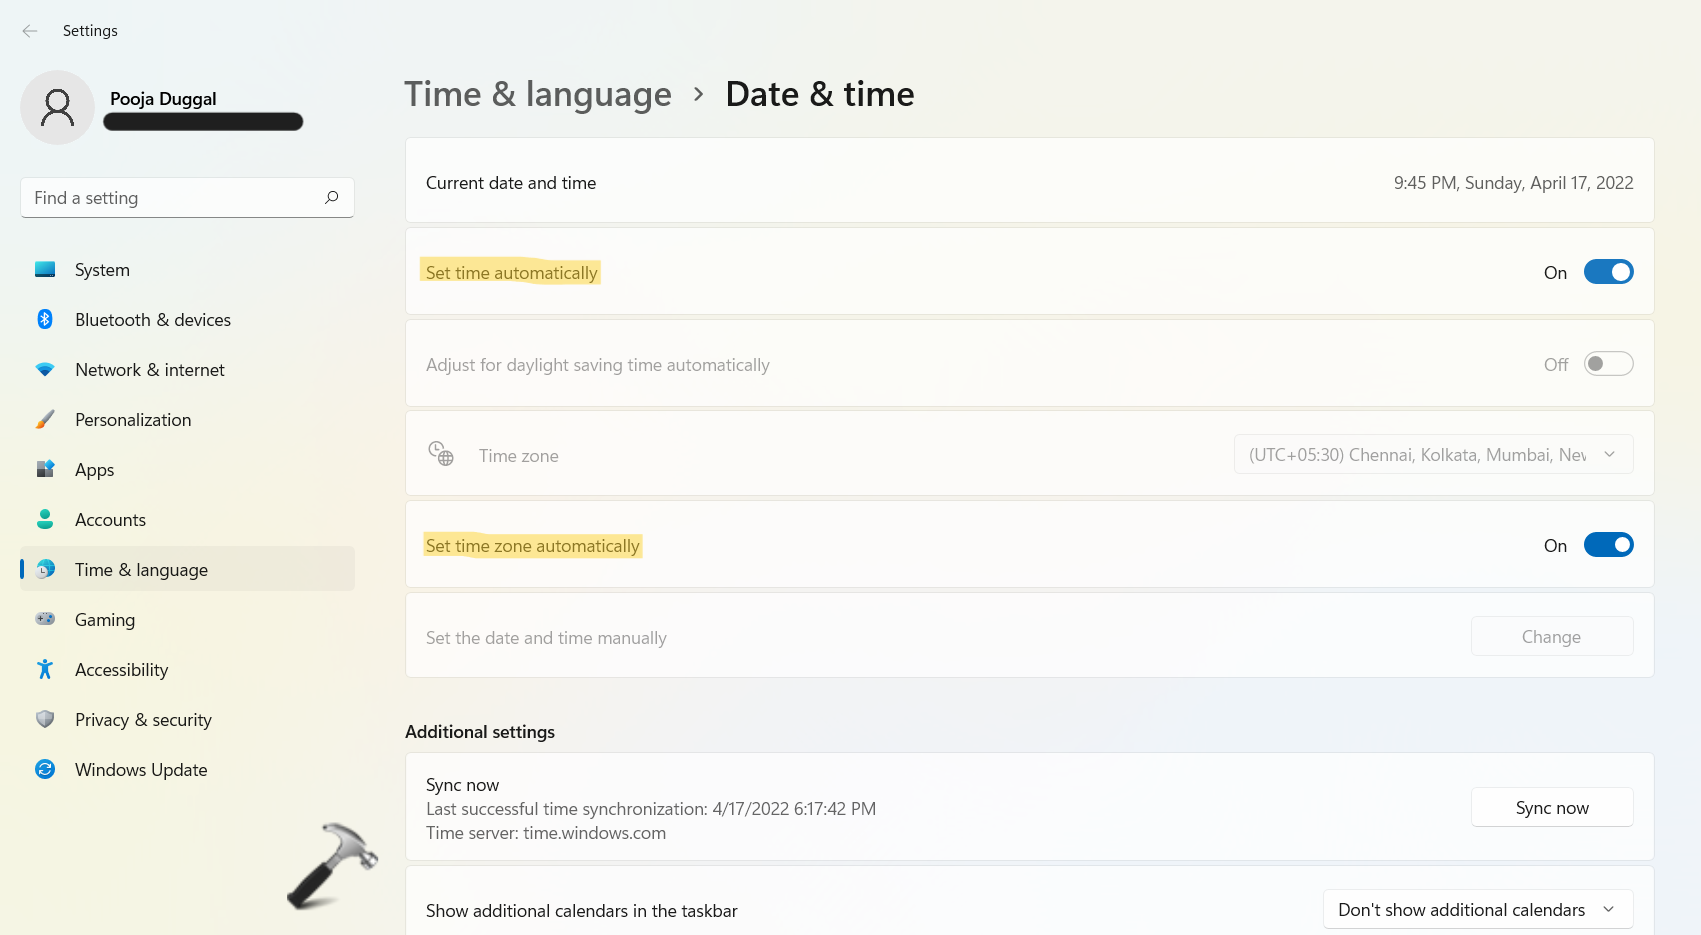
2. Now, click on the slider buttons present next to Set time automatically and Set time zone automatically to switch them off. This will allow you to access other fields to modify the date and time.
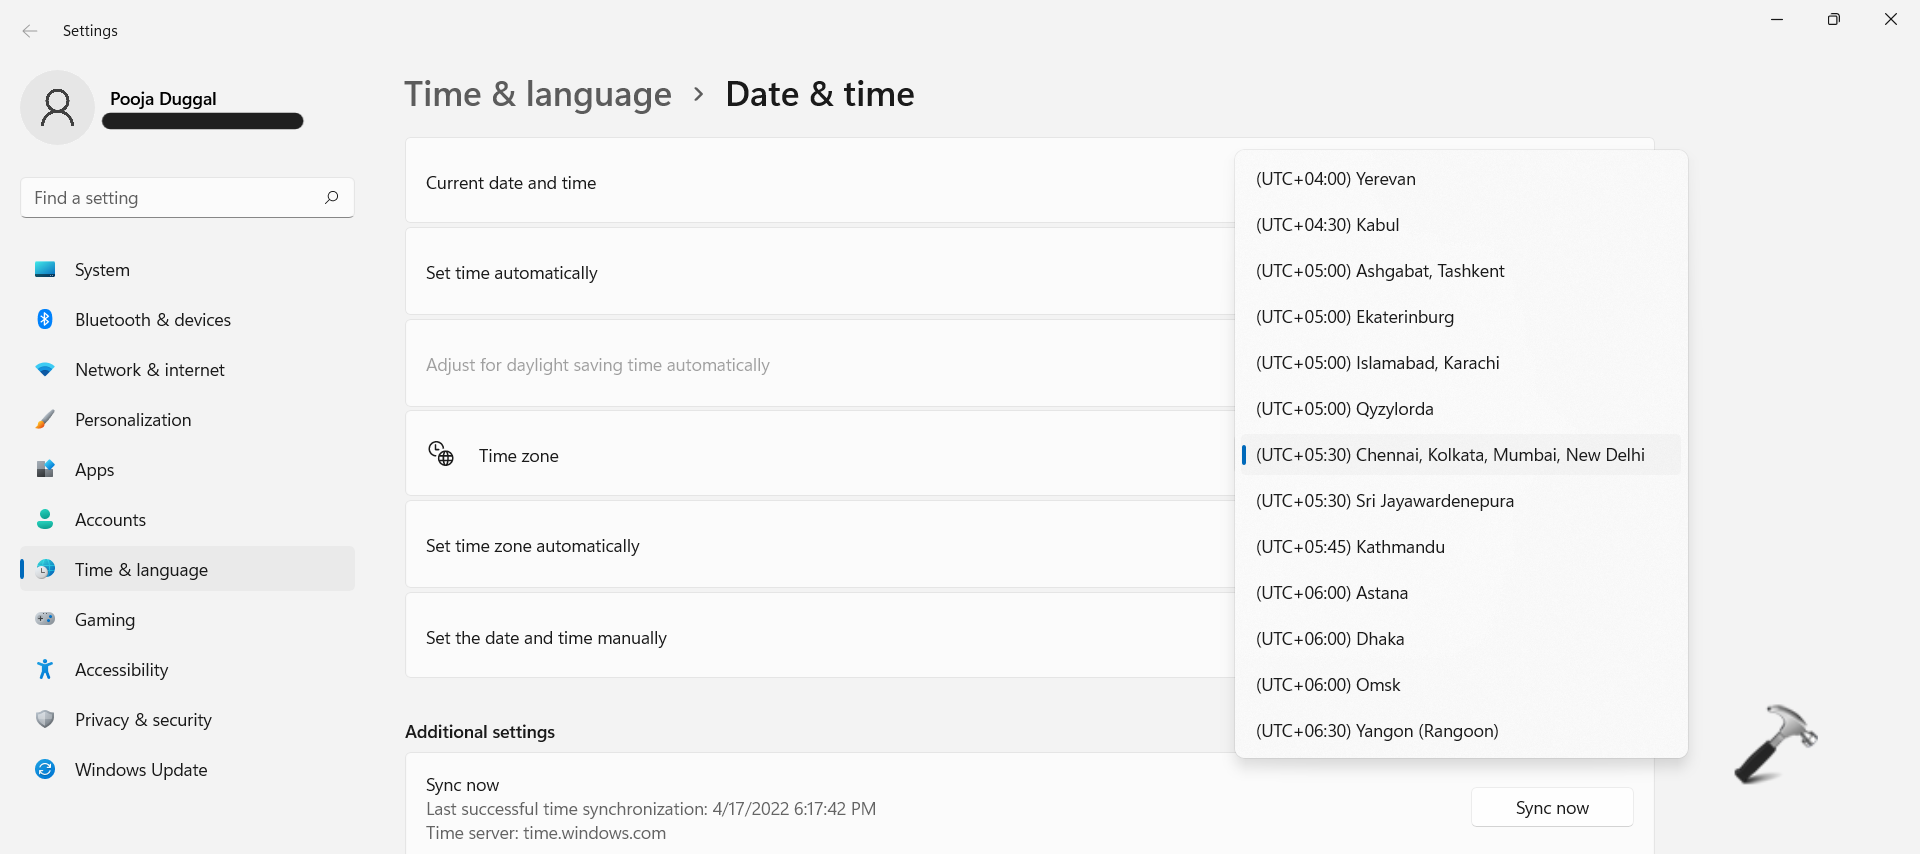
3. Next, choose the Time zone you like from the drop-down menu.
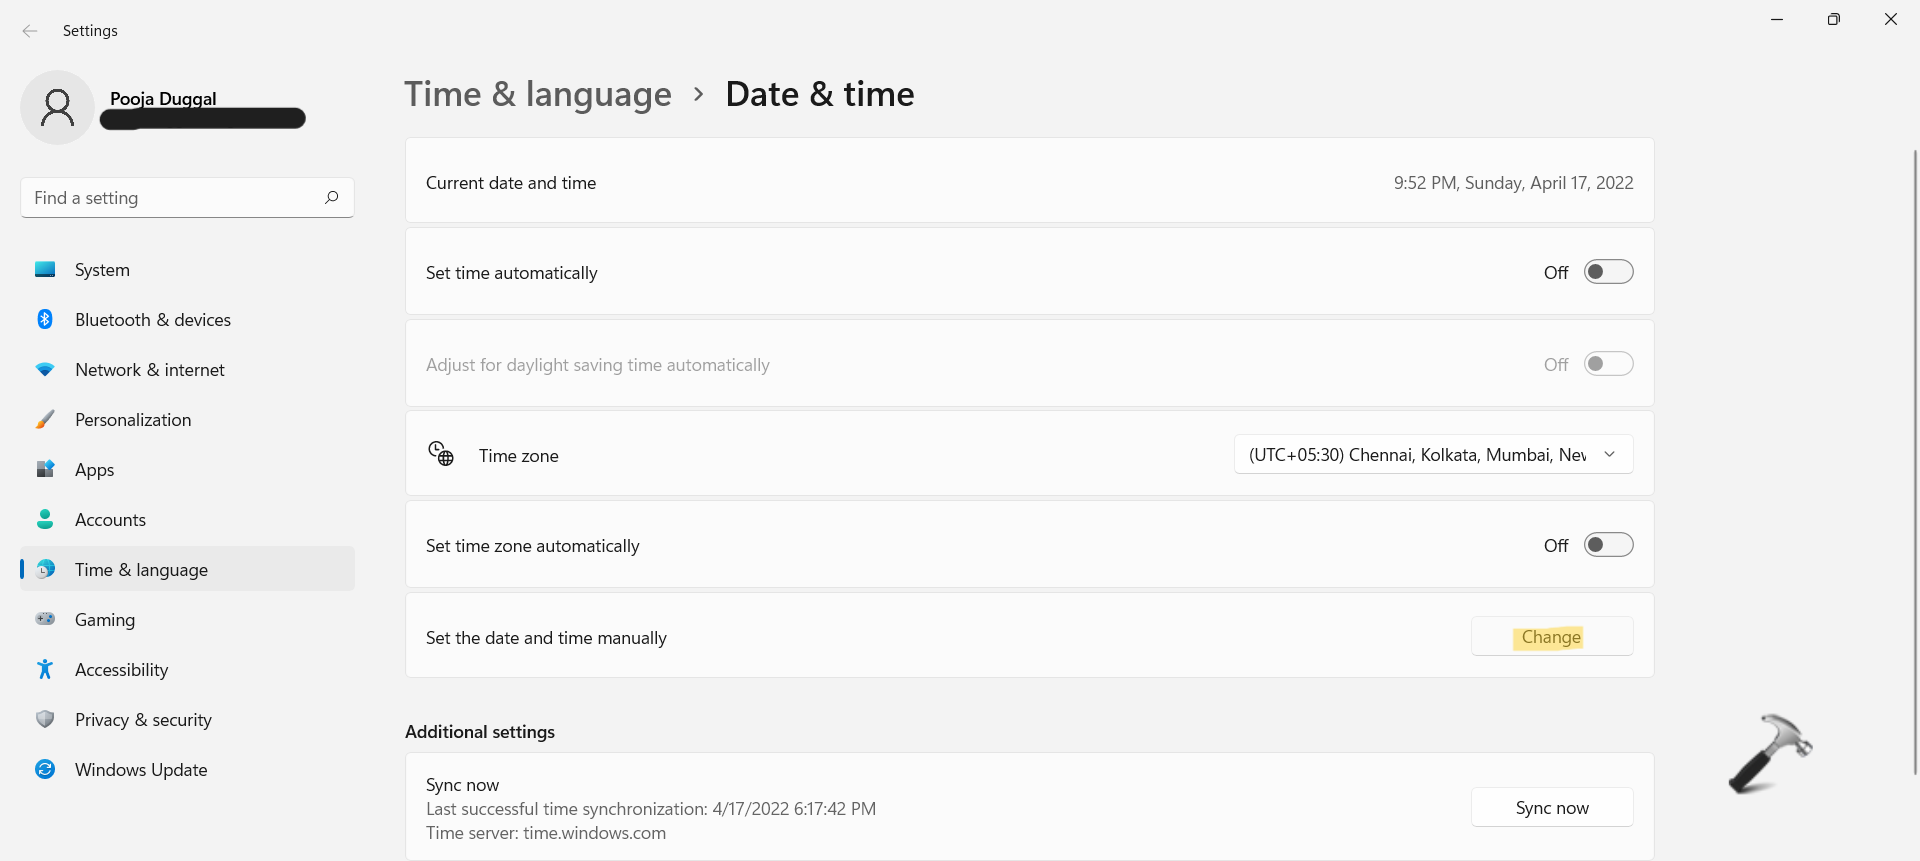
4. Once done, click on the Change button present next to Set the date and time manually.
5. Now, you can change every part of the Date and Time using the drop-down menus. Once set, click on the Change tab.

6. This will change the date and time zone successfully.
Using the above-mentioned steps, you can modify the date and time zone in Windows 11. It is very simple to change these settings through the Settings app. If you want to let Windows select the date and time automatically, then go back to the Adjust date and time window and turn back the Set time automatically and Set time zone automatically sliders on.


