Error code 0x800703ee on Windows 11/10 is a common issue which users can face while transferring files from PC to another external storage drive or while updating Windows. It reflects that there exists a blockage in the operation which is to be performed. This article delves into all the fixes which will allow the users to solve it.

Page Contents
Fix Error code 0x800703ee on Windows 11/10
This error might be a resultant of various causes such as-
- Existence of anti-virus
- Damaged system files
- Damaged USB controller
- Disabled Volume Shadow Copy and Windows Backup
- Corrupted programs
Thus, now let us see the main fixes for fixing the problem in detail.
Fix 1: Reinstalling USB Controllers
Uninstalling and reinstalling the USB drivers is the first fix which can solve the issue of Error code 0x800703ee. The users can try doing it with the following steps-
Step 1- Go to Device Managers. Locate the USB driver under Universal Serial Bus Controller. Thereafter, right-click on it and select Uninstall device.

Step 2- In the same way, delete all the other controllers.
Fix 2: Running SFC and DISM scans
Running a System File Checker scan and a DISM scan can help the users in solving the aforementioned issue easily. Therefore, follow the steps given below to run the SFC and DISM Scan and solve the issue.
Step 1- At first, open Command Prompt and run it as an administrator.
Step 2- Next, copy and paste the prompt given below for running a SFC scan and select Enter.
sfc /scannow

Step 3- Again, to run the DISM tool scan, type the commands given below one by one and press Enter after each command:
Dism /Online /Cleanup-Image /ScanHealth

Dism /Online /Cleanup-Image /CheckHealth

Dism /Online /Cleanup-Image /RestoreHealth

Step 4- Lastly, after the completion of the scan, exit the Command Prompt and reboot the PC. This should solve the issue.
Fix 3: Repairing Windows File System
The users should also check if the disk which has the problem consists of any error using the steps given below.
Step 1- Open File Explorer.
Step 2- Next, right-click the disk for checking error and click Properties.
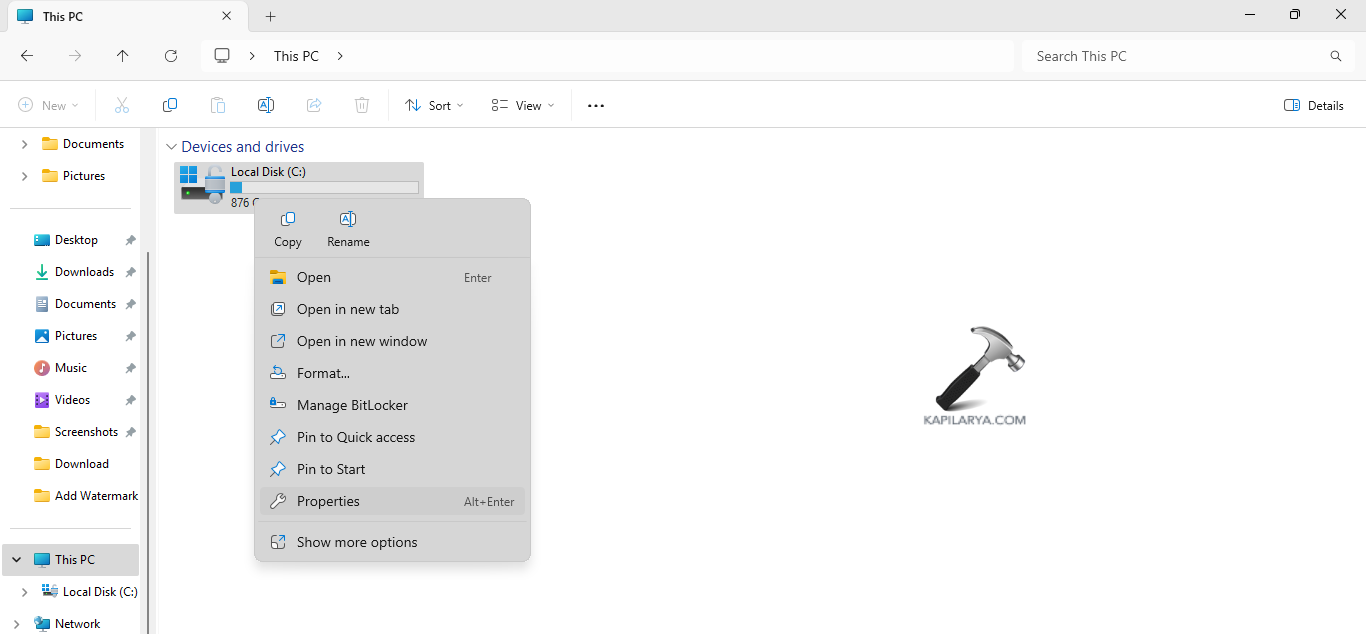
Step 3- Now, navigate to Tools > Error checking and select Check.

Step 4- Lastly, select Scan drive and wait for the process to be completed.
Fix 4: Performing Clean Boot
Performing a clean boot is another fix which the users can try when the above fixes are not working. To perform a clean boot, follow the steps given below-
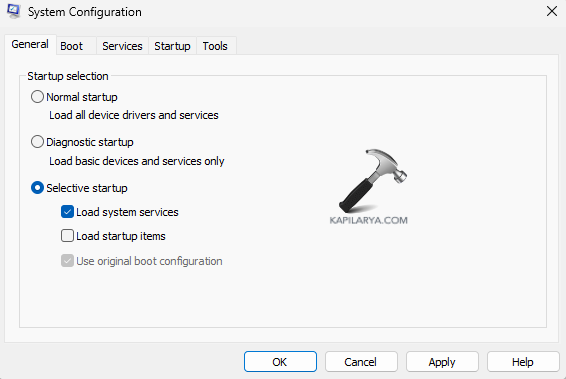
Step 1- At first, press Windows + R and open the run dialog box. Now, copy and paste the command given below and open System Configuration.
msconfig

Step 2- Now, go to General tab of the System Configuration windows and deselect Load startup items under Selective startup. Additionally, select Load system services and Use original boot configuration.
Step 3- Further, visit the Services tab and select Hide all Microsoft Services.
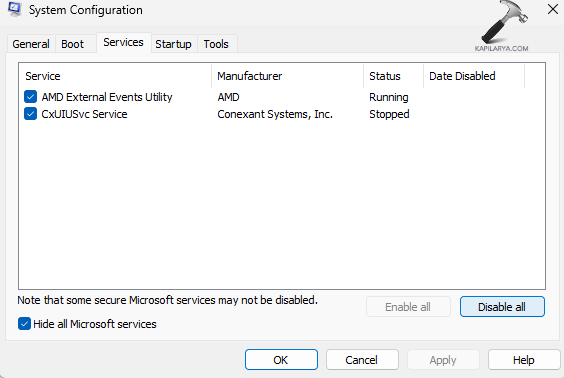
Step 4- Next, select Disable all and disable all Microsoft services.
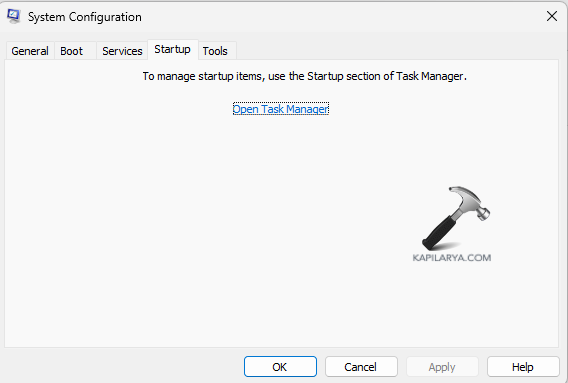
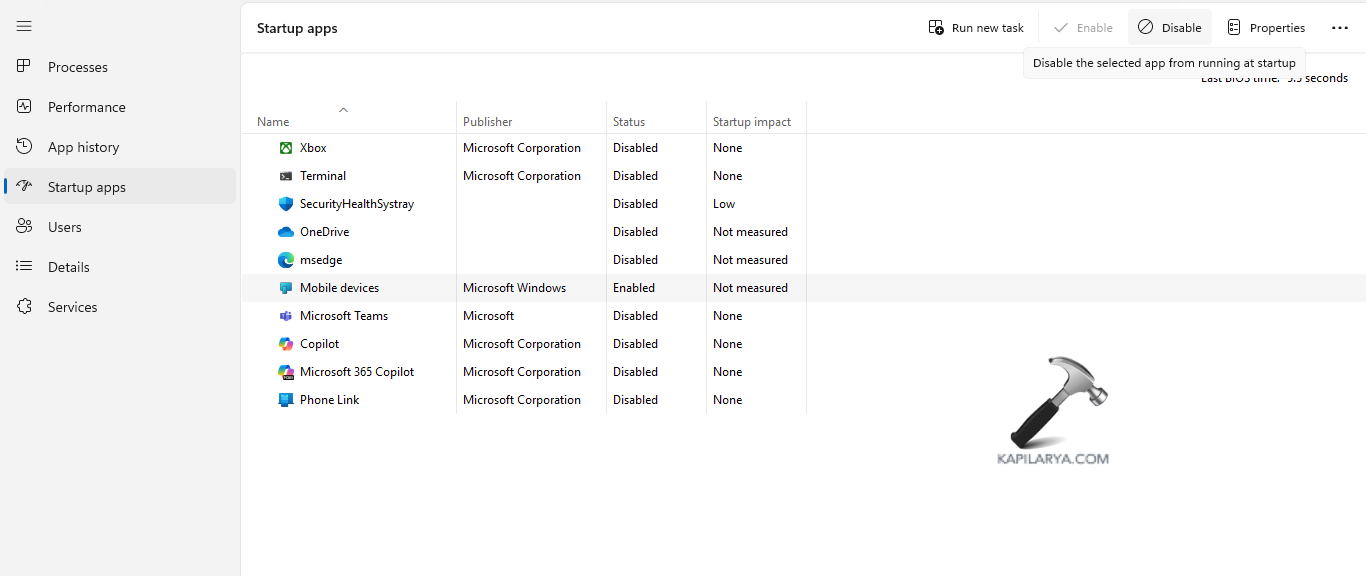
Step 5- Again, navigate to Startup > Task Manager > Startup apps. Thereafter, disable all the startup items.
Step 6- Lastly, select Apply > OK and save all the changes. Also, reboot the PC if necessary.
Fix 5: Enabling Windows Backup and Volume Shadow Copy
Disabled Windows Backup and Volume Shadow copy might be one the main reasons for the occurrence of this issue. For checking and enabling them, follow the instructions below.
Step 1- At first, write Win + R. This will open the Run dialog box. In the box, copy and paste the prompt below and press Enter. The Services window will open.
services.msc
Step 2- Now, search for Volume Shadow Copy and Windows Backup service. Check that both of them are enabled.
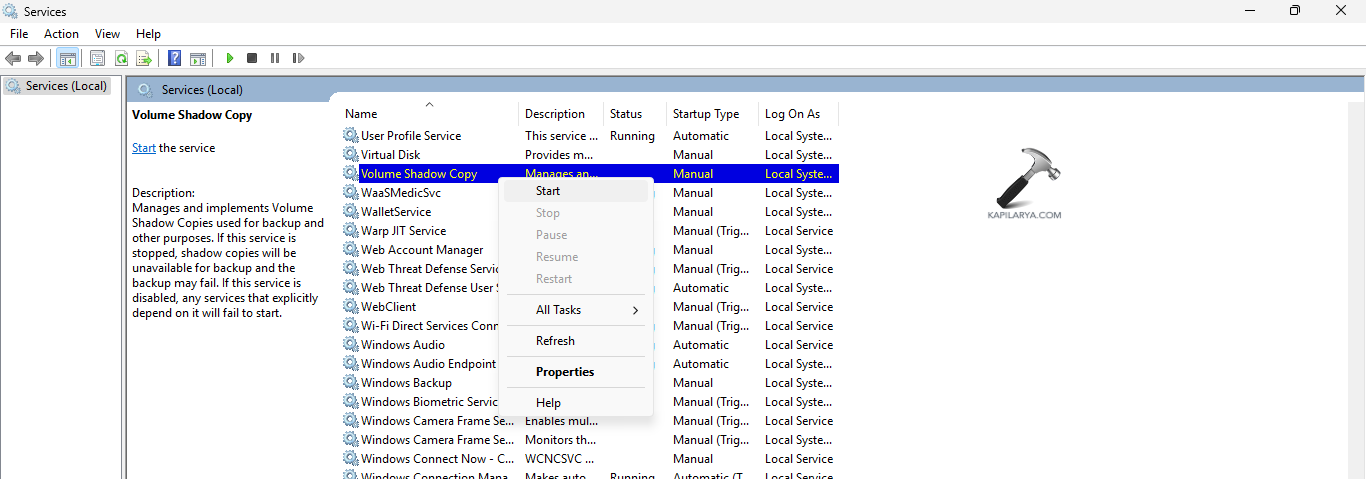
Step 3- If they are not enabled, right-click the service and select Start.
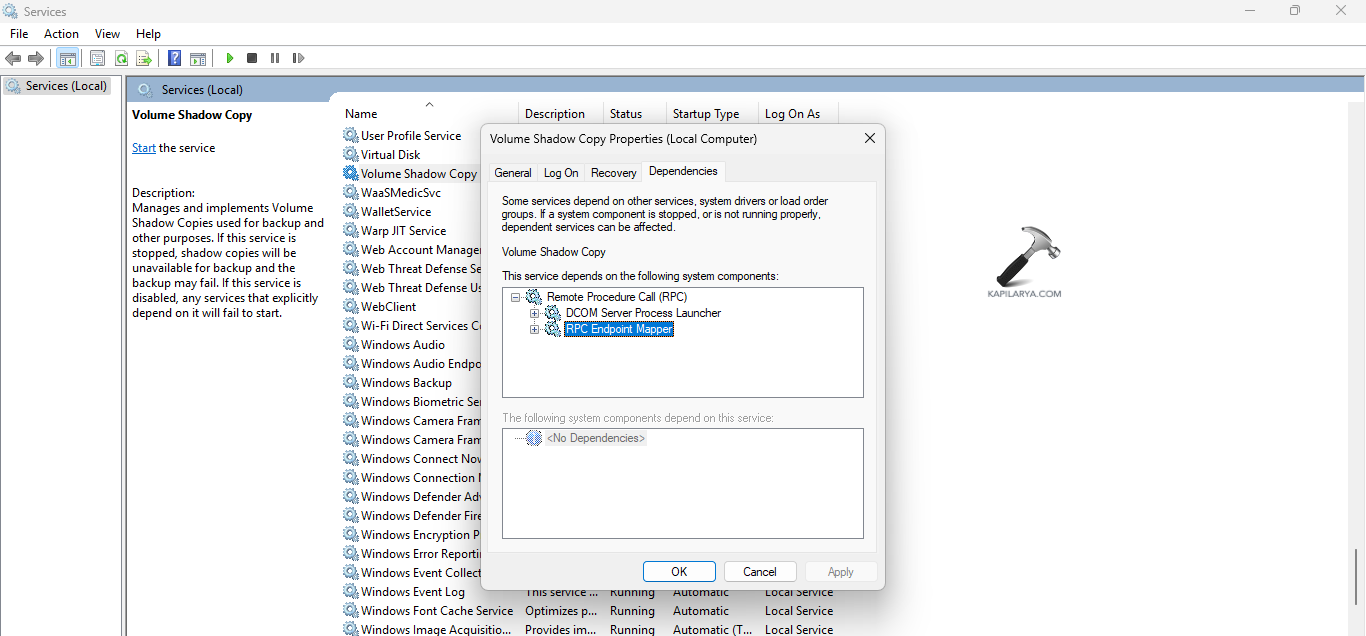
Step 4- Further, right-click the service and click Properties. Go to Dependencies tab and check that the dependency services are running actively.
Fix 6: Disabling Antivirus
Disabling antivirus and firewall temporarily can also aid in fixing the problem. The users can either disable one of them or both according to the needs. Follow the steps for doing the same.
For disabling Antivirus, follow the steps below-
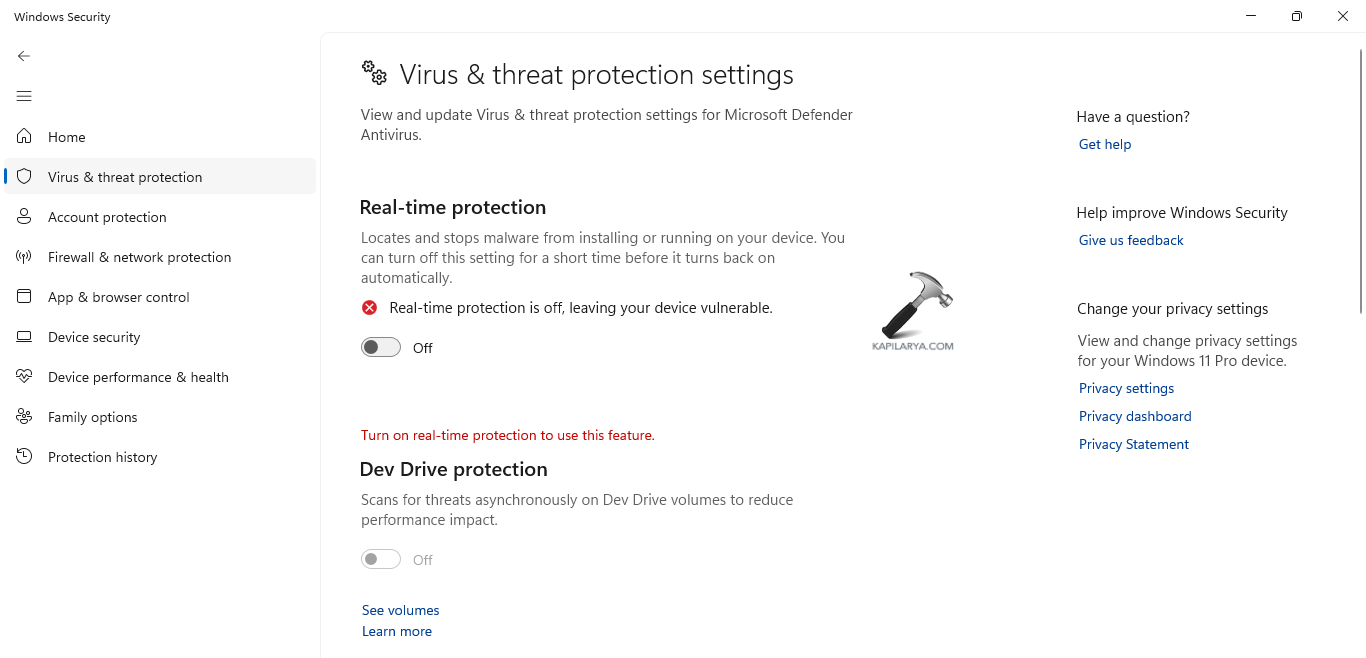
Step 1- Open Windows Security and go to Virus & threat protection.
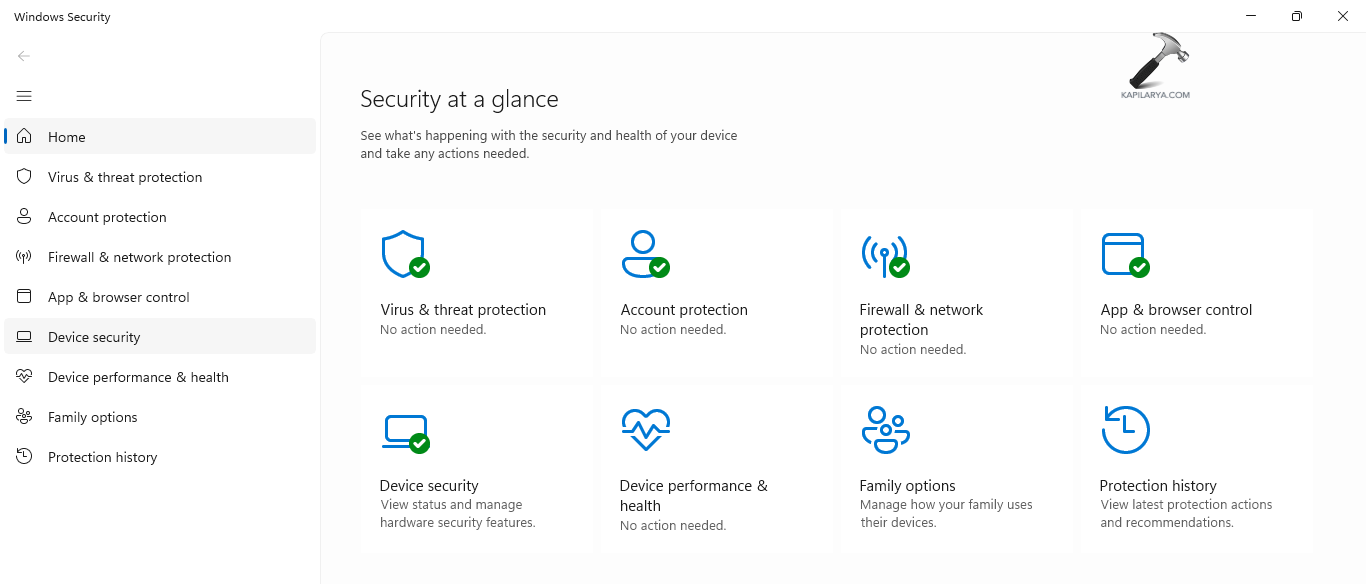
Step 2- Next, select Manage settings and disable Real-time protection.
Again, for disabling Firewall, follow the below instructions-
Step 1- Again, open Windows Security and go to Firewall & network protection.

Step 2- Further, choose the active network (Domain/Private/Public) and disable the Microsoft Defender Firewall.

Fix 7: Uninstalling Recently Installed Programs
Any of the recently installed applications might too act as a cause for the mentioned problem. Now, for solving that, follow the instructions below-
Step 1- Open Control Panel.
Step 2- Go to Programs and Features. Under, Installed On check the applications which were installed during the time when the error first occurred.

Step 3- Next, if any such program is found which might cause the issue right-click it and select Change. Uninstall those programs and restart the PC.
Hoping this helps!