
In order to check mails from the email account of type [email protected], you need to use IMAP or POP settings for mail clients. IMAP (Internet Message Access Protocol) and POP (Post Office Protocol) are the two standard email protocols used worldwide to fetch mails from remote server over an TCP/IP connection. Well, this is what theory says that if you want to fetch emails from your site’s server, you can use either of these protocols to do so.
On Windows, you can use software like Mozilla ThunderBird, Outlook (Microsoft Office) etc. to check mails from your IMAP or POP email accounts. But if you don’t want to use your computer to check these mails and if you’re looking forward to check these emails on your mobile phone or tablet, this article is for you. In this post, I’ll show, how you can easily get IMAP or POP emails with notifications on iPad and Windows Phone. Here is how:
Page Contents
How To Check IMAP Or POP Account Mails On iPad
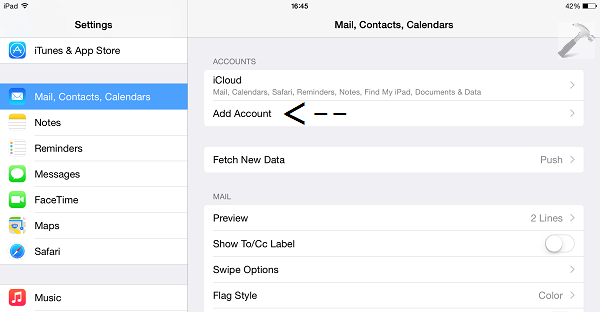
1. Open Settings app. In the left pane, navigate to Mail, Contacts, Calendars option and tap it. Now in the right pane, tap Add account option.
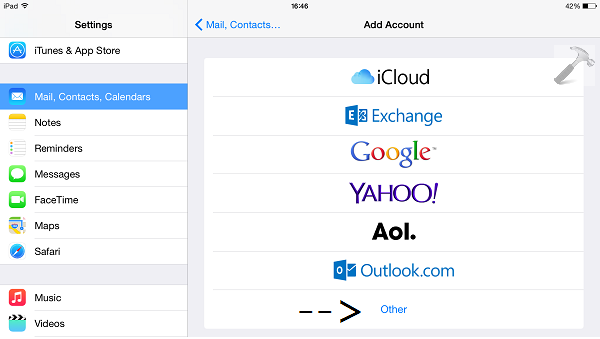
2. Moving on, tap the Other option from the list of email providers so appeared:
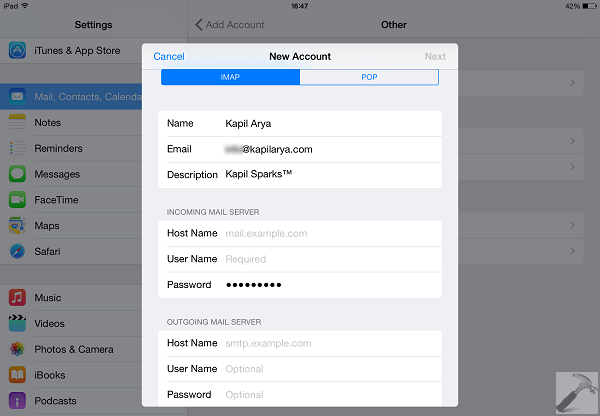
3. Next, tap the Add Mail Account option here:

4. Now in the New Account screen, you have to add the remote mail account details. You can get these details from your mail account provider and opt to SSL configuration for secure connection if available. When you’re done with filling required information, tap Next.
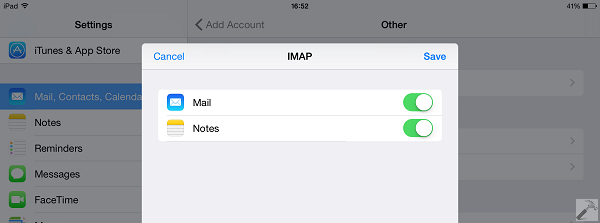
5. After tapping Next in previous step, your details will be verified and when verification is completed, you can choose whether you want to sync mails only or Notes too. Tap Save.
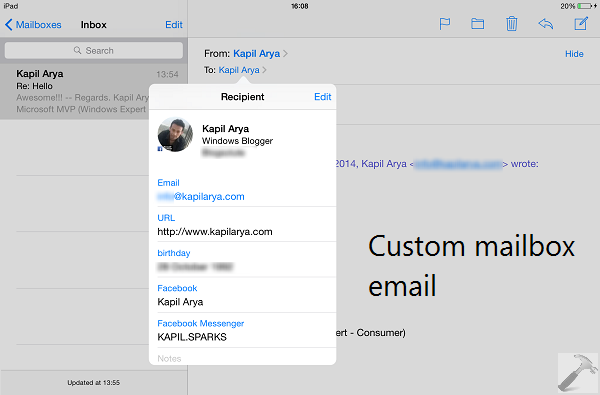
6. Finally, you can go to Mail app on your iPad and check for the mails from IMAP or POP email account, whichever you’ve added. You can even get notifications when new mail arrives.
That’s it!
Also checkout : Official Microsoft Outlook App Now Available For iPad
How To Check IMAP Or POP Account Mails On Windows Phone
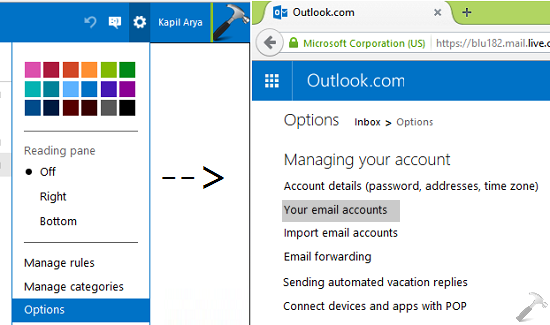
1. Go to Outlook.com and log in to Microsoft account that you’re using on your Windows Phone for mailing. Click on the gear or Settings icon and choose Options. In the Options screen, click Your email accounts.
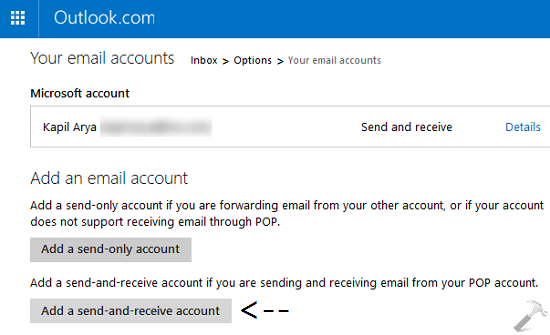
2. Next, click Add a send-and-receive account in the following screen:
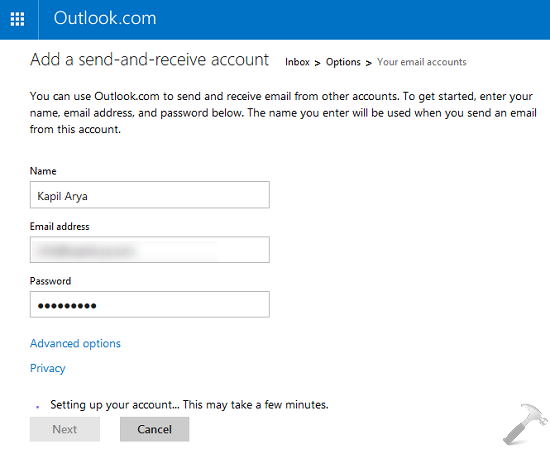
3. Moving on, enter the IMAP or POP based email account credentials and click Next. The good thing here is that you don’t need to enter server information, as Outlook.com automatically resolves it.
4. Once you’re account is verified, you can create a new folder to get your custom email account mails into it.
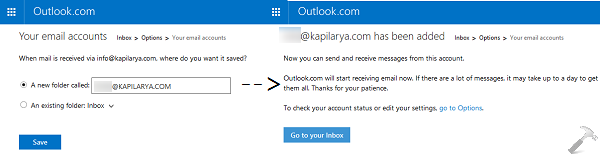
5. Now go to your Microsoft account Inbox, in the left pane, you’ll find the custom email account folder you’ve just added. Now access the same Microsoft account in Windows Phone Mail app and thus you’ve got IMAP or POP mail account inbox on your mobile.
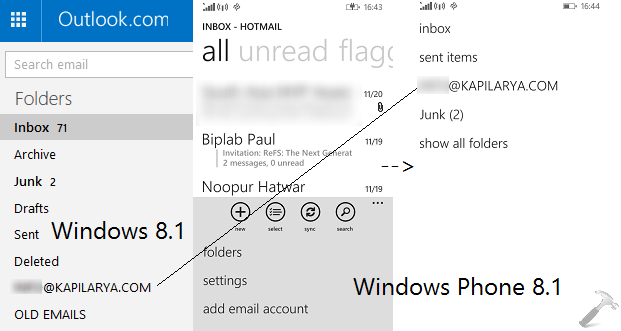
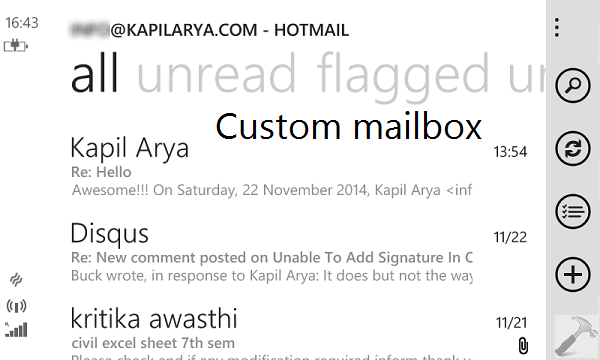
6. You can even pin this custom email folder to Start Screen for instant access and notifications:
Hope you’ll find this guide useful!


Very gud tutorial kapil.. Helpful n informative. Thanks!
^^ Glad you liked it :)