As per Microsoft, in Windows Server, IP Address Management (IPAM) supports DNS Management for domain-joined AD integrated and file-backed DNS servers. IPAM also covers the DNS resource records for your server. When a resource record is outdated, it is considered as ‘stale’ in terminology of DNS records.
A record considered as stale can be identified with ‘aging’. Aging basically uses No-refresh Interval and Refresh Interval to determine stale records. So far, if both of these intervals are 7 days, then we’ll assume a DNS record as stale if it is not refreshed for 14 days. We’ve just added No-refresh Interval and Refresh Interval to come to arrive ‘stale’ status. In case if the resource is refreshed in either of these intervals, a No-refresh Interval will start from that stage and record will not be considered stale. Aging uses resource timestamp to declare if a record is stale or not.
Now the term DNS Scavenging comes which is the process of removing stale records identified by aging. Remember, a stale record can only be removed if DNS Scavenging is enabled on resource record, the DNS zone where resource record exists or its primary copy DNS.
In this guide, we’ll see how you can configure DNS Scavenging in your Windows Server.
How To Configure DNS Scavenging In Windows Server 2019
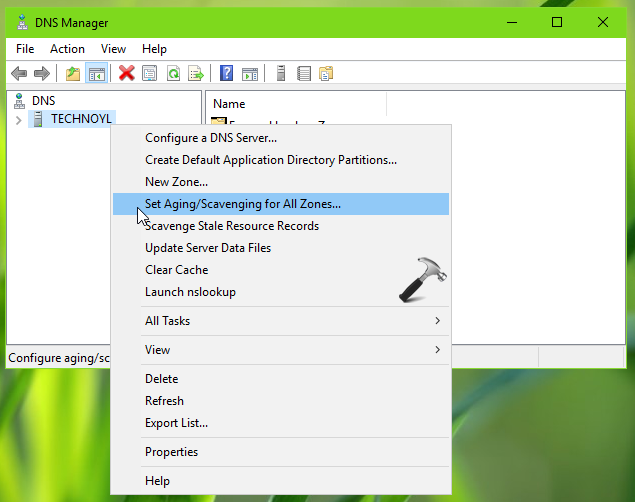
1. Open DNS Manager snap-in by running dnsmgmt.msc command.

2. In the DNS Manager window, right click on your server and choose Set Aging/Scavenging for All Zones option.
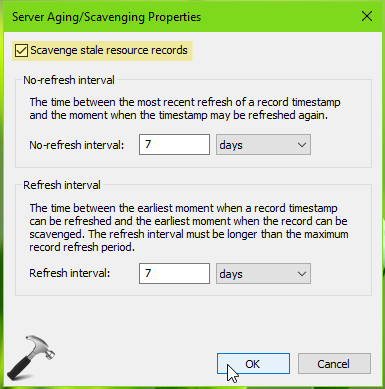
3. On the property sheet, check Scavenge stale resource records option. Then set the No-refresh Interval and Refresh Interval periods and click OK.
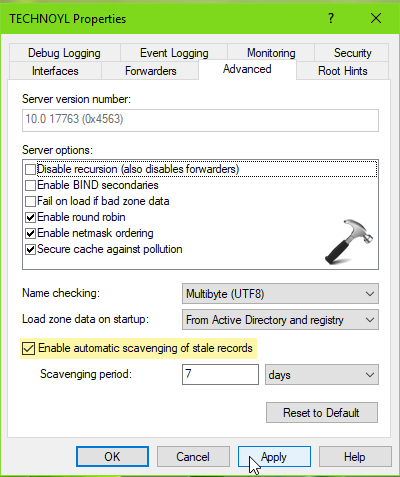
4. Then back in DNS Manager, right click on your server and select Properties.

5. On the property sheet, switch to Advanced tab. Check the Enable automatic scavenging of stale records option. Then define the Scavenging period and click Apply, OK.
So far, we configured the DNS Scavenging on the server. Kindly note that Scavenging period will reset if the DNS service restart. If you’re interested in further details on this, kindly refer this Technet wiki article.
That’s it!