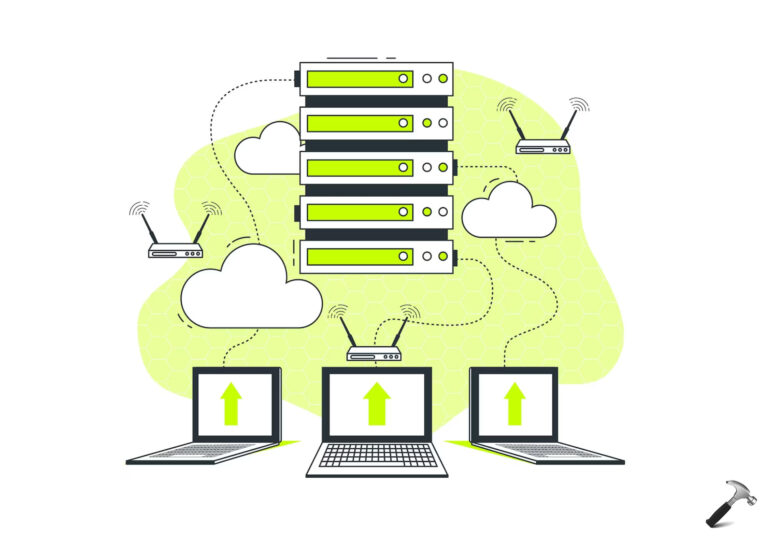
Web Proxy Auto-Discovery (WPAD) offers organizations a way to automatically configure a proxy server on your system. Organizations can put WPAD config file in a standard manner which if detected by your system having WPAD enabled, your machine will be automatically align to settings prescribed in WPAD auto-config file. By this way, you don’t need to manually setup things as your organization can do that for you.
Page Contents
Web Proxy Auto-Discovery In Windows 10
In Windows 10, as of this writing, WPAD setting is enabled by default. However, sometimes WPAD can create issues while you connect to malicious public wireless network. We’ll discuss those issues in this article.
Basically, when you connect to a HTTPS site private network, all the information exchanged between you and the site, are transmitted securely. If someone on network is looking around furtively in an attempt to find out something about you in this exchange, they’ll only see the HTTPS site name. They will not be able to retrieve full address which could contain sensitive information about your session.
While if you’re connecting same site using a proxy server, your machine will tell the server about full address you’re accessing. So the sensitive information such as private token for your session will be known to server. The attacker in the middle can capture this information and also could make you land to fake login page to get your credentials. Hence, it is often recommended to not use public wireless network while accessing sites that exchange potentially secure information about you. A banking website is perfect example for this.
How To Disable Web Proxy Auto-Discovery In Windows 10
If you’re often using public wireless networks, it is recommend that you disable Web Proxy Auto-Discovery. You can try these steps to disable it.
1. Right click Start Button or press  + X keys and select Settings.
2. In the Settings app, navigate to Network & Internet > Proxy.
3. In the right pane of Proxy, turn Off the Automatically detect settings option.
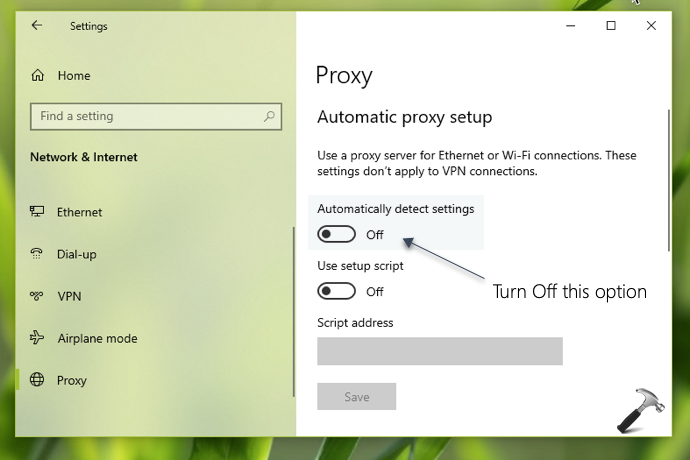
4. Your configured setting should be applied immediately. Close Settings app and return to Desktop, if you like.
That’s it!
Related: Reset Network Connections in Windows 10.