
In Windows 11, Microsoft Defender antivirus blocks PUA files. Also, it restricts them from downloading, installing, moving or running on your system. PUA or Potentially unwanted apps are not malware. However, such files might use your system for cryptomining, for displaying advertisements or other things you may not prefer. These files can also make your system run slow, display unexpected advertisements or install annoying or even harmful software. So, how to enable/disable Microsoft Defender PUA Protection in Windows 11.
In this post, learn different ways to turn on or off Microsoft Defender PUA Protection.
Page Contents
Enable/disable Microsoft Defender PUA Protection in Windows 11
Method 1 – Using Microsoft Edge
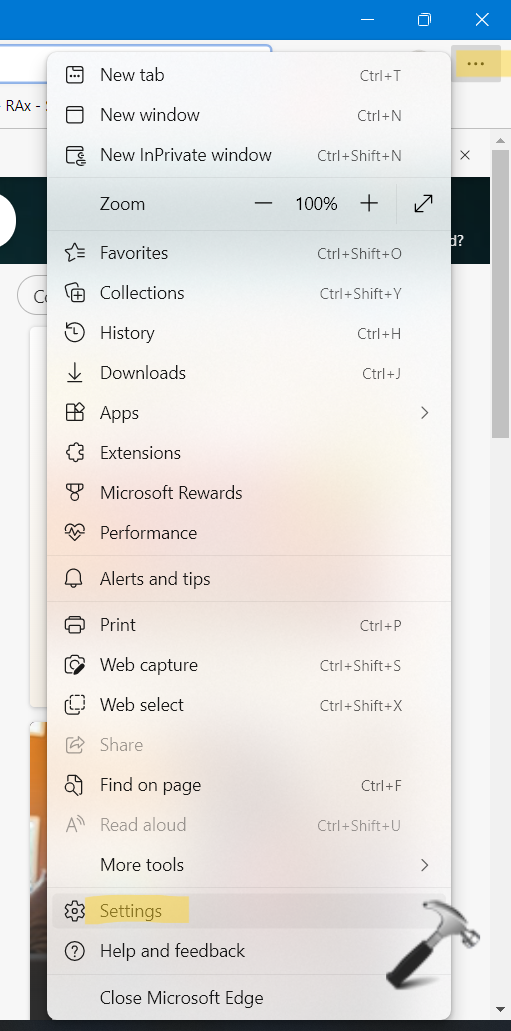
1. Open Microsoft Edge and click on the three dots menu (Settings and more) icon. After that, click on Settings.
2. Next, click on Privacy, search and services present on the left side. Under the Security tab, turn on Block potentially unwanted apps to enable PUA Protection.
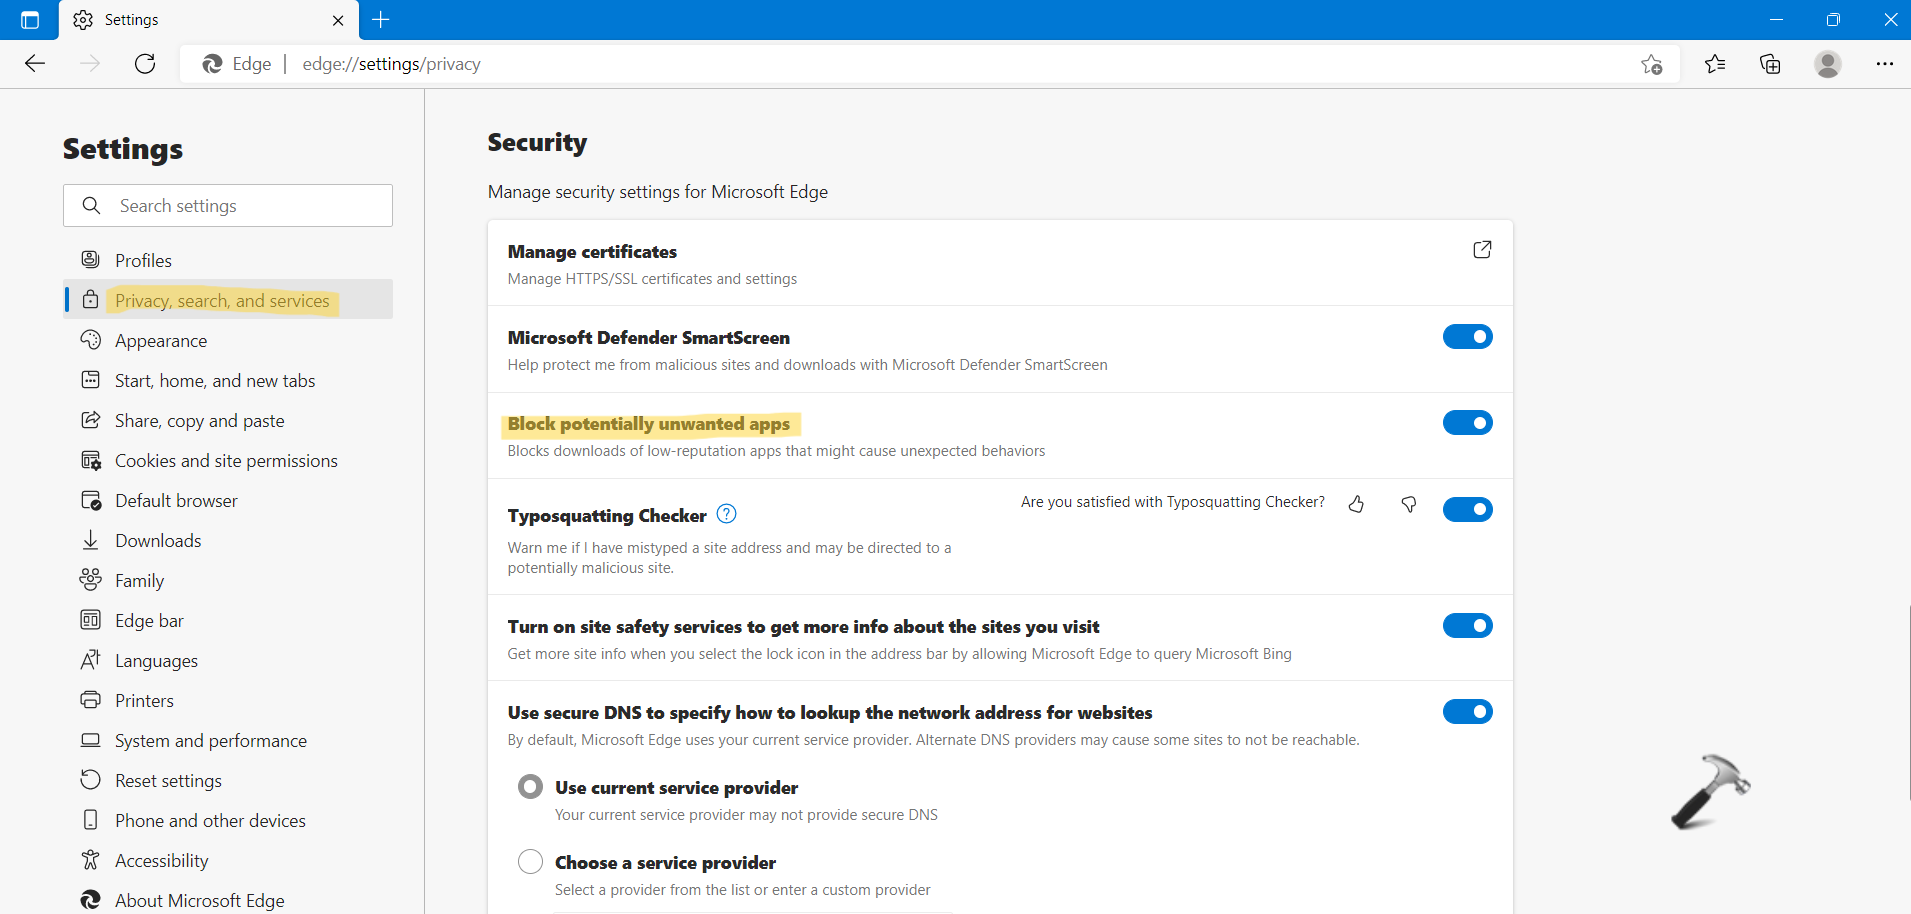
3. Or else, disable this feature by turning off Block potentially unwanted apps.
4. Close Microsoft Edge.
Method 2 – Using Windows Security
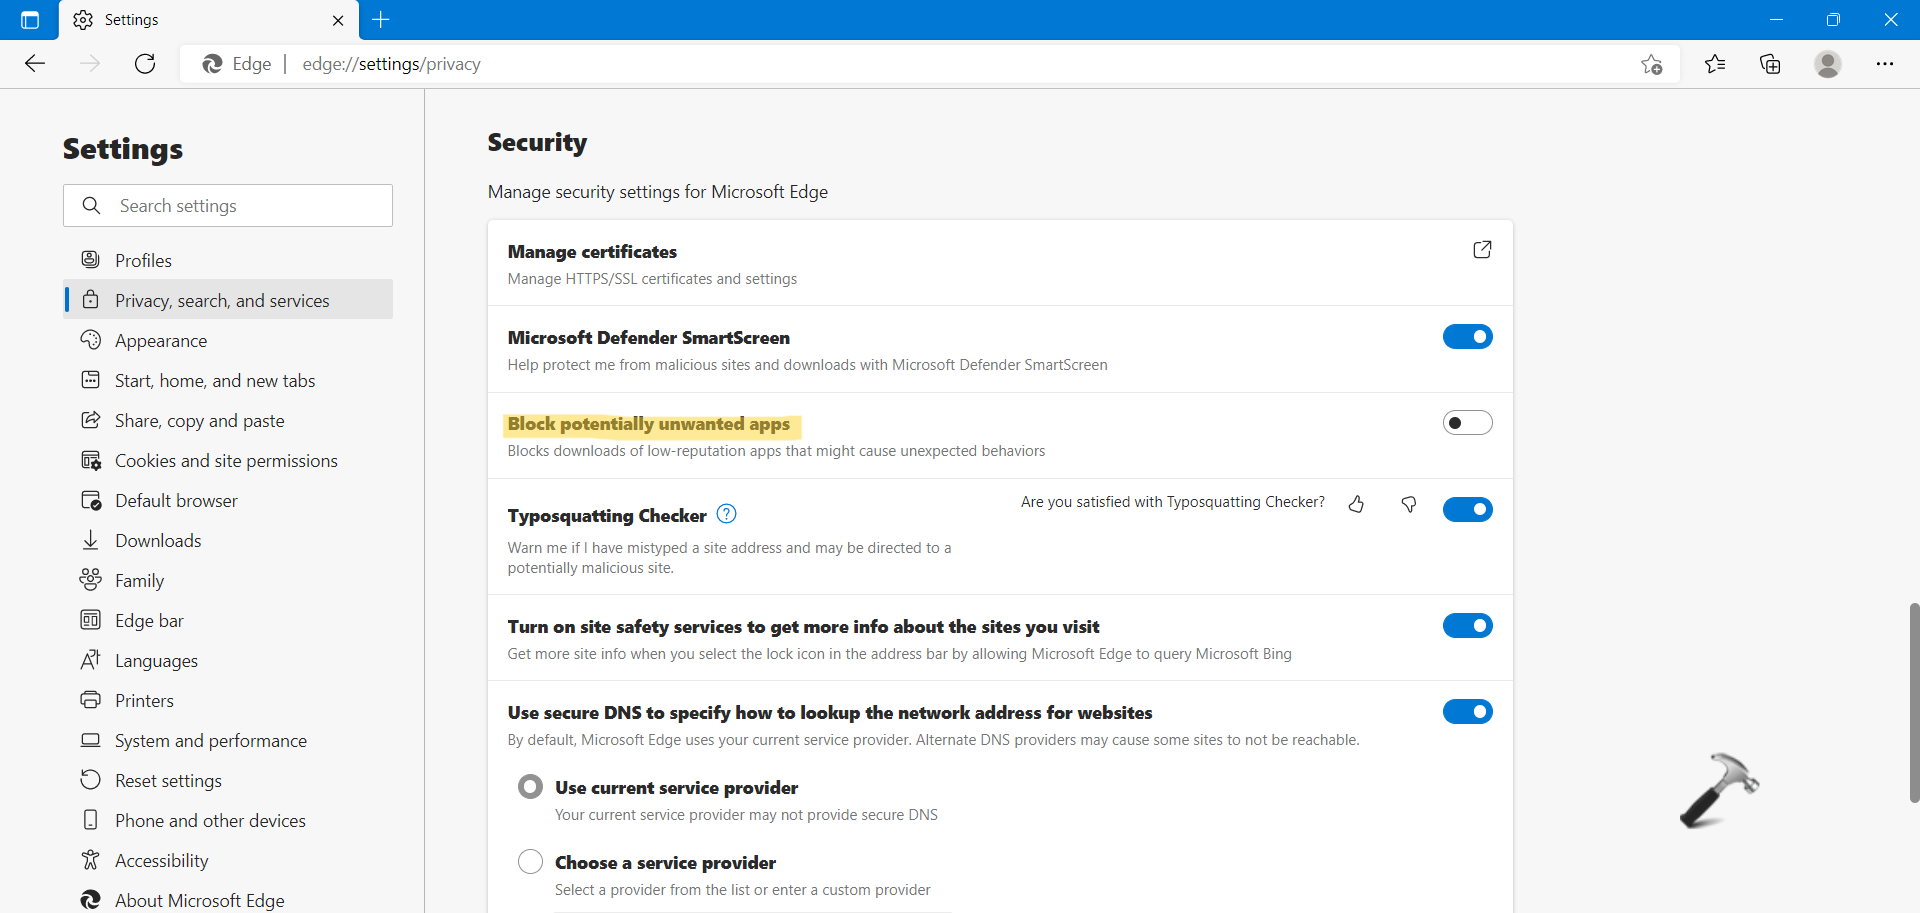
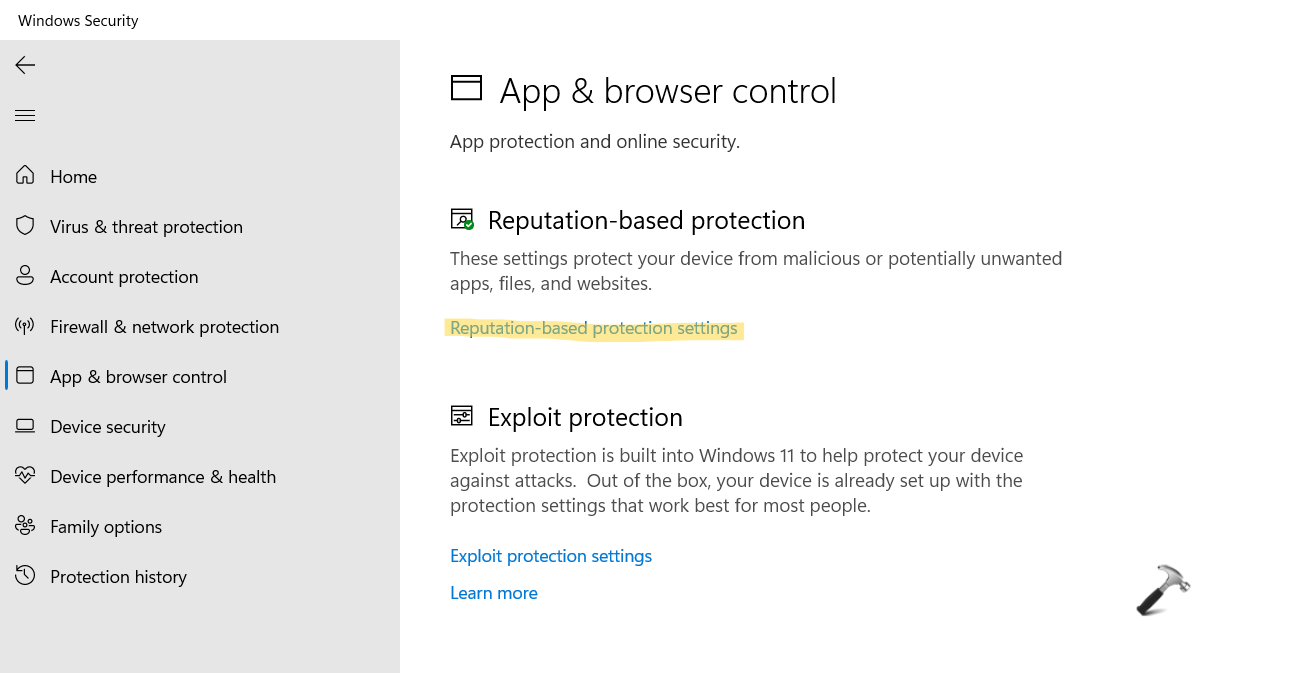
1. Open Windows Security and go to App & browser control.
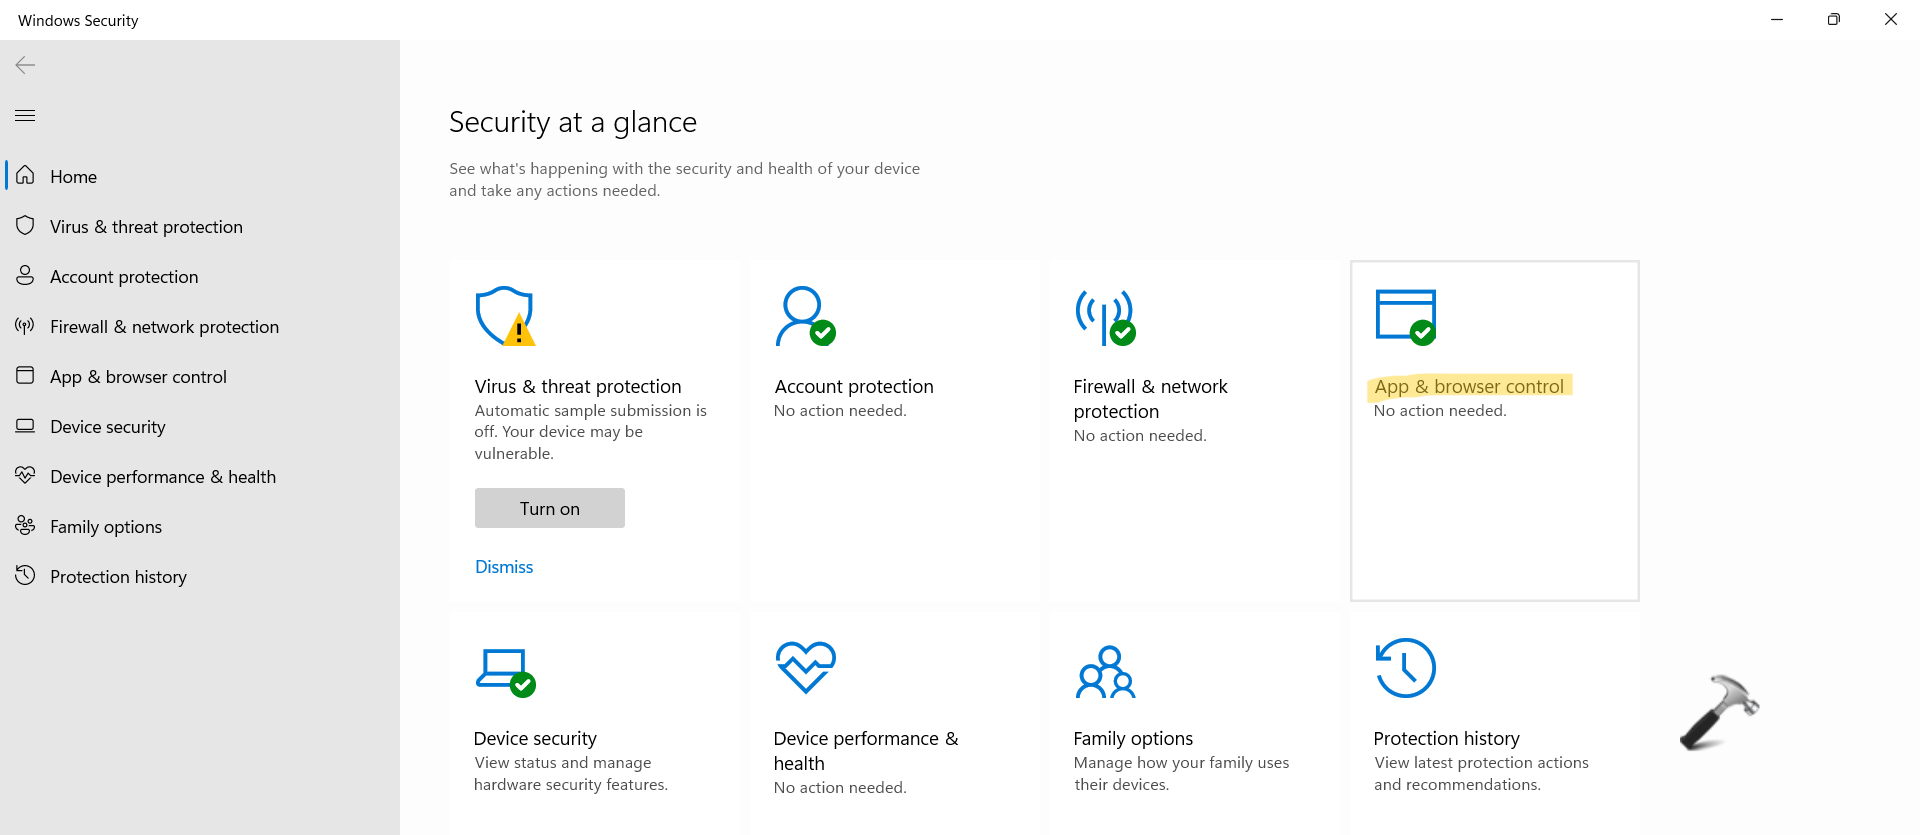
2. After that, click on Reputation-based protection settings.
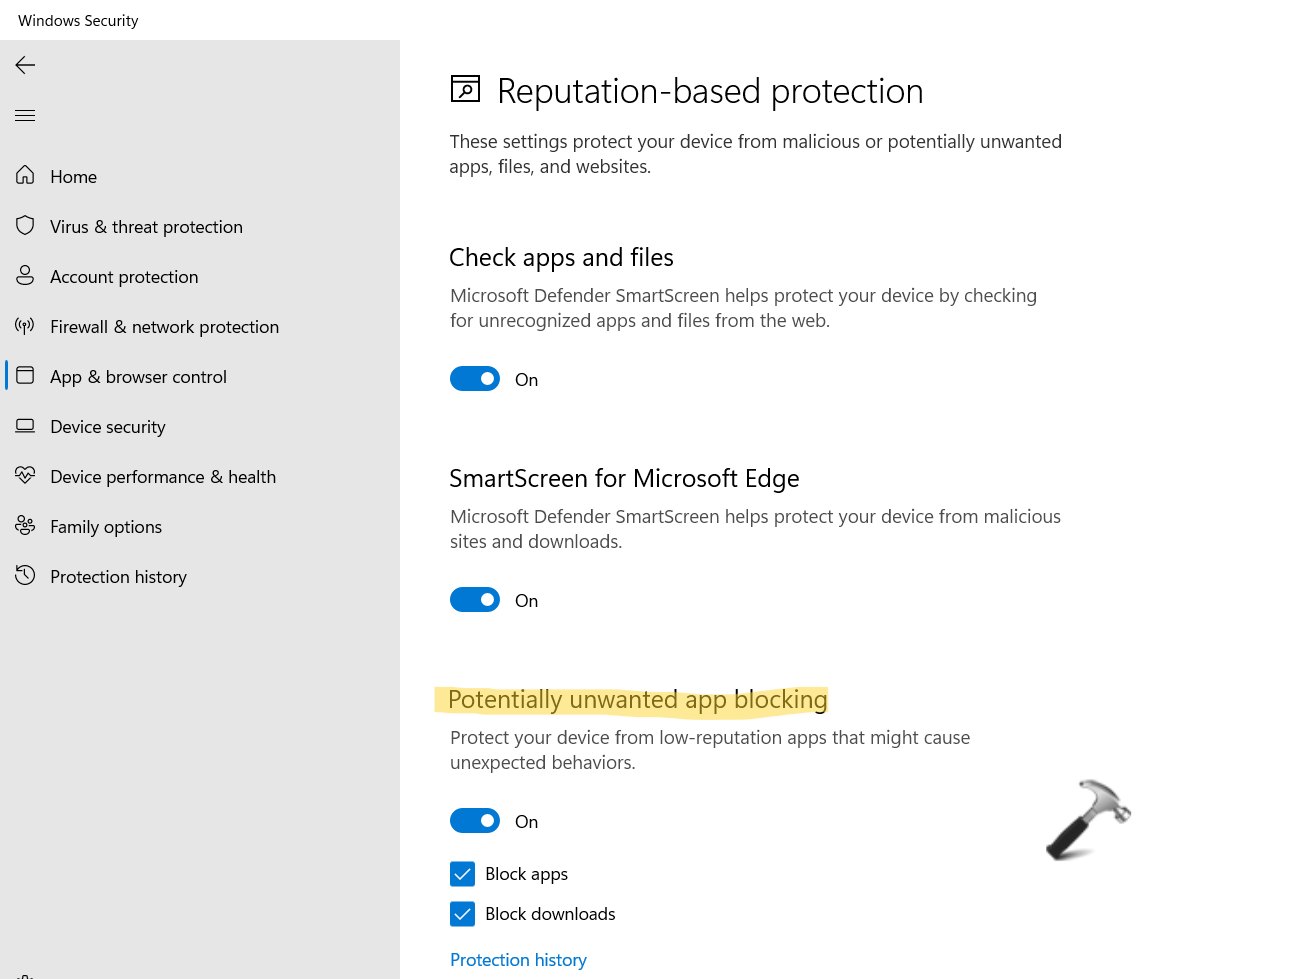
3. Now, turn on Potentially unwanted app blocking. Also, turn on Block apps as well as Block downloads.
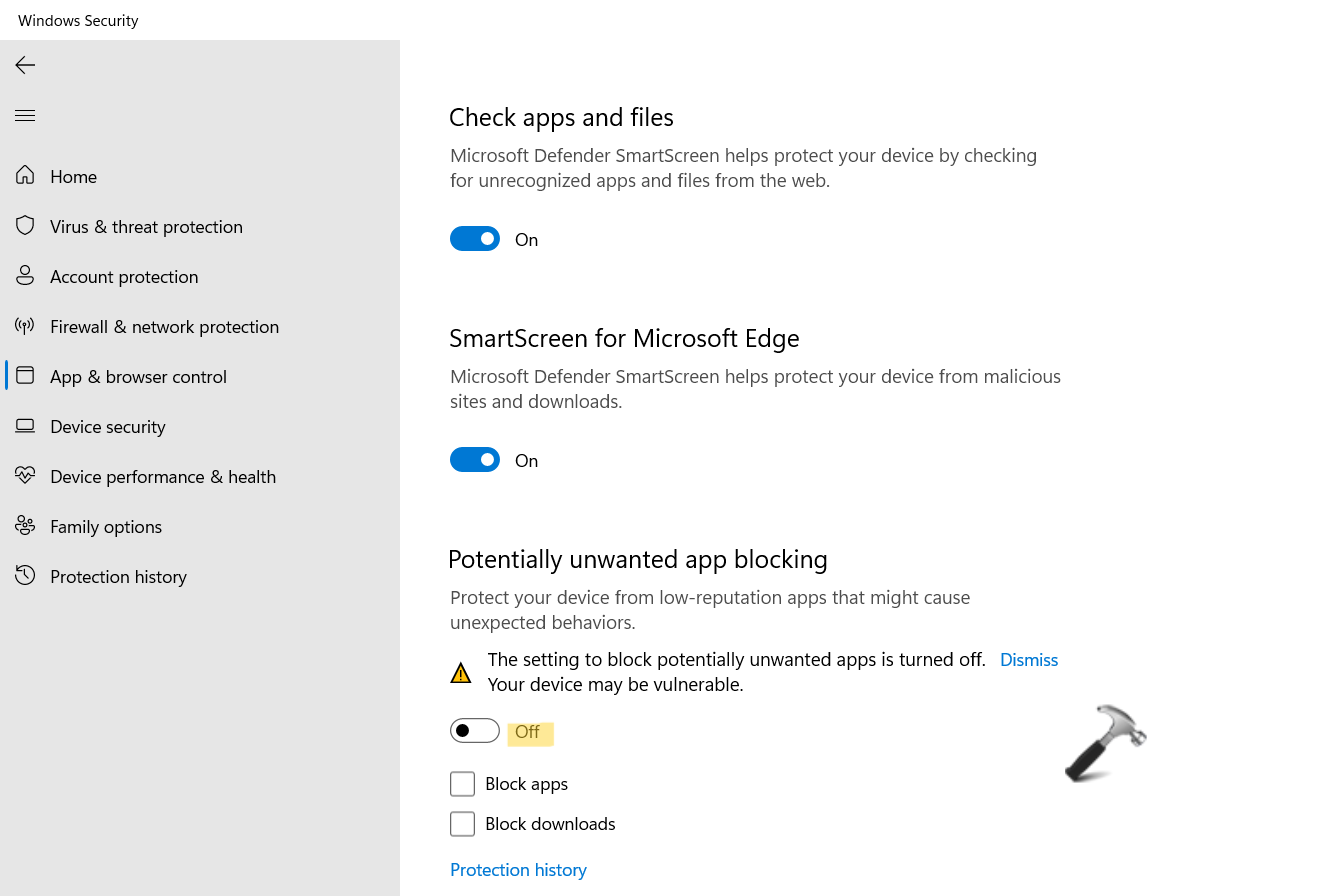
Or else, disable the feature by turning it off.
4. Close Windows Security.
Method 3 – Using Windows PowerShell
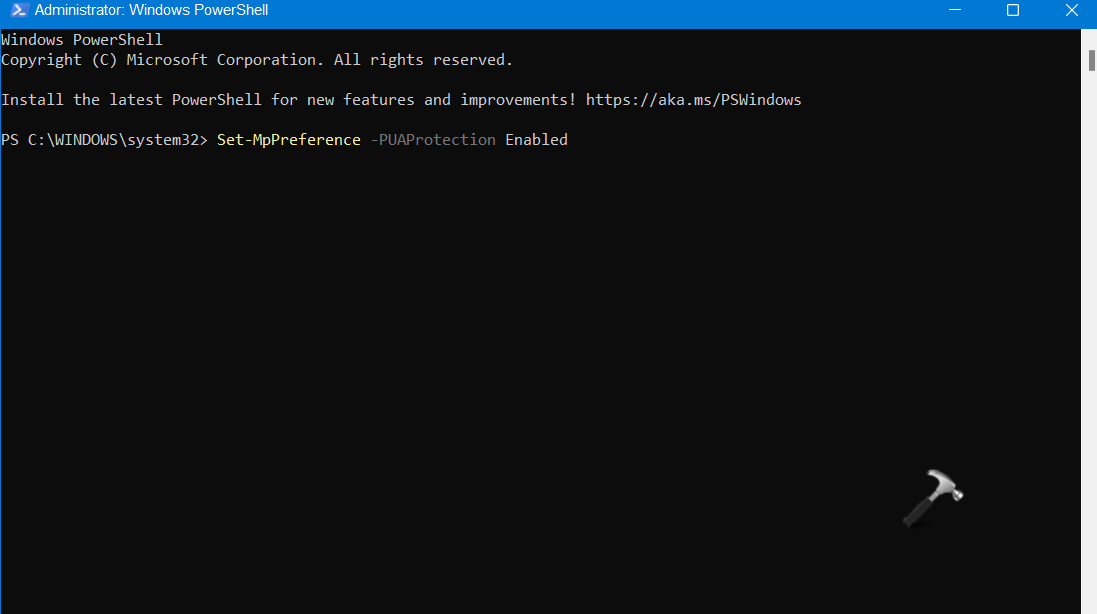
1. Open the elevated Windows PowerShell.
2. To enable PUA Protection, execute the following command:
Set-MpPreference -PUAProtection Enabled
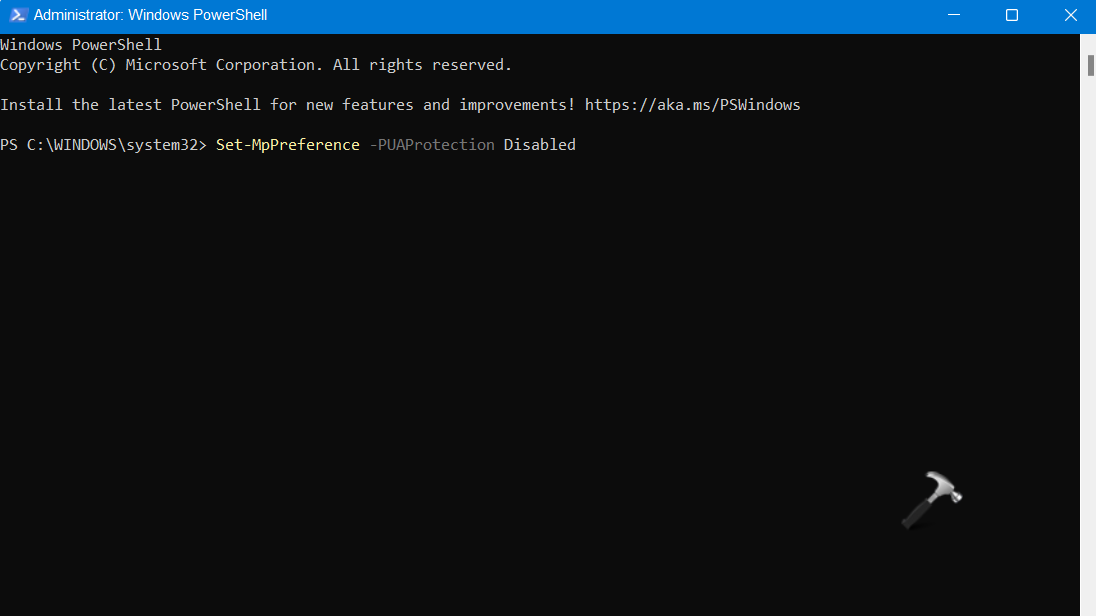
3. To disable PUA Protection, execute the following command:
Set-MpPreference -PUAProtection Disabled
4. Close Windows PowerShell
Method 4 – Using the Registry Editor
1. In the first place, you need to open the Run dialog box. For this, press the Windows + R keys simultaneously on your keyboard. Once opened, type regedit in the Run dialog box to open Registry Editor.
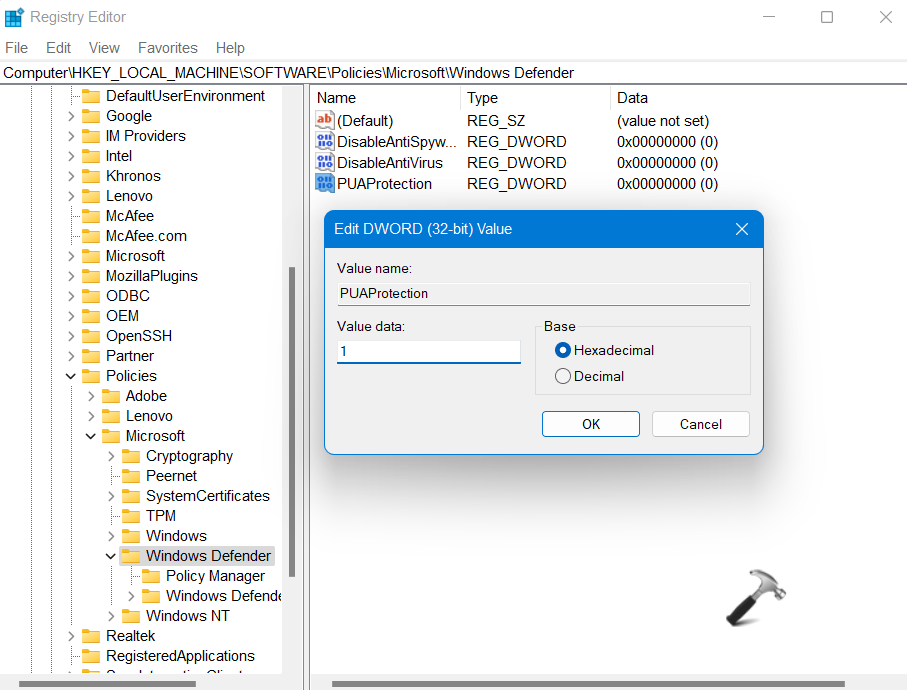
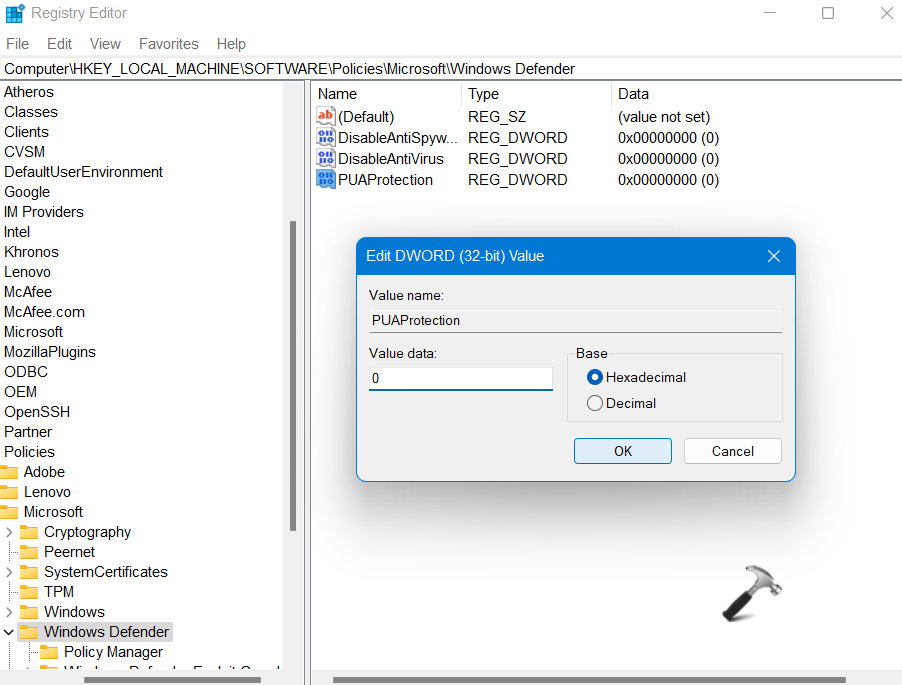
2. After that, navigate to the following location:
HKEY_LOCAL_MACHINE\SOFTWARE\Policies\Microsoft\Windows Defender
3. Once there, double-click on the PUAProtection REG_DWORD and change its value data to 1 to enable Microsoft Defender PUA Protection.
4. To disable this feature, double-click on the PUAProtection REG_DWORD and change its value data to 0.
5. Lastly, close Registry Editor.
So, these are some of the different methods to enable/disable Microsoft Defender PUA Protection in Windows 11.
Related: How To Configure Tamper Protection In Windows Security For Windows 10.


