When you are working on Windows, there are some processes always running in the background. These background processes are helpful to run programs and applications you are working on. When these processes uses little amount of system resources such as CPU, memory, disk etc., you don’t need to worry about them. However, when these processes uses high amount of system resources, you will have to fix it to safeguard your machine. In this article, we will learn how to fix System interrupts high CPU usage in Windows 10.
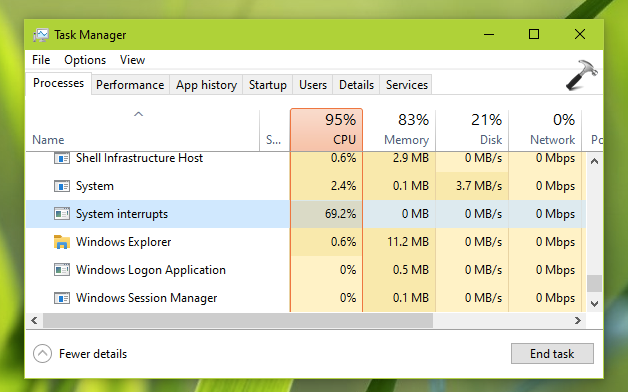
Before moving on to actual solution, you might be wondering what is actually System interrupts? And why it is using high CPU as a resource? So first, I’ll answer these questions and then we will discuss the solution. Well, the System interrupts is a system process manages coordination between hardware and software. When you are working on a hardware, usually the hardware can monitor the entire process. But whenever it detects that there is need of another term of hardware, then it sends an interrupts signal to CPU. The CPU get this alert and it suspends whatever process it is working on after saving it and then reacts to the interrupt signal. This is actually a normal part of communication between hardware and software. However, when you are observing high CPU usage with system interrupts, there is something wrong in this coordination and you need to fix it.
So here is what you can try to resolve high CPU usage with system interrupts.
Fix: System interrupts high CPU usage in Windows 10
1. As soon as you detect the problem, shut down your system and restart it. In most of the cases, this should automatically fix the issue.
2. Sometimes an outdated driver may be the cause for this problem. So try reinstalling the driver. Right click on the driver on Device Manager and select Uninstall. Then click Action > Scan for hardware changes.
3. You can also try updating the driver to latest version. If you are already on the latest version of the driver, tried to roll back it to previous version.
4. If you have external devices attached to the system, temporarily unplug them and see if this resolves the problem
5. Perform clean boot.
I believe something from the above should help you to get this fixed.
Hope this helps!