
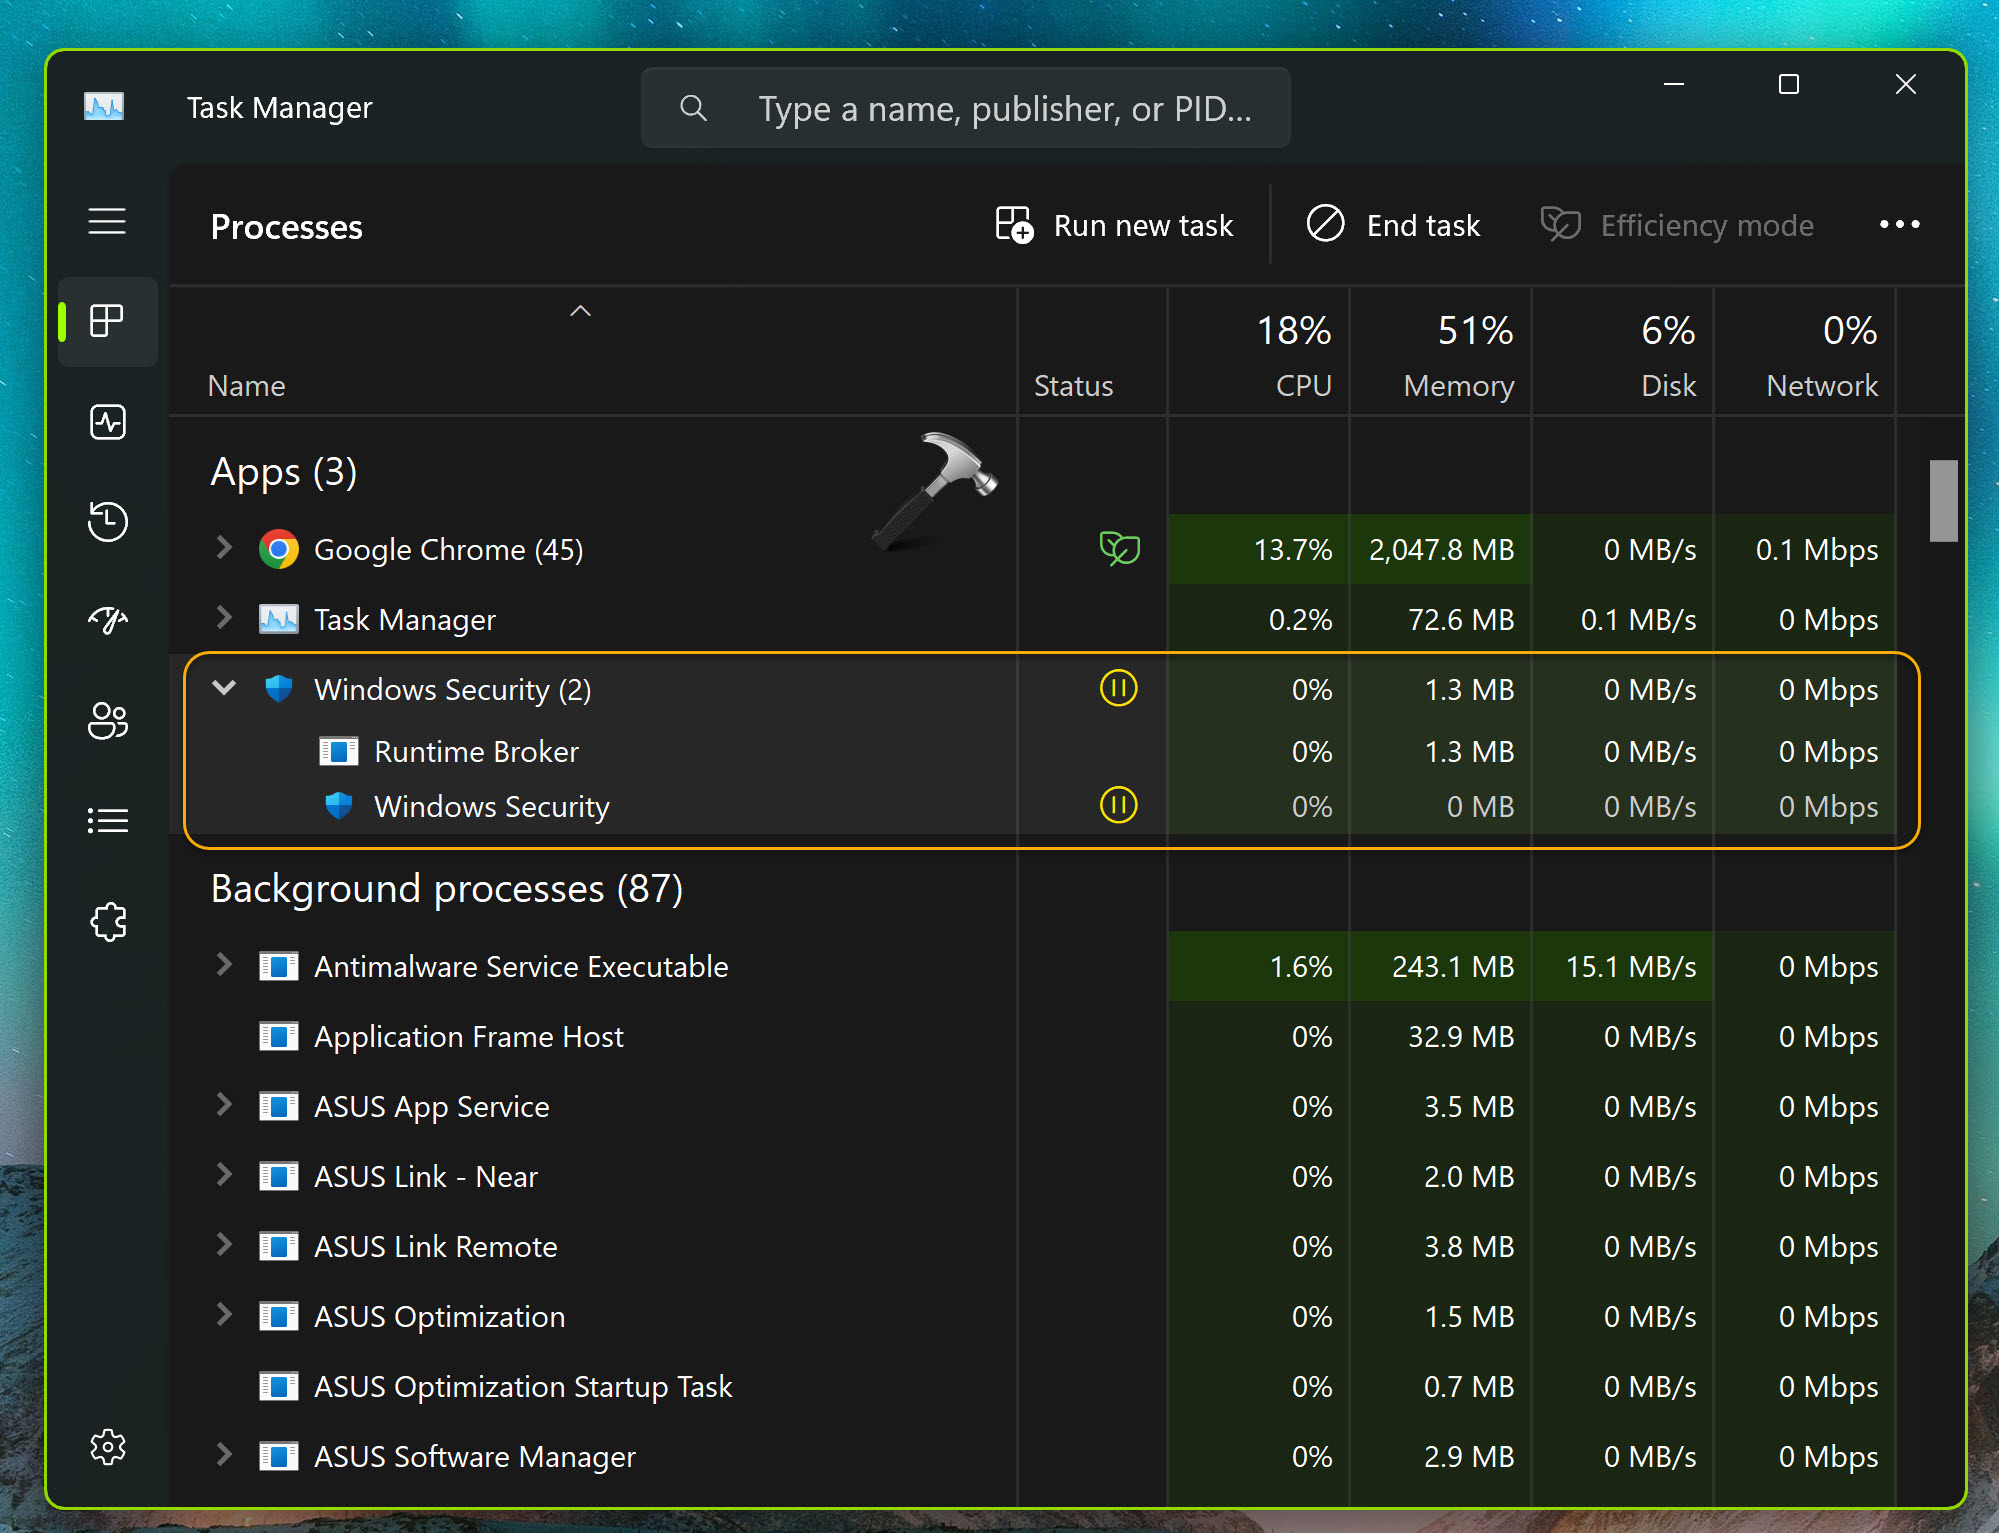
When you scan your Windows 11/10 using Windows Defender or Windows Security, by default, a maximum of 50% of the CPU is utilized. However, if you’re seeing a more of your CPU utilization, you can limit it using selective settings.
In this article, we’ll show you the methods to limit maximum CPU utilization during a Windows Defender scan. If you’re an IT admin, you can easily use these methods in your organization and deploy same settings to different client machines.
Page Contents
Limit CPU usage during Defender scan in Windows 11
Method 1: Using Windows PowerShell
1. Right click Start Button or press  + X keys and select Windows PowerShell (Admin).
2. In administrative Windows PowerShell window, paste following and press Enter key:
Get-MpPreference | select ScanAvgCPULoadFactor

3. Previous command will show the default set value ScanAvgCPULoadFactor, which is actually the load on CPU during a scan. It’s default value is 50%. To set it to your desired value, type following command by substituting XX with value between 05 to 100 and press Enter.
Set-MpPreference -ScanAvgCPULoadFactor XX
For example, to set CPU utilization to 30% during a Windows Defender scan, I’d execute Set-MpPreference -ScanAvgCPULoadFactor 30 command.
4. Once command executed successfully, your setting are in effect. Close Windows PowerShell.
Method 2: Using Group Policy
1. Press Windows + R and put gpedit.msc in Run dialog box to open GPO snap-in. Click OK.
2. Next, in the GPO snap-in window, navigate here:
Computer Configuration > Administrative Templates > Windows Components > Microsoft Defender Antivirus > Scan
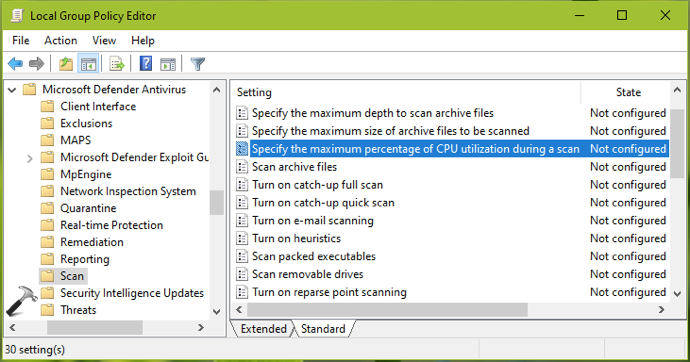
3. In the right pane of Scan folder, find out the policy setting named Specify the maximum percentage of CPU utilization during a scan. Double click on it to modify its status:
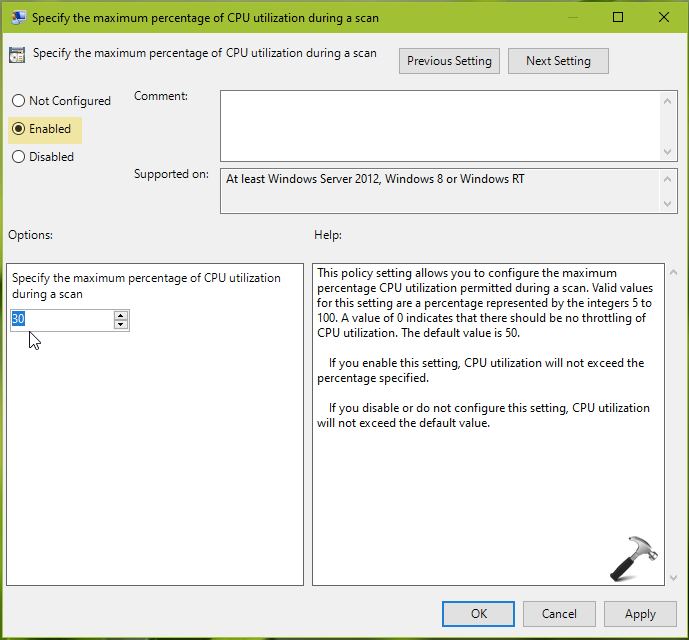
4. Set the policy status to Enabled. Under Options, set the percentage value for CPU utilization during a scan. This value can be between 5 to 100. Click Apply, OK then.
5. Close Group Policy and refresh GP engine by either rebooting or running gpupdate /force command. Your configured settings should be in effect now.
That’s it!


Aha! There is a policy to limit Defender CPU usage.
Well- that tells you all you need to know. It tells you that the software was developed without any thought to how it could grind a machine to a halt, and that to help manage the crappy implementation after-the-fact they added some esoteric configuration to enable you to limit CPU usage. And then, of course, they didn’t do the obvious follow-on which would be to set a DEFAULT VALUE which would cap the thing by default. Also missing- they could have set processor or thread affinity so that it didn’t take ALL the PC resources.
So here I am, with many other people, poking around the web trying to figure out how to get Defender to not consume the processor. And here we are- seeing that the way to do it is some after-the-fact hack that they threw together because of how they wrote the thing to begin with.
I have enough of a background in systems and software that I have no doubt this is how it ended up this way. Anyone who knows any different… Feel free to chime in.
Hi,
This isn’t a hard limit. Even with setting that it will still go over the limit at times.