We have previously seen how to map a network drive on your Windows 11. Now, if you are not able to map the network drive following the instructions in that guide, this article is for you. Recently, someone reached to me in the forums with following issue. He received ‘The mapped network drive could not be created‘ error while mapping a network drive in Windows 11. If you’re also receiving the same error, let us see how you can fix this problem.

The mapped network drive could not be created because of following reasons:
- Access denied — a very common error.
- We Can’t Sign You With This Credential Because Your Domain Isn’t Available.
- Because of duplicate name already exists on network.
- Specified network resource or device is no longer available.
- A device attached to the system is not functioning.
- Organization security policies block unauthenticated guest access.
Fix: The mapped network drive could not be created
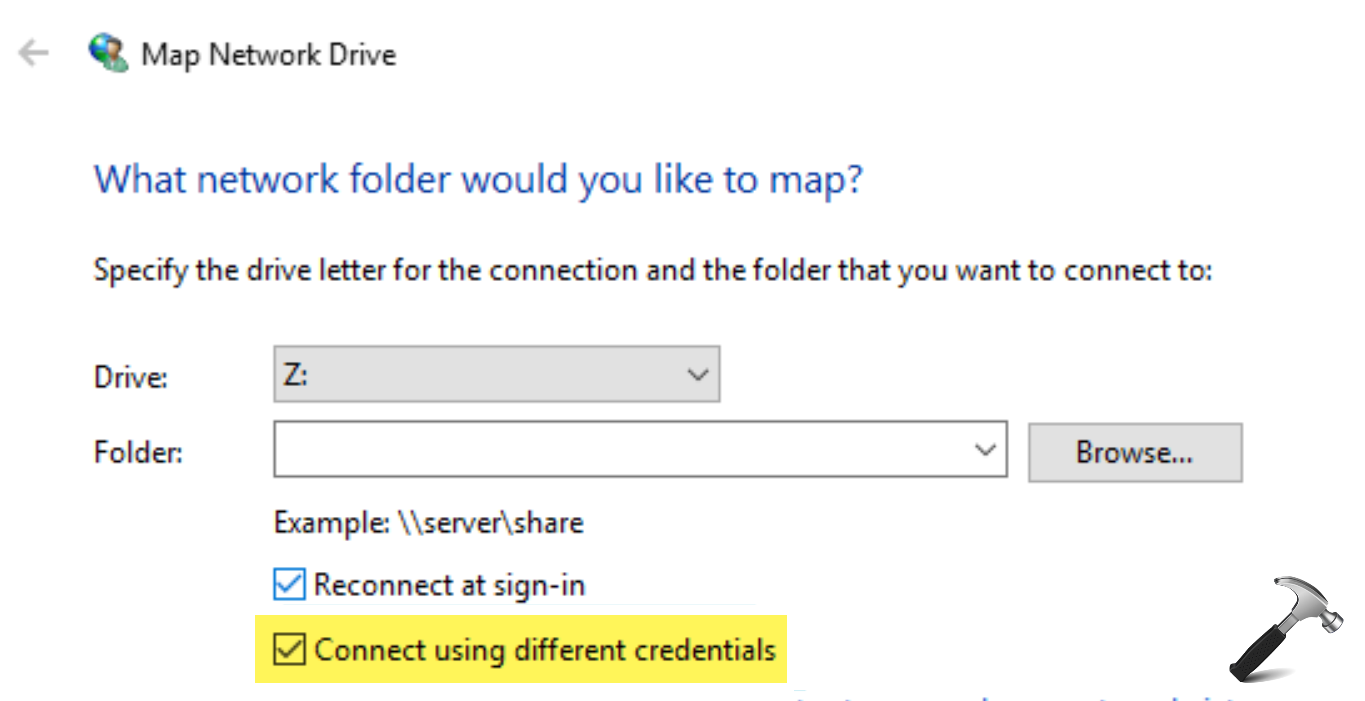
If you mapped via File Explorer, you need to the checkbox Connect using different credentials checkbox, which should result in a Windows Security pop-up to enter credentials when we try to access the mapped drive, please then enter your credentials.
For the Access denied error, which is a common error in this case, you need to make sure the network/resource or site you’re trying access is added under the “Trusted Sites” zone of the browser security settings.
Follow these simple steps to add your resource to trusted sites zone:
- Run
inetcpl.cplcommand. - Go to Security tab.
- Click Trusted sites.
- Click Sites.
- Type your site name and click Add.
- Click OK to save this change.

If you’ve the option for Automatically log in with current user name and password, make sure it selected or enabled.
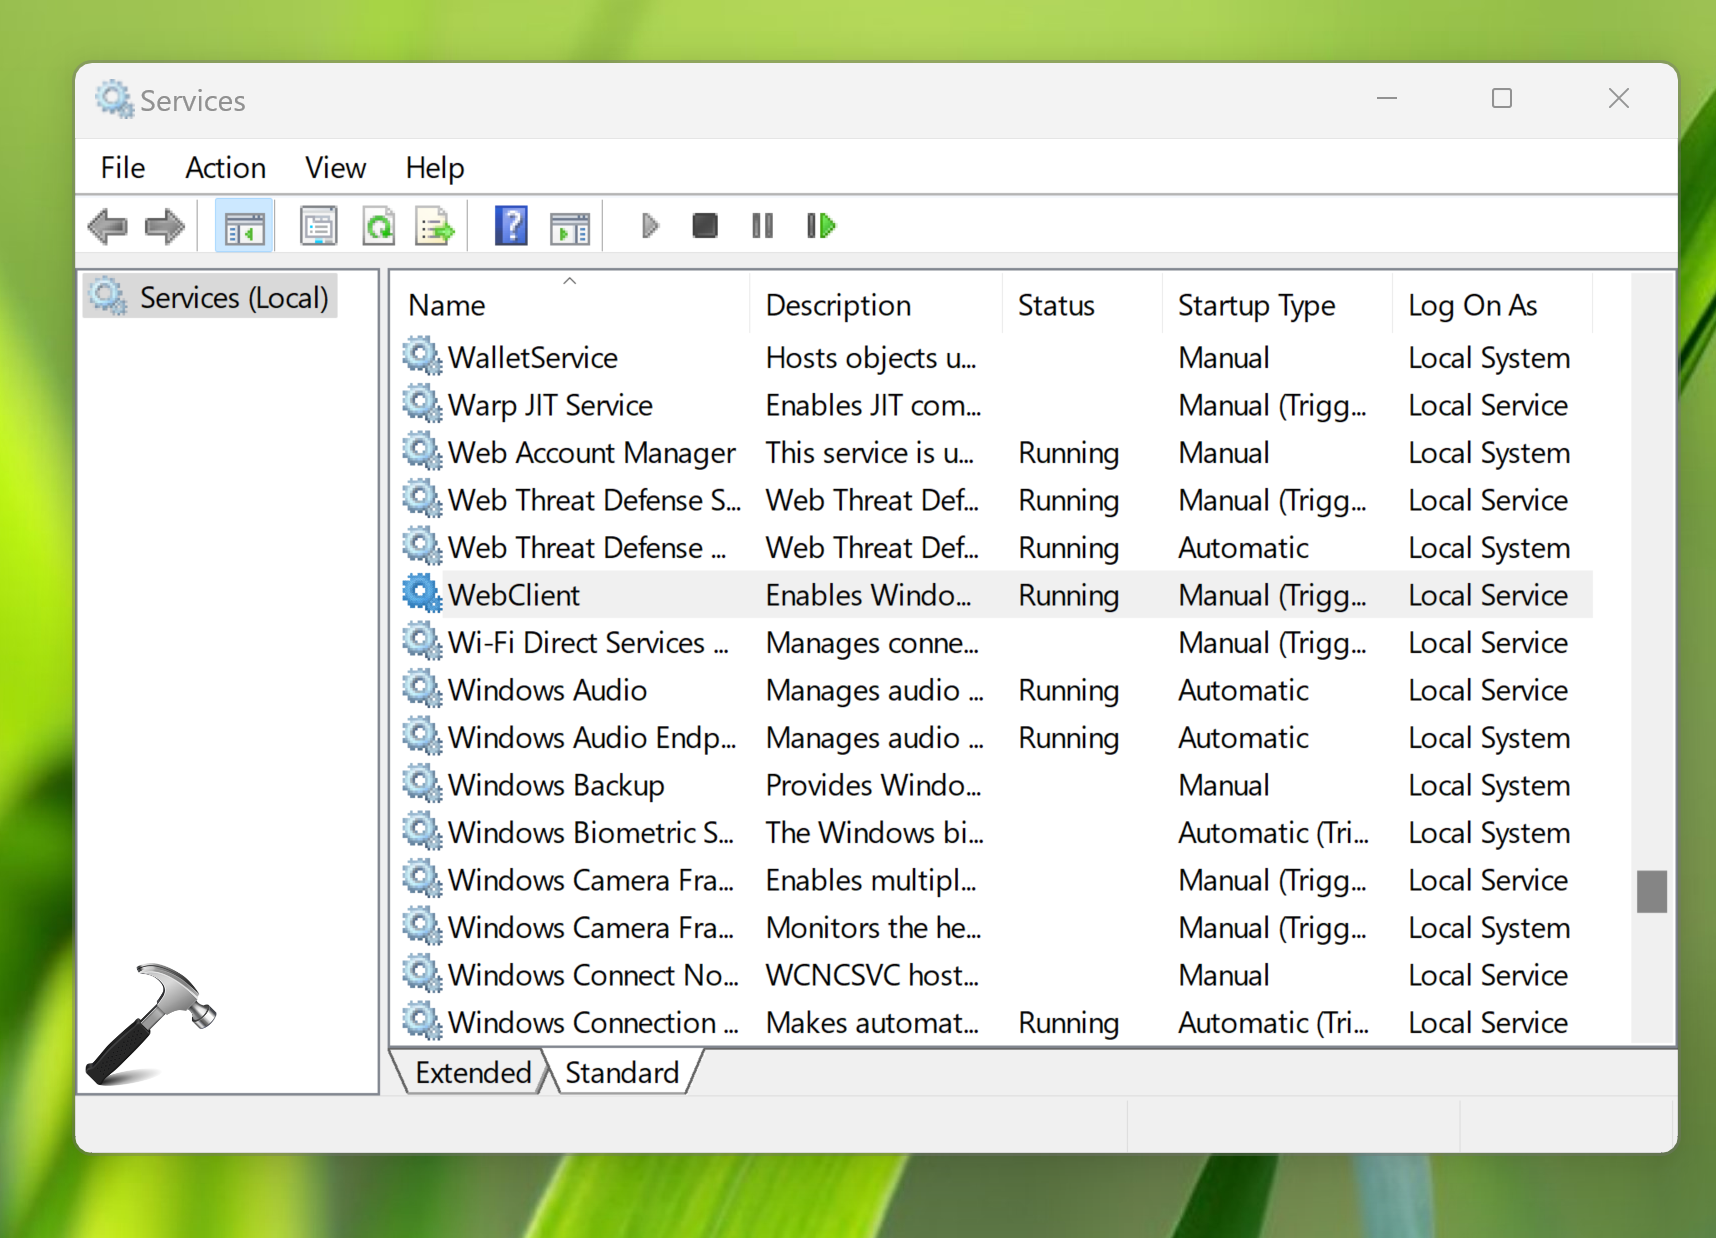
Also, the WebClient service must be Running in the Services snap-in (run services.msc command to access it).
Hope this helps!