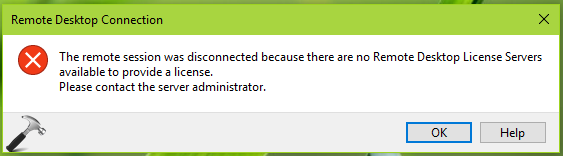
Sometimes when users try to establish a connection from one system to another Windows device, they are prompted with the “The remote session was disconnected because there are no Remote Desktop License Server available to serve licenses.” It is a common error in Windows 10 and Windows 11 devices and it can be fixed by following these methods.
Page Contents
Fix: The remote session was disconnected error on Windows 11/10
Method 1: Run the Remote Desktop as Administrator
You might run into this error if the Remote Desktop Connection lacks proper permission to run the remote session.
1. Press the Windows key and type “remote desktop connection“. Right-click the app from the result and select “Run as administrator“.

2. Then, retry the remote connection and see if it works.
If it works without any errors, you’ll need to run RDP as administrator every time you want to run the application. To do that, follow these steps:
1. Search for “Remote Desktop” in the Start menu again. Then, select “Open file location” on the right.

2. Right-click the “Remote Desktop Connection” shortcut and select “Properties“.

3. In the Shortcut tab, click “Advanced“.

4. In the Advanced Properties box, check the “Run as administrator” option and click “OK“.

5. Finally, click “Apply” and then “OK“.

Method 2: Delete the MSLicensing Registry
1. Press Windows + R, type “regedit“, and hit Enter to open Registry Editor.
2. In the Registry Editor’s address bar, paste the following path and press Enter:
HKEY_LOCAL_MACHINE\SOFTWARE\Microsoft

3. Under the Microsoft key, find and right-click the “MSLicensing” folder. Then, select “Delete“.

4. Click “Yes” to confirm.

Method 3: Delete GracePeriod Registry Key
1. Open Registry Editor again using Step 1 from Method 2.
2. It’s always recommended to back up your registry before modifying it. To do that, click the “File” menu and select “Export“.

3. Under Export range, choose “All“, and enter a name for the filename. Then, click “Save“.

4. In the address bar, copy-paste the following path and press Enter:
HKEY_LOCAL_MACHINE\SYSTEM\CurrentControlSet\Control\Terminal Server\RCMcopied

5. Under the RCM folder, find the “GracePeriod” key. Before you can modify this key, you need to take ownership of it. To do that, right-click the key and select “Permissions“.

6. Select the username, and check “Full Control“. Then, click “Apply“.

7. Once you gain full control, right-click the “GracePeriod” and select “Delete“. You can also choose to rename the key for a backup.

8. After deleting or renaming the key, restart your PC and check if the ‘remote session was disconnected’ error occurs again.
Method 4: Clean Boot Your PC
In some cases, a conflicting program or service might be interfering with the Remote Desktop Connection and causing errors. To fix the issue, you can try booting your Windows in clean boot mode. This will temporarily disable most startup programs and services, allowing you to find the program that is causing the problem.
Method 5: Change Licence Mode and Server
1. Open the Start menu, type “gpedit” or “group policy editor“, and select the top result.

2. Navigate to the following location using the left panel.
Computer Configuration > Administrative Templates > Windows Components > Remote Desktop Services > Remote Desktop Session Host > Licensing

3. In the right pane, find the “Use the specified Remote Desktop license server” or Set the Remote Desktop license mode” settings and set their status to enabled.

4. Then, restart your PC to apply the changes.
That’s it.