
If you’re getting This theme can’t be applied to the desktop error on Windows 11, this post can help with different solutions.
Page Contents
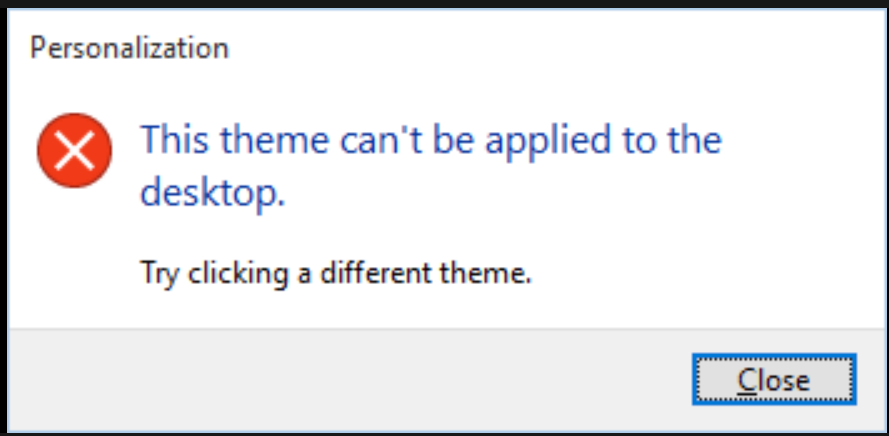
This theme can’t be applied to the desktop error in Windows 11
Is your system’s screen popping up the “This theme can’t be applied to the desktop” error in Windows 11? Here are a few reasons why this might be happening:
If you’re trying to sync themes between different accounts, it can mess up the whole synchronization process and stop the theme from being applied.
- Downloading a theme file from an unreliable source or having a corrupted file can mess things up and trigger the error.
- Themes or Desktop Window Manager services are not running properly.
- Disabling Theme Synchronization can also cause this error.
- The “Prevent changing theme” setting in the Local Group Policy Editor can be the reason why you’re facing this error.
- Last but not least, the Themes Service should be up and running in the background for a smooth theme application.
Below are the detailed steps for every solution:
Solution 1: Re-download the Theme File
If the error message pops – “This theme can’t be applied to the desktop,” it might be due to a corrupted theme file. To re-download the theme file in Windows 11, follow these steps:
1. Download the theme file again from a reliable source or the Microsoft website.
2. Save the file to a different location on your PC.
3. Apply the newly downloaded theme file to your Windows 11 system to see if the issue is resolved.
You can also install a .themepack file from the Microsoft website or download and install themes directly from the Microsoft Store.

If this solution haven’t solved the issue yet, get on with the next steps.
Solution 2: Check Themes Service in Windows 11
1. Press the Windows Key+R to open the Run dialog box.
2. Type “services.msc” and press Enter to open the Services Manager.
3. In the Services Manager window, scroll down or use the search bar to locate the “Themes” service and double-click to open it.
4. Then, make sure that the Service status is set to “Running”. If it is not running, click the “Start” button to initiate the service.
5. Click on the “Apply” button to save the changes made to the Themes service properties.
After making these changes, it is recommended to restart your computer to allow the new settings to take effect. Now, apply the desired theme to your desktop to see if the issue has been resolved.

Note that, you can set Startup Type to Automatic so that Themes service starts automatically with Windows. For that,
1. In the “Themes Properties” window, navigate to the “Startup type” dropdown menu.
2. Select “Automatic” from the list.
If the theme can now be applied without errors, the Themes Service configuration was likely the cause of the problem.
Solution 3: Disable Theme Synchronization
1. Click on the Start menu and select the gear icon to open Windows Settings.
2. In the Windows Settings window, click on “Accounts” to access account-related settings.
3. In the left sidebar, select “Sync your settings” under the Accounts section.
4. Then, toggle the switch to turn off theme synchronization.

It is recommended to restart your computer to apply the changes and ensure that theme synchronization is successfully disabled. Now, try applying the desired theme to your desktop again and see if the error has been resolved.
Solution 4: Disable Remove background images setting from the Ease of Access Center
1. Press the Windows Key+R to open the Run dialog box. Type “control” and press Enter to open the Control Panel.
2. In the Control Panel window, tap on “Ease of Access” to access accessibility options.
3. Now, under the Ease of Access Center, select “Make the computer easier to see” to adjust visual settings.
4. Scroll down to find the “Make things on the screen easier to see” section and uncheck the box for “Remove background images“.
5. Afterwards, click on the “Apply” or “OK” button to save the changes made to the visual settings.

Again restart your computer and try applying the theme to your desktop to check if the error message preventing the theme application has been resolved. If not, get ahead with the next ones.
Solution 5: Disable Prevent Changing Theme Setting in Windows 11
1. Press the Windows Key + R to open the Run dialog box.
2. In the Run dialog box, type “gpedit.msc” and press Enter.
3. From the Group Policy Editor, navigate to “Computer Configuration” > “Administrative Templates” > “Control Panel” > “Personalization”.
4. In the right pane, double-click on the “Prevent changing theme” policy setting.
5. In the policy properties window, select the “Disabled” option. Then, click “Apply” and then “OK” to save the changes.
Before applying the desired theme to your desktop give a restart to the computer.
Solution 6: Contact your IT Administrator
If you are getting the “This theme can’t be applied to the desktop” error in a corporate or business environment, it is likely that there is some issues with your IT Administrator. They may have set up policies or restrictions that are preventing you from changing your theme. Hence, you should contact your IT Administrator (typically for work and school account) for the right assistance.
That’s it!


