Access rights to Logical Disk Manager in Windows 11 are important to access certain applications. One of the most frequent errors that users can experience when attempting to open Disk Management is that “You do not have access rights to Logical Disk Manager – Windows 11”. The problem normally occurs when Windows blocks access to administration, when the services are turned off, or when the corrupted system files.
In this guide, we are going to take you through a series of simple and novice-level troubleshooting techniques so as to fix this error “You do not have access rights to Logical Disk Manager – Windows 11” permanently.
Page Contents
Why Does This “You do not have access rights to Logical Disk Manager” Error Appear on Windows 11?
This error normally occurs when Windows thinks that you lack the necessary permissions or when a vital service is not active. Some common reasons include:
- Lack of administrator privileges.
- Services of Logical Disk Manager are turned off.
- Domain limitations (in office/organization systems).
- Corrupted system files.
- Wrong service configurations.
- Broken windows installation.
Now, we shall proceed to correct the problem one step at a time.
Fix “You do not have access rights to Logical Disk Manager – Windows 11”
The error You do not have access rights to Logical Disk Manager Windows 11 is exasperating, yet you can solve it with the help of the appropriate steps. You can easily revert to full access to Disk Management by enabling the required services, restoring the permissions of admins, and repairing system files.
Follow this article if Disk Management stopped working or not loading in Windows 11.
Fix 1: Run Disk Management as Administrator
In some cases, the error occurs just because Windows prohibits the non-admin mode.
1. Go to the Search menu and type “Computer Management”, and then Select Run as administrator.

2. In case it is successful this time, the problem was access permissions.
Fix 2: Add Your User Account to the Administrators Group
Trying to change the disk settings will be blocked out by Windows unless you belong to the administrator group.
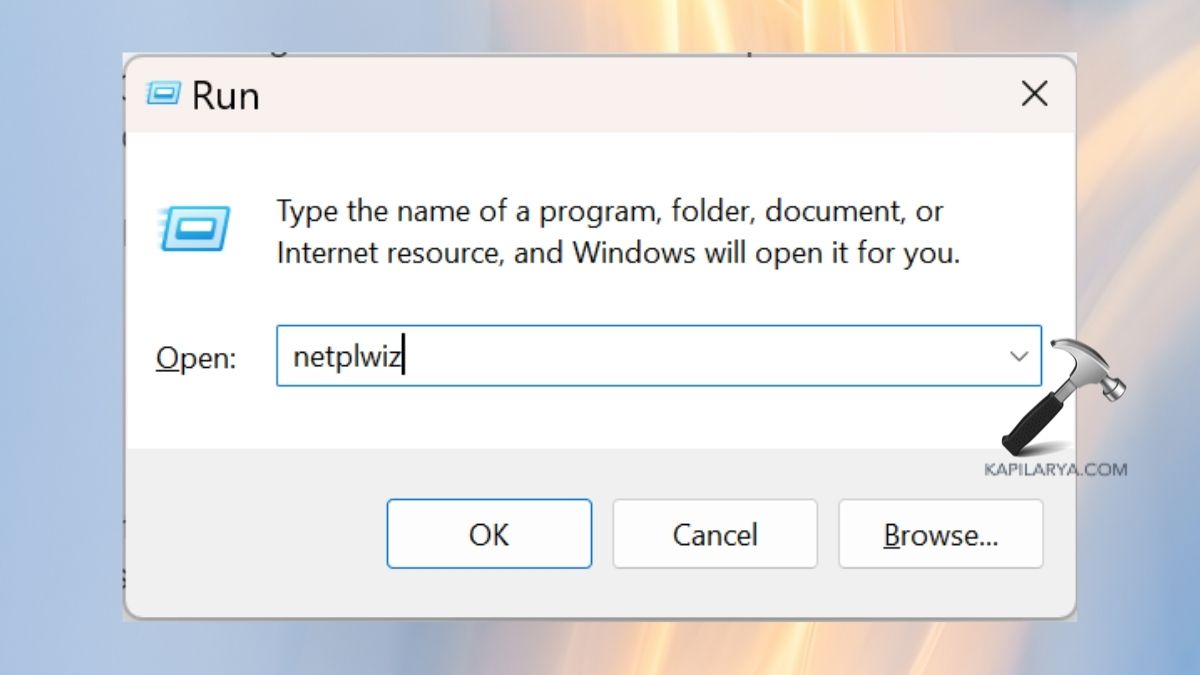
1. Press “Win+R”, enter this command, and press Enter.
netplwiz
2. Click the user account and go to Properties.

3. In here, go to the Group Membership tab. Then, choose the Administrator option.

4. Click Apply > OK. Restart your PC and attempt to open the Disk Management again.
Fix 3: Repair System Files to Restore Access Rights Disk Manager
Windows disk management can lead to errors due to corrupted files. For this, use the built-in repair tools like SFC and DISM.
1. Run SFC (System File Checker):
a. Open Command Prompt with Administrator Privileges.

b. Type this command. Simply press the Enter key and wait till the scan completes.
sfc /scannow

2. Launch DISM (Deployment Image Servicing & Management):
a. This is to be typed in the same CMD window.
DISM /Online /Cleanup-Image /RestoreHealth

b. Press Enter. When the process is completed, restart your PC.
Fix 4: Use DiskPart to Bypass Disk Management Issues
Diskpart is a very powerful alternative in case Disk Management fails to start.
Note: Diskpart is a command that is very potent; apply it cautiously.
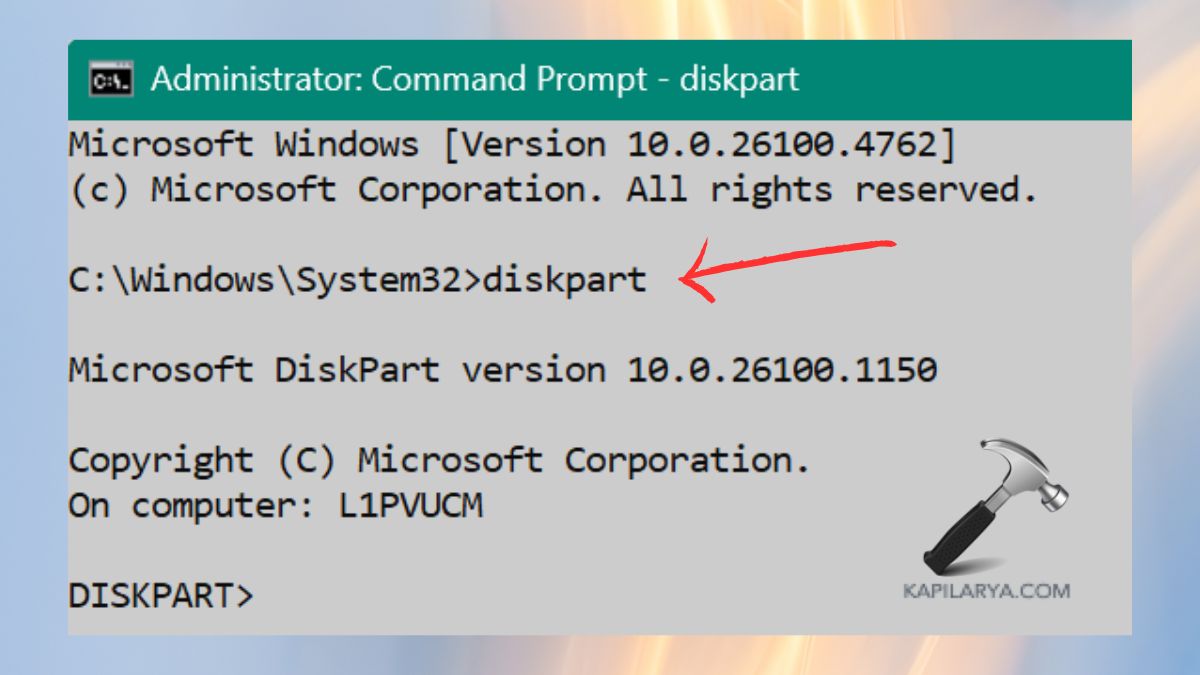
1. Click “Win + X”, Select Terminal (Admin).

2. Type these commands.
diskpart
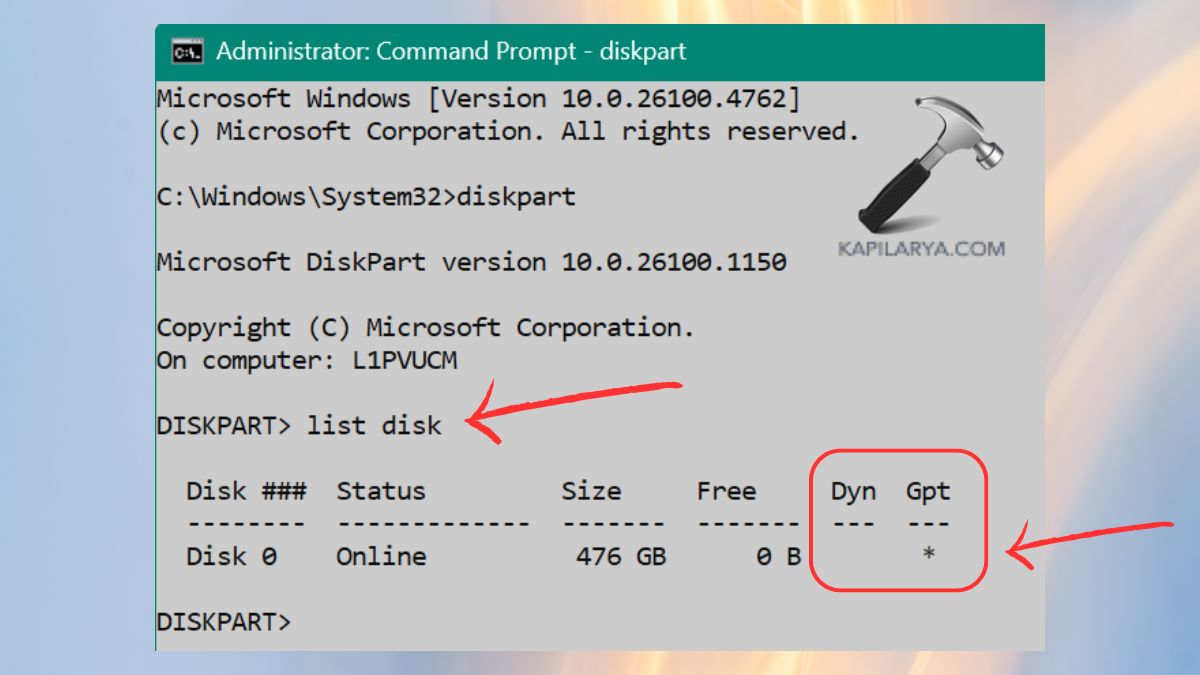
3. Now check available disks.
list disk
4. Select a disk to manage.
select disk 0
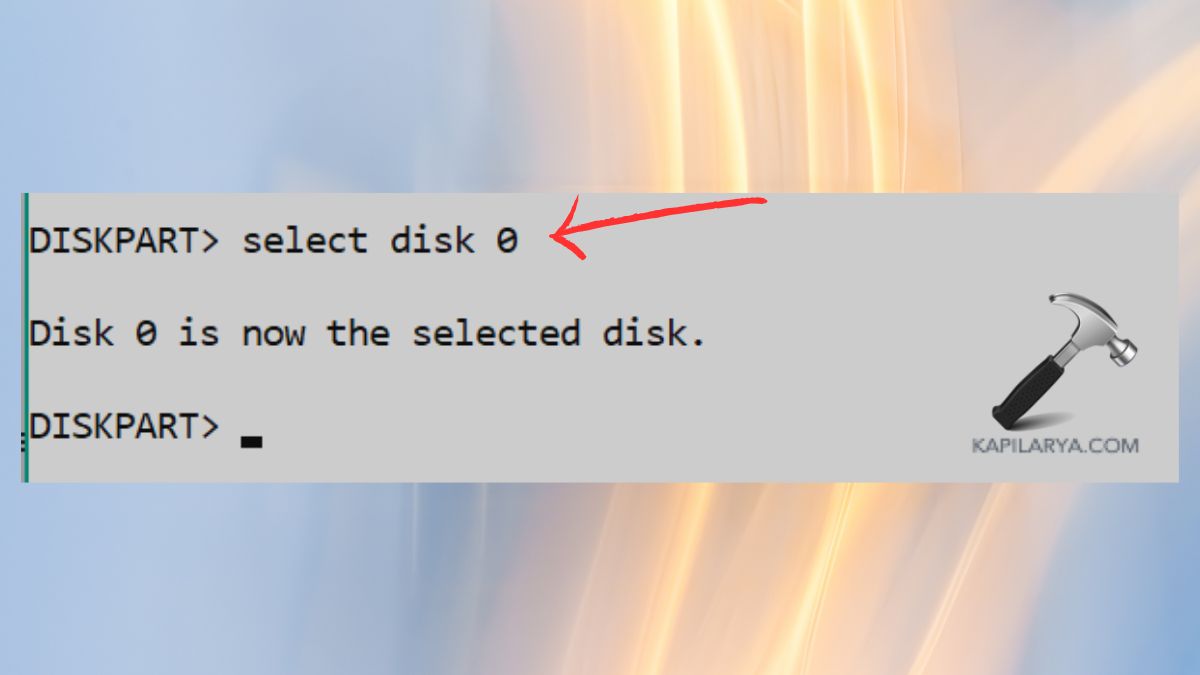
You can use disk part commands to perform such operations as cleaning or formatting.
Fix 5: Check Domain Restrictions (For Office/Work PCs)
When the computer belongs to a domain of a particular workplace, this limits the rights of the administrator.
1. Hit the keys “Win + R“, enter the following command, and press Enter.
sysdm.cpl

2. Go to the Computer Name. Click on “Change” option.
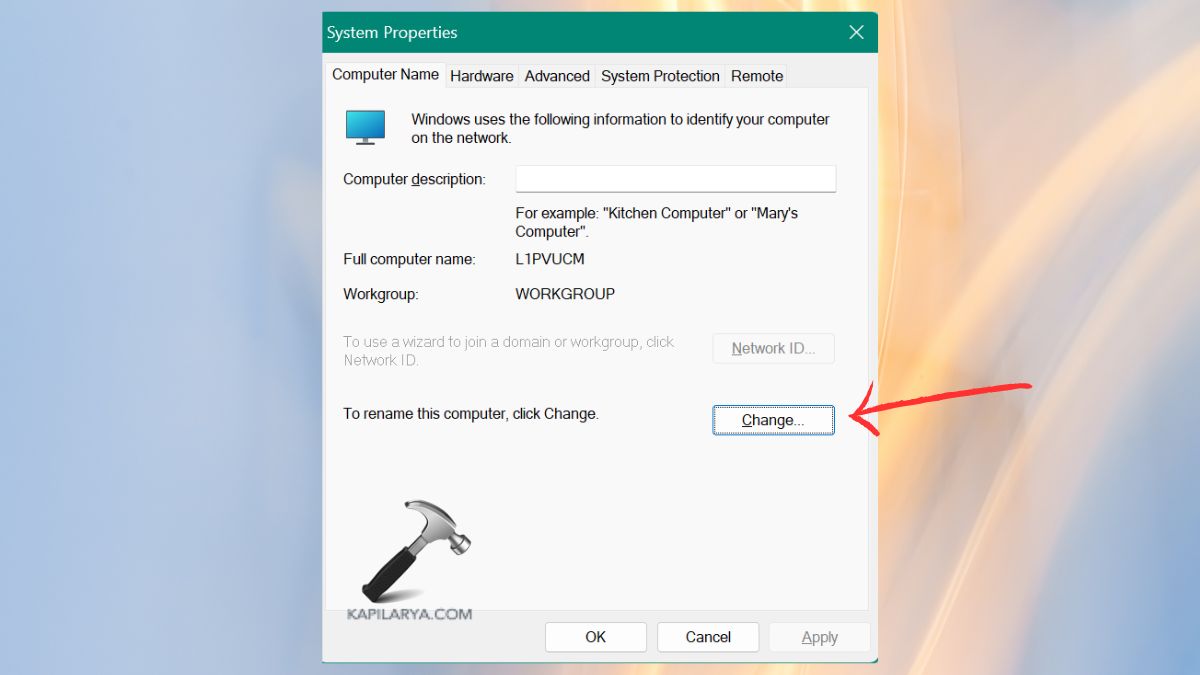
3. Now, check whether it shows Domain under “Member of”. Assuming yes, reach out to your IT admin to allow permission for disk management.
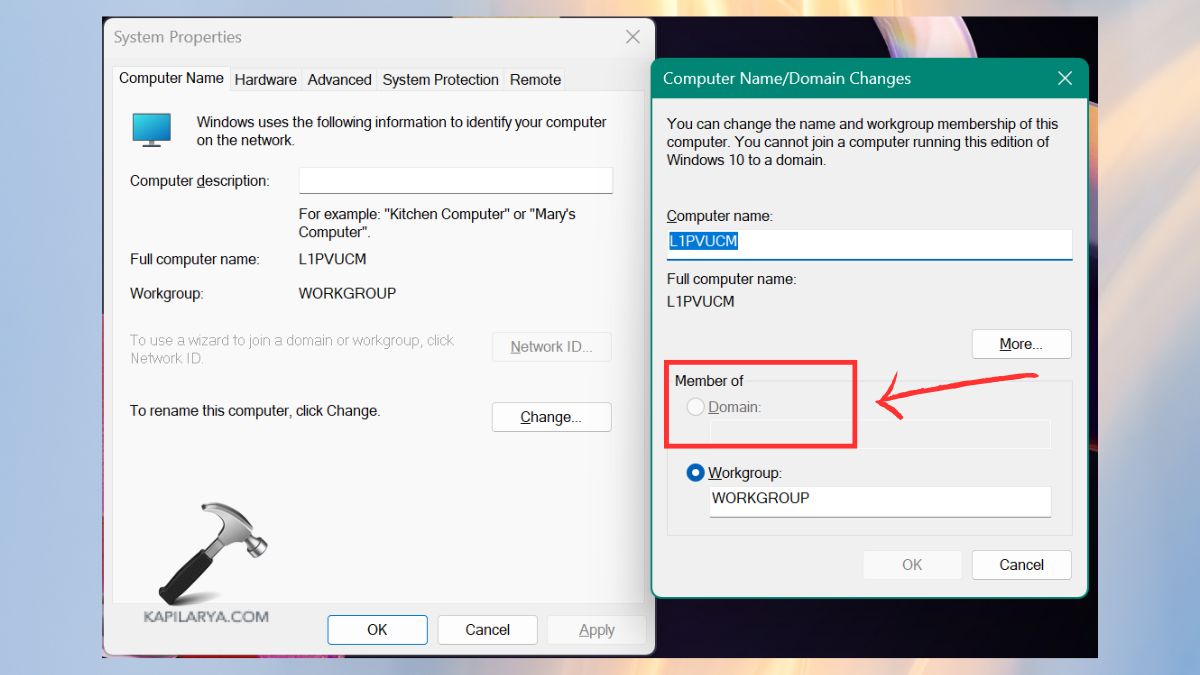
This is the usual cause of organizational systems.
Fix 6: Enable Logical Disk Manager Services
Displaying Disk Management will not allow the user to gain access in case critical disk-related services were switched off. Follow these steps.
1. First, in the search menu, search for Services and open this.

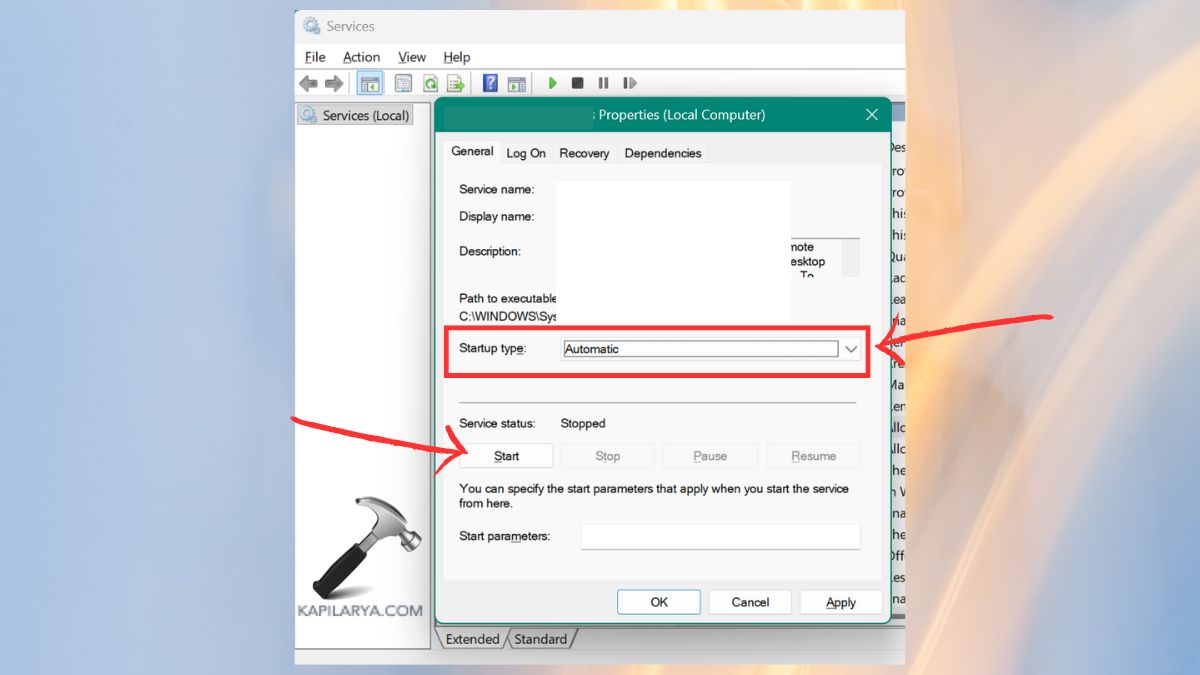
2. Find these services in the Services window.
Logical Disk Manager
Logical Disk Manager Administrative Service
3. Click on each service > change Startup type to: Automatic. Then, click the option “Start” in case the services are stopped. Press OK.
Then, reboot into the system and verify whether the disk management can open.
Frequently Asked Questions (FAQs)
Why does Disk Management say I don’t have access rights?
By the reason Windows believes you are not an administrator or some services required are turned off. It could also result from system corruption.
Can I fix this error without admin rights?
Not entirely. High permissions are required in disk management. You have to request the privilege of the administration or communicate with your system administrator.
What if Logical Disk Manager services are missing?
Those can be disabled, corrupted, or have a Windows bug. Restart the Services application and make Windows installation work.
Is there a risk in using DiskPart?
Yes, DiskPart is a command-line utility that is able to wipe away data instantly. Use sparingly and carefully.
That’s it!