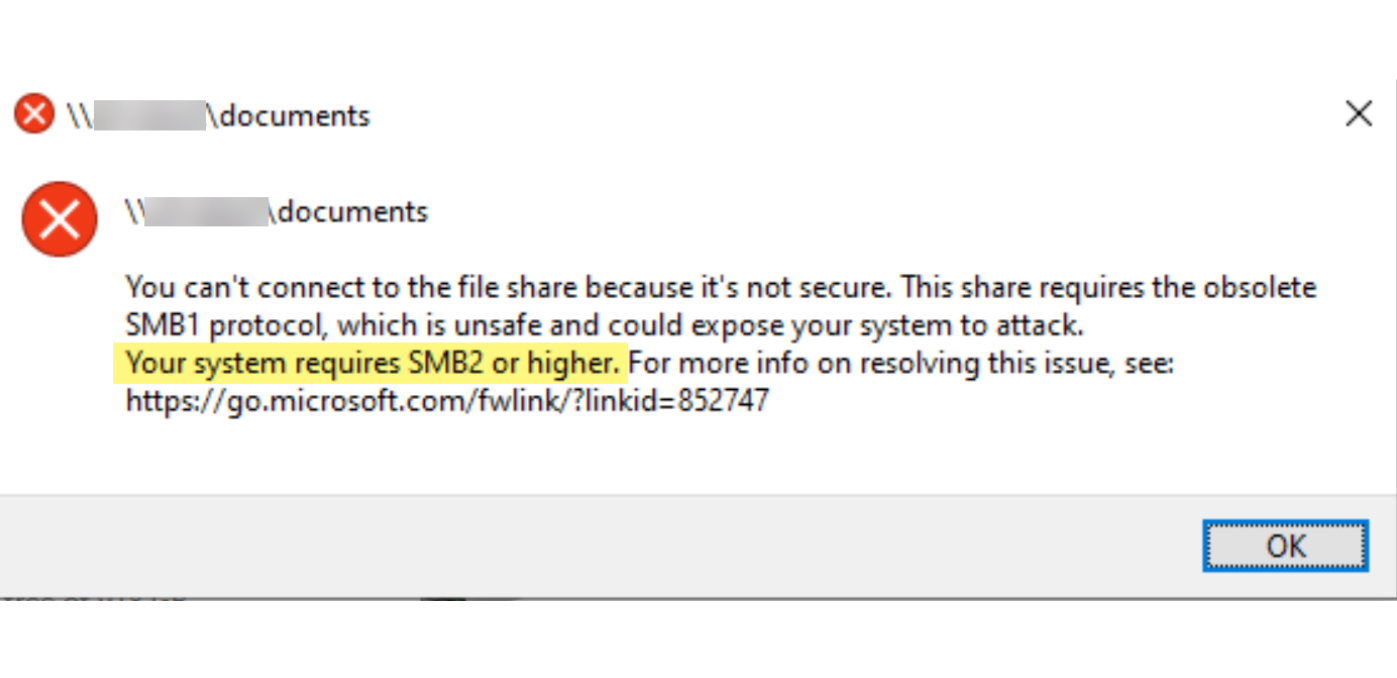
Many-a-times Windows users face an error while they are accessing certain types of files or shared folders. In particular, this error reads as this: You can’t connect to the file share because it is not secure. This share requires obsolete SMB1 protocol, which is unsafe and could expose your system to attack. Your system requires SMB2 or higher. This article is your guide to what this issue is all about and how you can fix it in your Windows 11/10 systems.
Fix: Your system requires SMB2 or higher in Windows 11/10
To explain the problem in a simple manner, when you try to access certain types of files or shared folders, Windows opens it using one of the two protocols namely SMB1 and SMB2. However, Windows 10 and higher versions of Windows OS have SMB1 disabled by default on account of it being unsafe and more vulnerable to attacks. Hence, your Windows 11/10 needs to have SMB2 or higher version of this protocol to access these files or folders.
So, the error you are facing is most probably because your system does not have this protocol installed or enabled. No need to worry though. You just need to check whether the protocol SMB2 is installed and enabled. If not, you can easily fix this with the help of Powershell by following these easy steps mentioned below:
1 – Open Run by pressing keyboard shortcut Win + R. Enter Powershell in the box and press Ctrl + Shift + Enter.

Or Search for Powershell in the Windows Menu and click on Run as administrator.
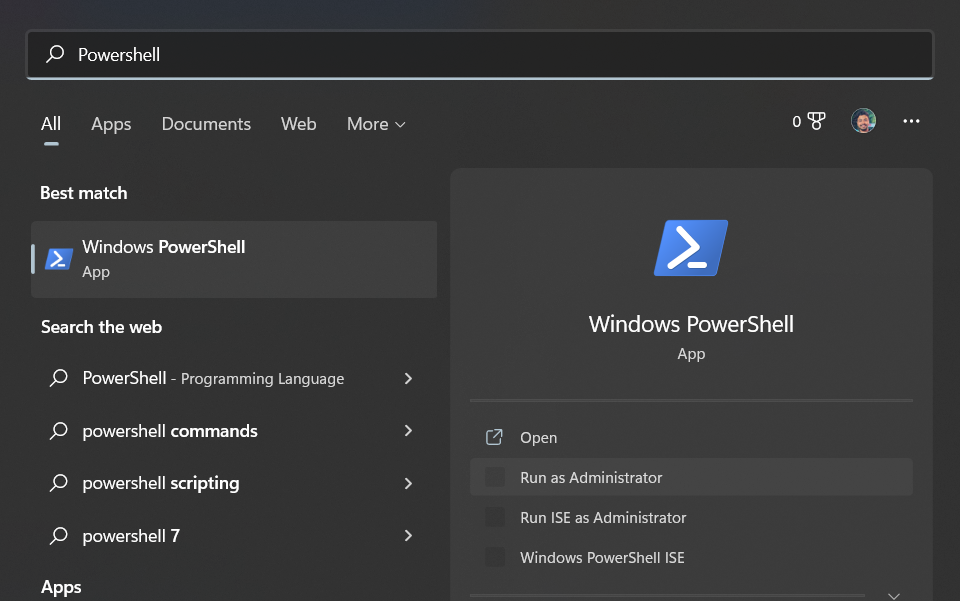
Keep in mind to click on Yes in the UAC prompt.
2 – In the screen that opens, type the command as below and press Enter.
Get-SmbServerConfiguration | Select EnableSMB2Protocol
3 – If you see the outcome False, it suggests that the protocol is not enabled.
4 – Now you need to enable the right protocol. To do it, type the following command, and hit Enter.
Set-SmbServerConfiguration -EnableSMB2Protocol $true
5 – Type Y to indicate Yes when it asks to confirm your action and again press Enter.
6 – Now enter the command mentioned in the second step again to check again if it is disabled. It will display True this time.
And that’s it. You have fixed this error with six simple steps. Now you will be able to access those shared folders and certain files.
You can also refer this video fix if you still have queries:
Related: How To Enable Or Disable SMB Protocols In Windows 10.