].")

Creating Windows 11 bootable USB on a PC seem like a breeze as dozens of free tools available, such as Media Creation Tool or the most popular one Rufus. However, this is not the case for Mac users, especially when Boot Camp app is no longer available on Mac models shipped with Apple Silicon. In this post, I am going to share you a nice app to help you create a bootable Windows 11 installation USB on Mac and it applies to all Macs that running macOS Sierra or later.
The steps are the same for both Intel and M1 Mac without additional settings. More importantly, this app has a built-in module to split install.wim file if it was larger than 4GB. This is why I recommend this universal approach.
The app name is UUByte ISO Editor, which is a cross-platform utility for making USB installer from ISO image on a Windows and macOS. Besides this prominent feature, it is also able to mount ISO, extract ISO content and create new ISO images.
Pros:
- Ultra simple user interface.
- No command involved.
- Create bootable USB and DVD.
- Run well latest macOS Monterey.
- Save huge amount of time.
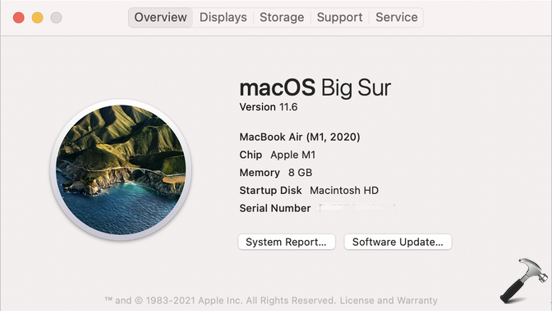
In this tutorial, we will make a bootable Windows 11 installation USB on a M1 Mac running the latest Big Sur 11.6.
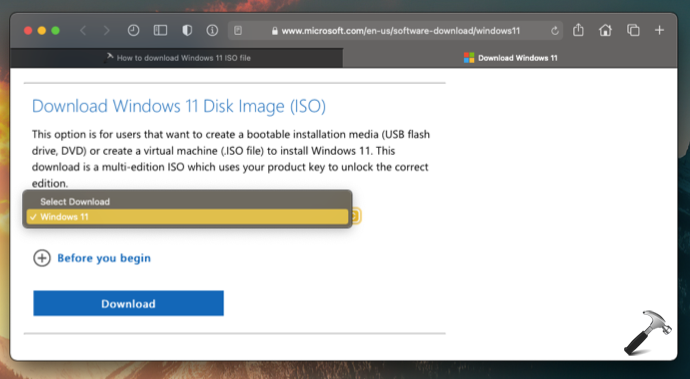
Before going into the details, please make sure you have a Windows 11 ISO file at hand. If not, please head to Windows 11 download page and download ISO image from there using this step-by-step guide.
How to Create a Bootable Windows 11 Installation USB on Mac
To create a Windows 11 bootable USB on Mac, please first download UUByte ISO Editor DMG file from the following link:
https://www.uubyte.com/download/uubyte-iso-editor.dmg
Double click the dmg file and drag the app icon to Application folder so you can open this app from Launchpad afterwards.
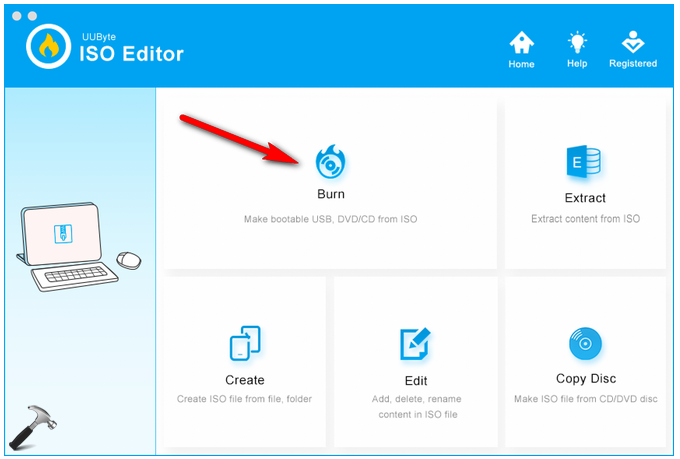
Now, plug in a USB flash drive and Run UUByte ISO Editor app on your Mac. In this step, I suggest disconnecting other USB storage devices for data safety reason as the USB drive will be erased later. Next, click on the Burn icon from startup screen to move to a new window, where is the place for making bootable USB drive.
There are two settings you should complete. The first one is to add Windows 11 ISO image into ISO Editor app. After that, choose the USB drive letter from drop-down list. Optionally, you can add a volume name for this bootable USB. In this example, the USB volume name is set to WIN11.
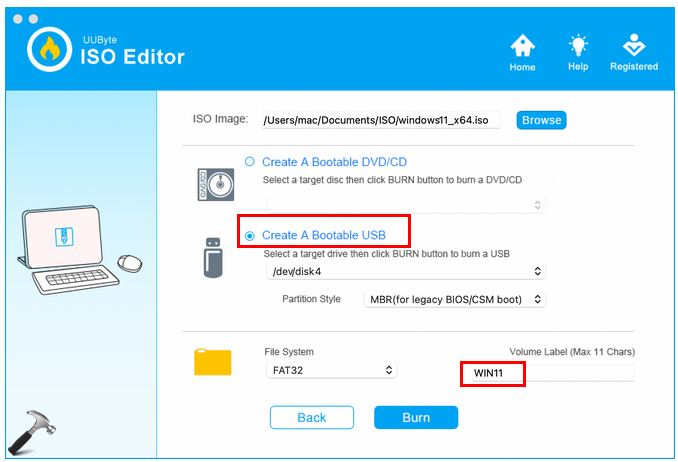
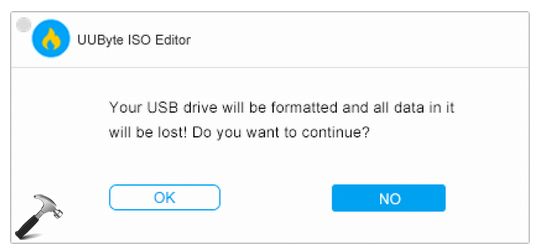
From this time on, all configuration steps are done. Simply click the Burn button at the bottom of this window to burn Windows 11 ISO to USB. This step will format target USB drive, decompress ISO image and copy all files and folders to USB.
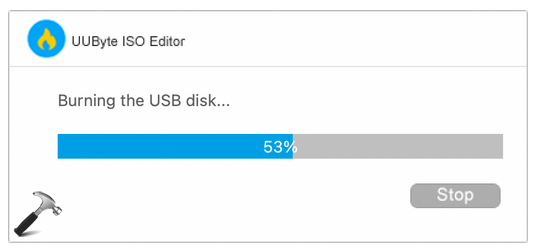
Now, there is a visual progress bar indicating the percentage of ISO file copying.
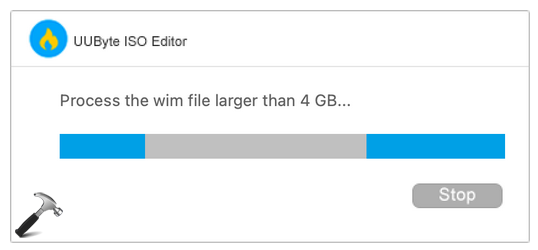
If applicable, it will also cut install.wim into small parts so the OS installation image can be saved in a FAT32 partition, which is only workable on a Mac when creating Windows bootable USB.
A successful message will pop up on the screen when it is done correctly. Usually, you have to wait 5-10 minutes before the burning process is completed. This could be much slower if the USB drive was USB 2.0 or older.

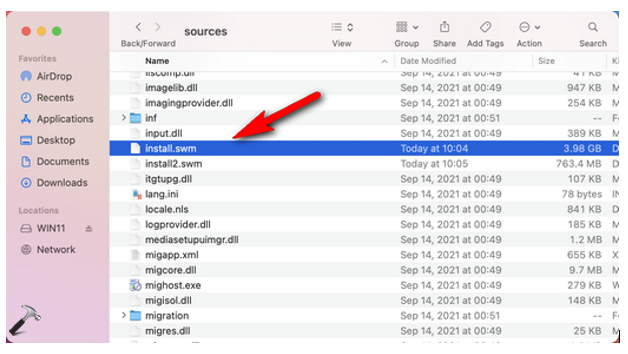
Go to the USB folder and you will find the WIM file has been split into two SVM files.
Now, you can eject this USB drive from Mac and use it to install Windows 11 on a compatible device.
Actually, it is highly possible to install Windows 11 on unsupported hardware with a few of registry workarounds officially shared by Microsoft. This will force Windows 11 setup utility to skip hardware checking (TPM, Secure Boot, CPU, etc.) during installation. You can check this post for more details.
Simply put, UUByte ISO Editor for Mac is not the only choice when it comes to create Windows 11 bootable USB on Mac. You can also use Terminal app to complete the same task. However, this is not good for average users because you have to type complex commands all the ways. It could spend 3X times for the same task when comparing to UUByte ISO Editor.
In addition, Boot Camp Assistant is still a valid choice if you are using an Intel Mac running macOS Catalina or previous macOS version. Boot Camp on Big Sur can only create Windows boot camp partition and it is removed from M1 Mac.
That’s it!
Read next: Fix MacBook keeps shutting down randomly.


![[Latest Windows 11 Update] What’s new in KB5036980?](https://www.kapilarya.com/assets/Windows11-Update.png "[Latest Windows 11 Update] What’s new in KB5036980?")
![[Latest Windows 10 Update] What’s new in KB5036979?](https://www.kapilarya.com/assets/Windows10-Update.png "[Latest Windows 10 Update] What’s new in KB5036979?")
")

1 Comment
Add your comment
UUShite is a paid app. Worthless solution.