If your Windows 11 suddenly started checking disk at startup, then this article may interest you. Windows may start checking for disk sometimes while you start the system and this may be time consuming. In this post, you’ll learn How to disable disk checking at Windows 11 startup. As you can see in the screenshot below, first you will be asked to press any key in case if you want to skip disk checking.
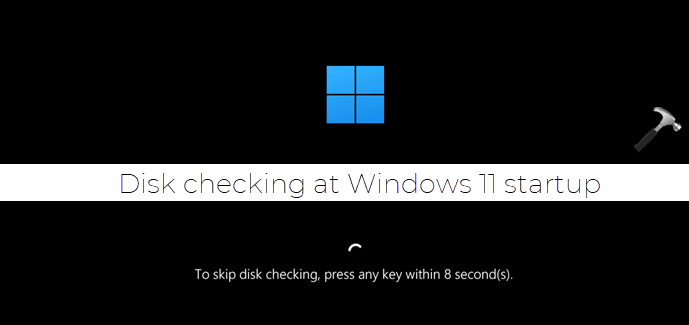
If you do not press any key within the time specified, Windows will start disk checking and you cannot login unless the disk checking has been completed. Now this disk checking may take time depending upon the drives to check present on your system. There is no specified time for any specific system for this disk checking.

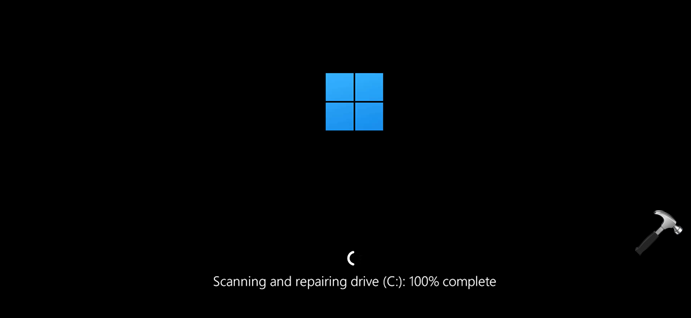
Once the scanning and repairing is completed, especially for the operating system drive, the system will reboot once and then you can login.
If this disk checking happens once, then everyone maybe fine with it but if it happens at every startup then it may be time consuming and annoying and you will want to fix it.
Here is the registry based solution you can apply to fix this problem.
Page Contents
How to disable disk checking at Windows 11 startup
Manual steps
1. Press  + R and type
 regedit in Run dialog box. Click OK or press Enter key.
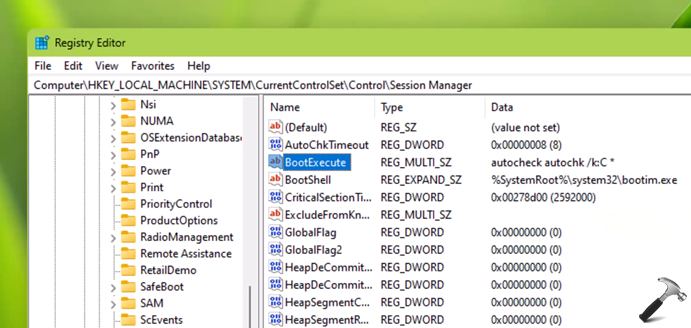
2. In left pane of Registry Editor window, navigate to following registry key:
HKEY_LOCAL_MACHINE\SYSTEM\ControlSetControl\Control\Session Manager
3. In the right pane of Session Manager registry key, set BootExecute registry string (REG_MULTI_SZ) to autocheck autochk /k:C * value data to stop disk checking at Windows 11 startup. Assuming Windows is installed to C: drive. If it is installed to any other drive, replace C: with that drive letter.
4. Once done, close the Registry Editor and reboot.
After restart, you will find that this checking at startup has been successfully disabled.
Video fix
You can check out following video for live demonstration of above shared method:
That’s it!