As we know that encryption to files and folders is possible and can be performed using Encrypting File System (EFS) feature in Windows 10. While encryption is done, you’re recommended to backup the recovery key and make it confidential using a private key or password. Additionally, the backup will import the recovery information in a PFX file.
The imported PFX file will be helpful when you lost original key and certificate and you’re not able to access the content. This PFX file can be used to import EFS key and certificate any time you need. Basically, the PFX file can be used to retrieve the EFS certificate and its key which can installed to certificate store in for current user or local machine. In this article, we’ll see the steps to import your file encryption information using PFX file.
How To Import EFS Key And Certificate In Windows 10
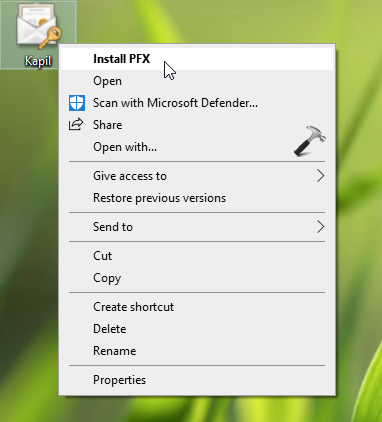
1. Right click on backup-ed file encryption key .pfx file and select Install PFX.
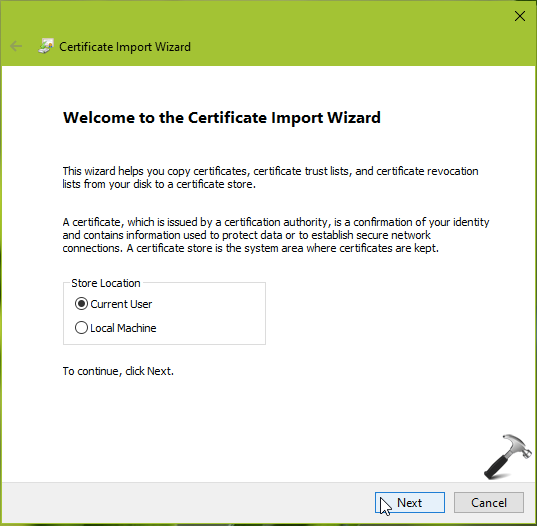
2. Now in Certificate Import Wizard window, select Store Location as per your choice and then click Next.
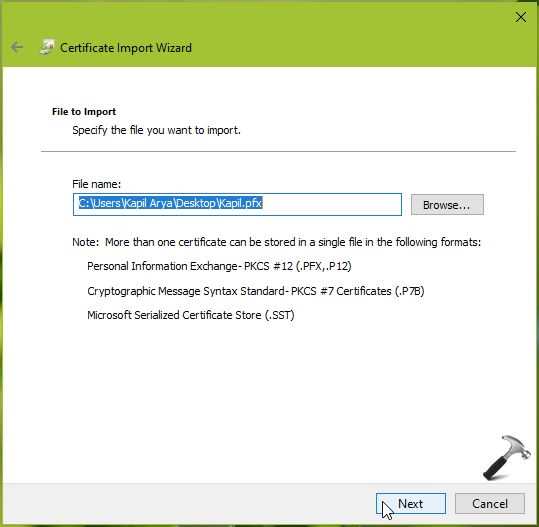
3. Then you should’ve PFX location mentioned automatically or you can manually browse to the different PFX file you want to install.
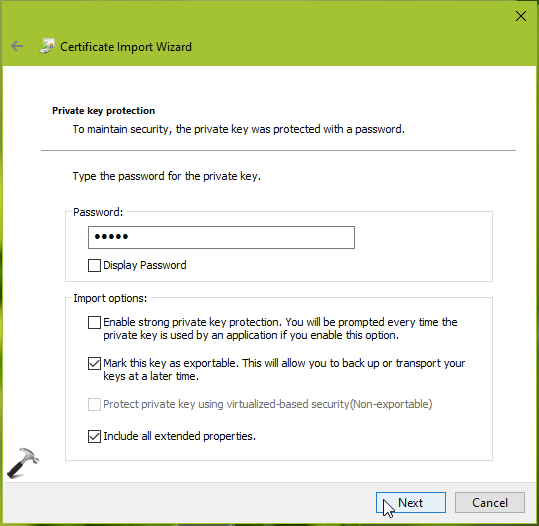
4. Moving on, type the password for private key. This is the same password, which you’ve provided in step 5 of this guide. Choose the Import options as per your preferences and click Next.
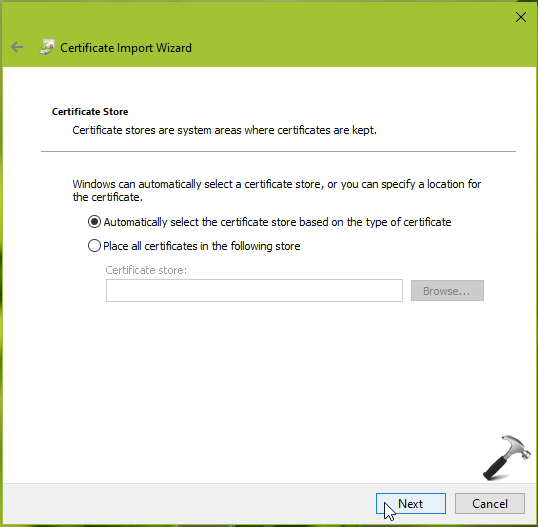
5. Now, you need to select Certificate Store. We recommend you let selected the default option i.e. Automatically select the certificate store based on the type of certificate.
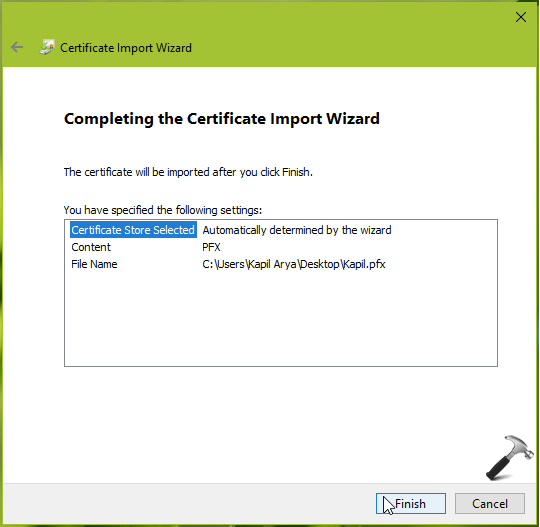
6. Then review the above provided information and click Finish.
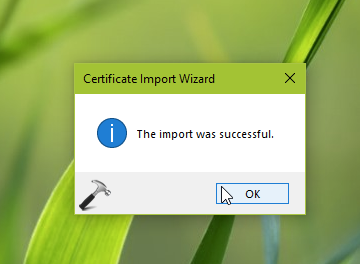
7. Finally, you should receive The import was successful message. Click OK.
In this way, we’ve imported EFS key and certificate in Windows 10.
That’s it!
Read Next: The Specified File Could Not Be Decrypted In Windows 10.