PowerShell is a task automation and configuration management program from Microsoft, consisting of a command-line shell and the associated scripting language. Windows PowerShell let you manage the computer from the command line and access data stores as simple as you access the file system. Here we will explain you how to open PowerShell as Admin in Windows 11.
Administrator Mode for PowerShell gives the user carte blanche access to the full power of the scripting language because the logged on user has full access to the entire range of the system’s components.
Page Contents
How to Open PowerShell as Admin in Windows 11
Below we have 4 methods to open PowerShell as Admin:
Option 1. Open PowerShell as Admin using Run Window
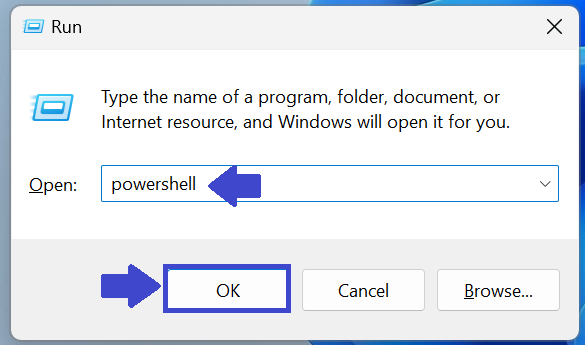
STEP 1: Press Windows icon + R. The “Run Window” will appear. Type PowerShell and click OK.
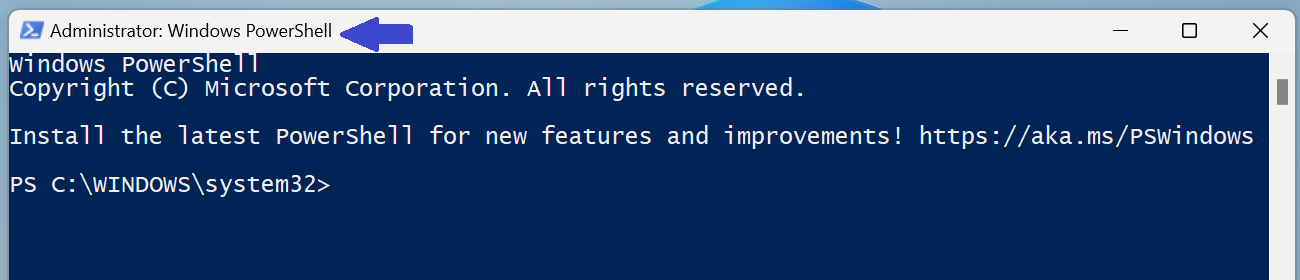
STEP 2: Copy this command “start-process Powershell -verb runas” and paste this in Command Prompt. Press Enter.

STEP 3: The above command will bring windows PowerShell run as administrator.
Option 2. Open PowerShell as Admin using Task Manager
STEP 1: You can simply search “Task Manager” in search bar. Open Task Manager => Details
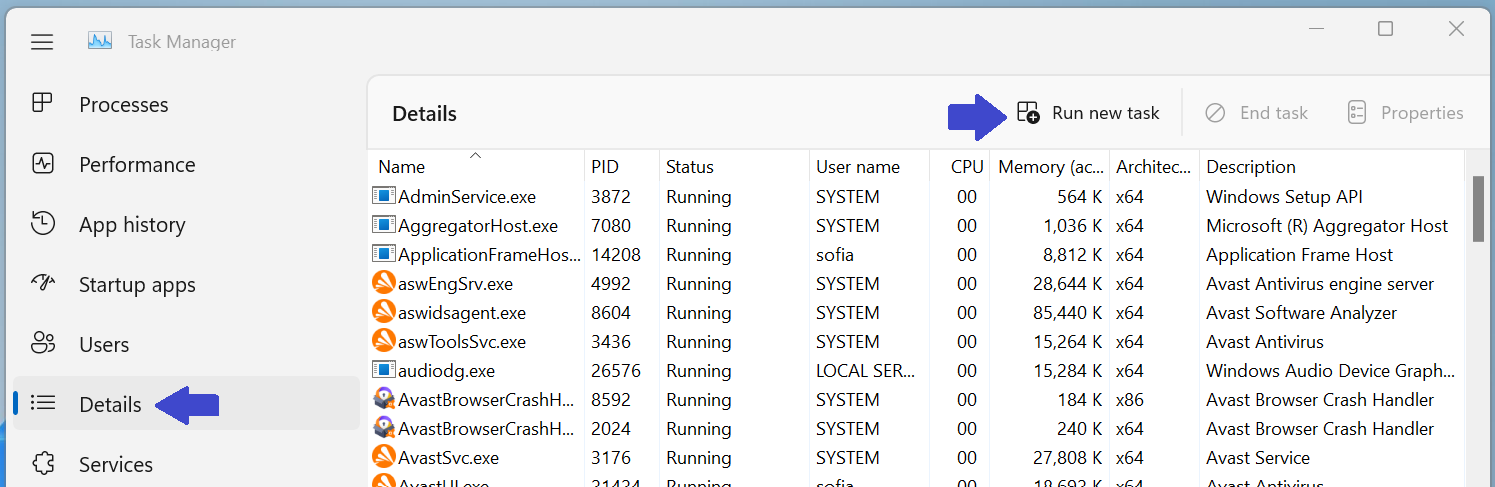
STEP 2: Click on “Run new task”.
STEP 3: Prompt box will appear. Type “PowerShell” and then select “Create this task with administrative privileges”.(See the below image)

STEP 4: Click ok .
Option 3. Open PowerShell as Admin using Command Prompt
STEP 1: Open Command Prompt => PowerShell => press enter.
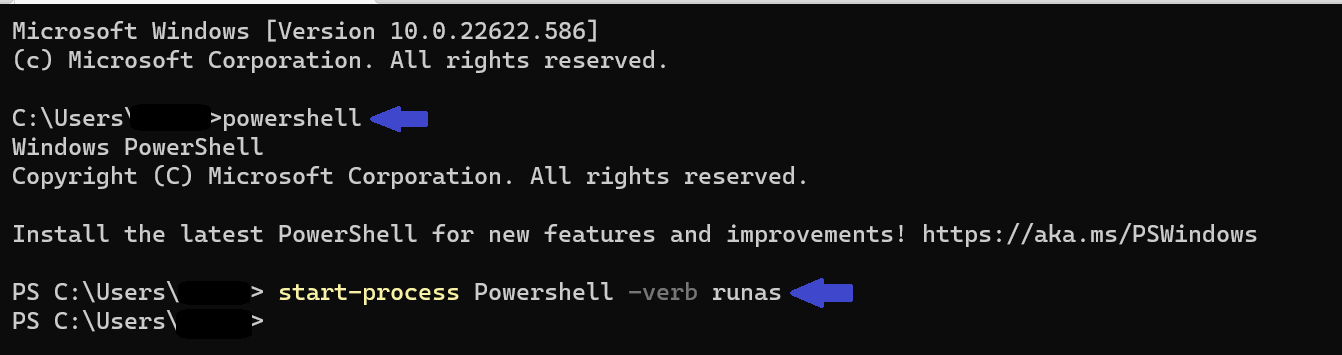
STEP 2: Copy this command “start-process Powershell -verb runas” and then press enter.
Consider the above image. The PowerShell will run as administrator.
Option 4. Open PowerShell as Admin using Start Menu
STEP 1: Go to Start Menu and then type PowerShell.
STEP 2: You will see in the left panel (below image), there is an option “run as administrator”. Click on that option.
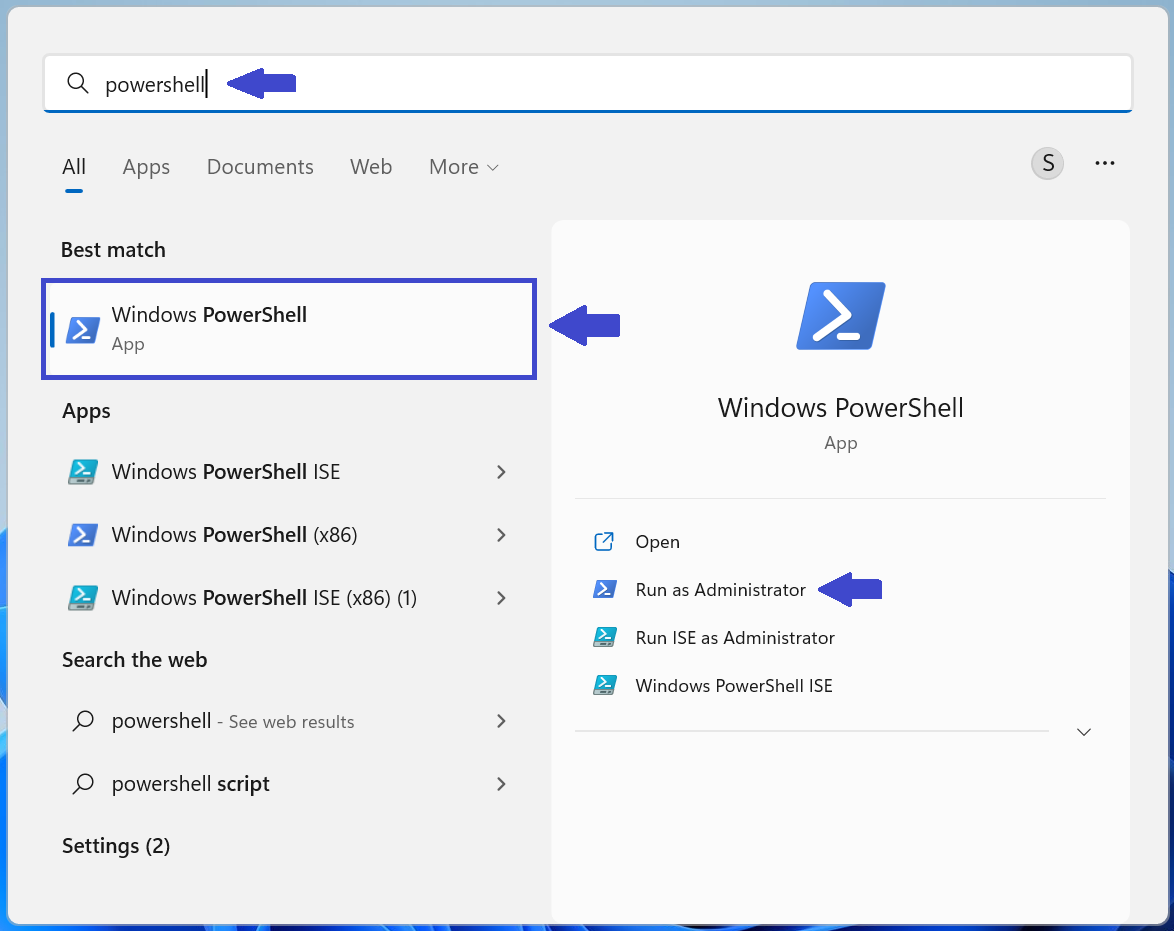
After selecting the above option, the PowerShell will run as admin. This is the most easiest method to make your PowerShell run as administrator.
How to always run PowerShell as Admin in Windows 11
Administrator Mode is for those who are already comfortable with PowerShell, or for those cases where a particular Cmdlet requires it. So let’s make it always run as admin with three simple steps.
We have two options:
- With Desktop Shortcut
- With PowerShell Properties
Option 1. With Desktop Shortcut
Here we will first create the PowerShell shortcut and then make it always run as admin.
1: First you have to create the shortcut for the PowerShell. Right Click => New => Shortcut . Type PowerShell in the prompt box.
2: Now click on the PowerShell icon (Shortcut PowerShell icon) and click on Properties.

3: Go to Advanced and select “Run as Administrator”.

4: Click Ok.
Option 2. With Advanced PowerShell Properties.
This is same as the above option. The only difference is that here you don’t need to create the shortcut for the PowerShell.
1: Click on PowerShell => Properties => Advanced.
2: Select the “Run as Administrator”.
3: Click OK.
That’s it!