Splitting your SSD in Windows 11 can assist you in organizing your computer’s storage. So, knowing how to partition the SSD correctly is essential. Whether you want to create volumes, for data types or boost your system performance you’re, in the right spot. This detailed guide will walk you through methods to accomplish this task.
Page Contents
1. How to Partition SSD in Windows 11 Using Windows Settings
- Open Windows Settings, go to “System” and click on “Storage”.
- Then, click on “Disk and volumes”.
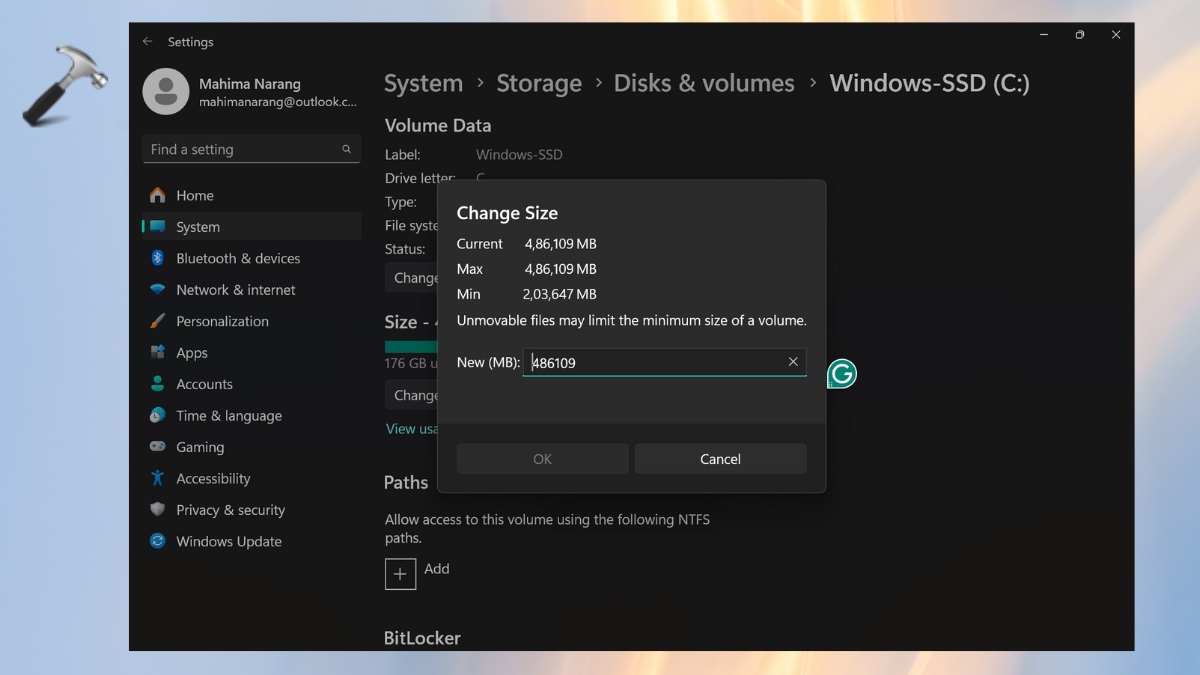
- Select the system partition and click on “Properties” of “Windows-SSD (C:)”
- Now, click on “change size” and enter the desired storage.
- Click on “OK” to apply the changes.
2. Partition SSD in Windows 11 Using the Disk Management Utility
The Disk Management tool, in Windows 11 makes it simple to divide the SSD into sections. You have the option to tailor your storage configuration by reducing volumes and establishing partitions. Additionally, this utility aids, in partition creation resizing, merging or removal.
a. Reduce the System Partition Volume
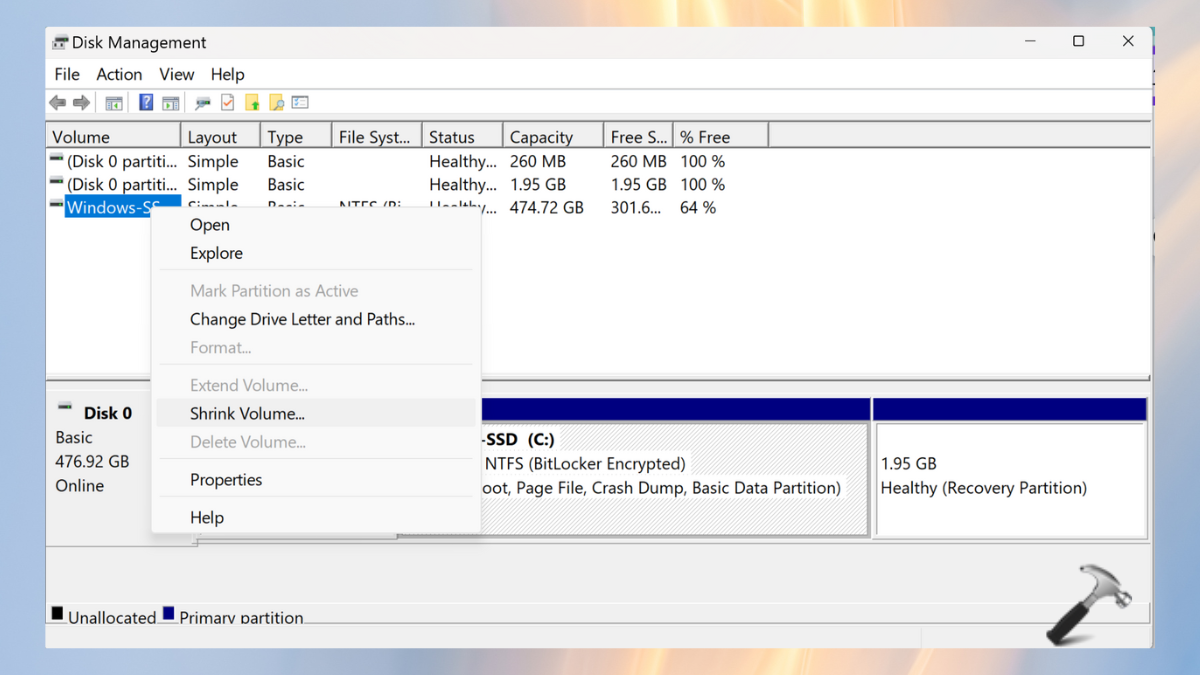
- From the Windows search bar, type “partition”. It will open the “Create and Format Hard Disk Partitions” dialogue box and will enable you to use the disk management tool.
- Right-click on the system partition and select the “Shrink volume” button.
- Then, mention the size of the area you will be shrinking in MB and press “Shrink”.
This can run one of the commands that will give unallocated space on the disk.
b. Create a Partition for the Remaining Space for File Storage
- Now, select “New Simple Volume” by right-clicking on unallocated space.
- With the guidance of a wizard, put in the following: the size, drive letter (NTFS is advised), file system, and volume label of the desired partition.
- Then, click “Done” to create the appropriate partition.
c. Deletion and Merge of Partition
- In the Disk Management Utility, right-click the partition you wish to delete or use for extending.
- Choose either the “Delete Volume” or the “Merge Volume” option.
- Afterwards, follow the on-screen instructions related to the chosen option.
3. How to Partition SSD in Windows 11 Using the DiskPart Command
a. Create a Partition in SSD with Unallocated Space
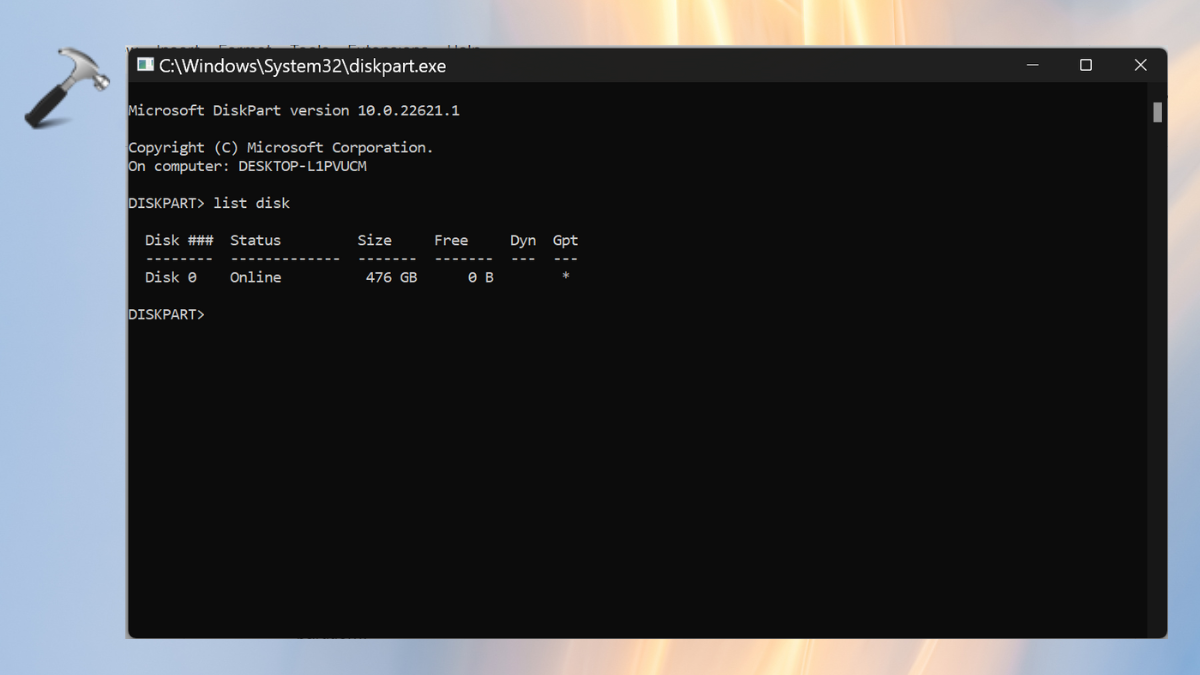
- Press the Windows+S keys, search “diskpart”, and open the DiskPart command prompt tool.
- Tap “Yes” when the administration message pops up.
- In DiskPart, type “list disk” to see all the disks connected to your system. Identify the SSD you want to partition.
- Type “select disk X” (replace X with the disk number of your SSD).
- Type “create partition primary size=X” (replace X with the size in MB you want for the new partition).
- Type “format fs=ntfs” to format the new partition with the NTFS file system.
- Type “assign letter=X” (replace X with the drive letter you want to assign).
- Type “exit” to close DiskPart.
b. Create a Partition in SSD with Allocated Space
- Repeat steps 1-3 from the previous section.
- Type “create partition primary size=X” (replace X with the size in MB you want for the new partition).
- Type “format fs=ntfs” to format the new partition with the NTFS file system.
- Type “assign letter=X” (replace X with the drive letter you want to assign).
- Type “exit” to close DiskPart.
By following these methods, you can effectively partition your SSD in Windows 11, optimising your storage space and improving the organisation of your data. Whether you prefer using Windows Settings, Disk Management, or the DiskPart command, partitioning your SSD can enhance your system’s performance and storage management capabilities.
That’s it!