In Windows 11, usually three different types of accounts you can use – local account, Microsoft account and school/work account. While it’s very easy to add a Microsoft account, in this guide we’ll see how to remove Microsoft account in Windows 11. If you have added a Microsoft account that you no longer want, this guide should be useful for you.
When you have multiple Microsoft accounts added to the system, it is very easy to remove a Microsoft account you no longer wanted. You can sign into any of the wanted Microsoft account and then remove the no longer required Microsoft account. Well, if you have the one and only Microsoft account in Windows 11, removing this type of account is complex, and we will also share solution for that.
Page Contents
How to remove Microsoft account in Windows 11
Part 1: When you’ve multiple Microsoft accounts
1. Sign in to primary Microsoft account or local account on your system. Note that this account must be an administrator account.
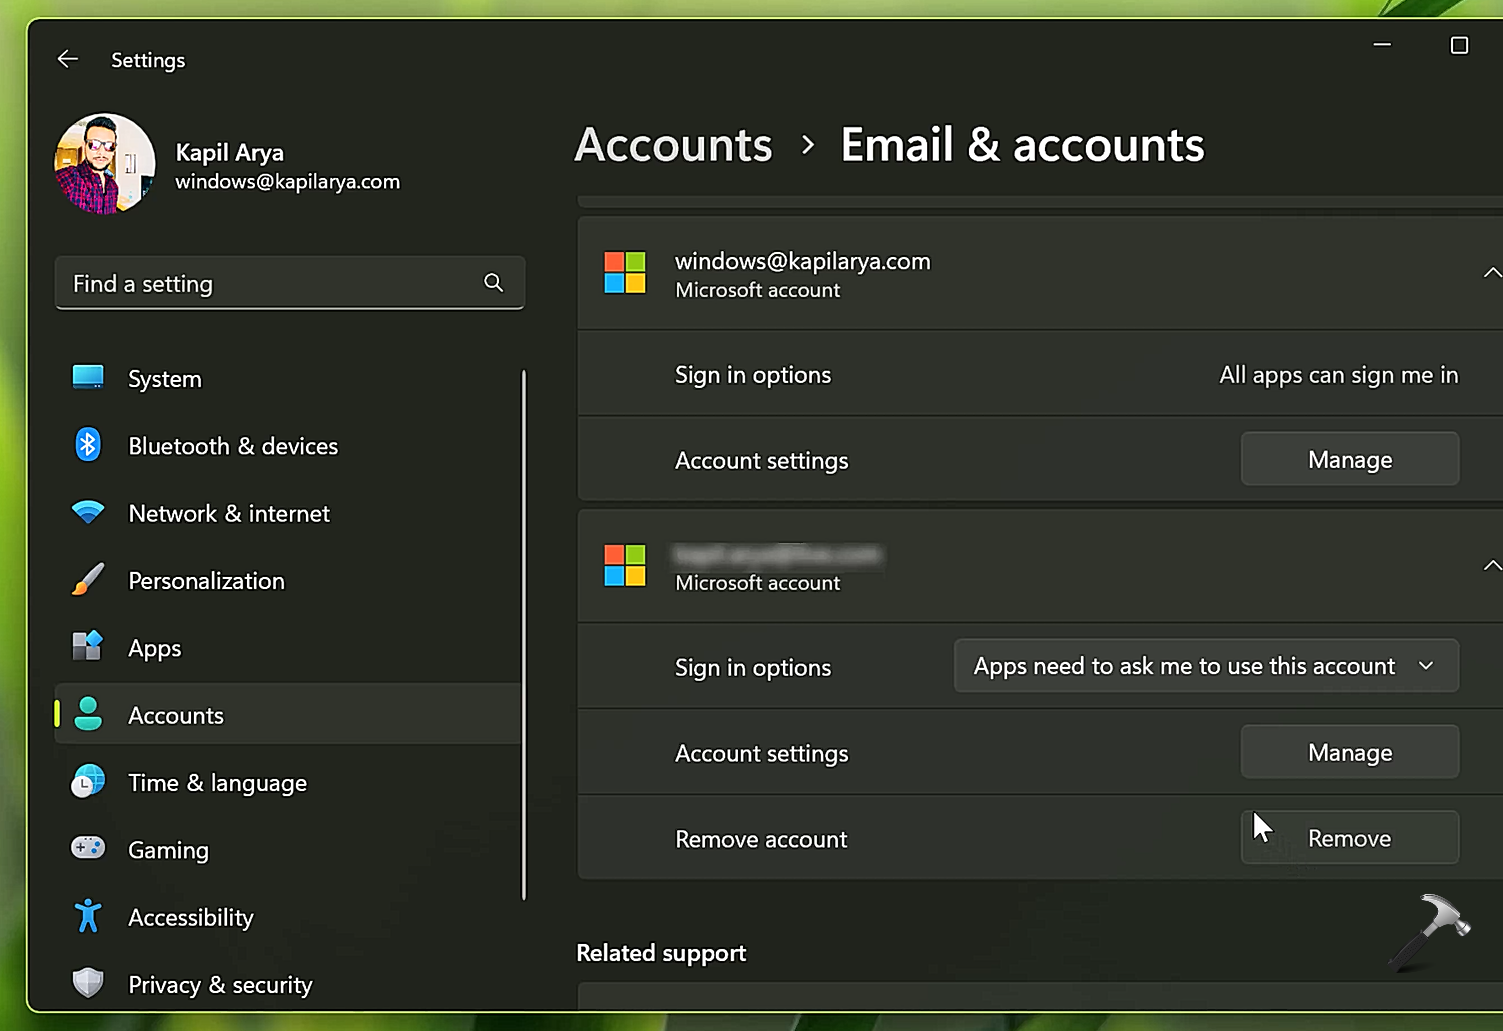
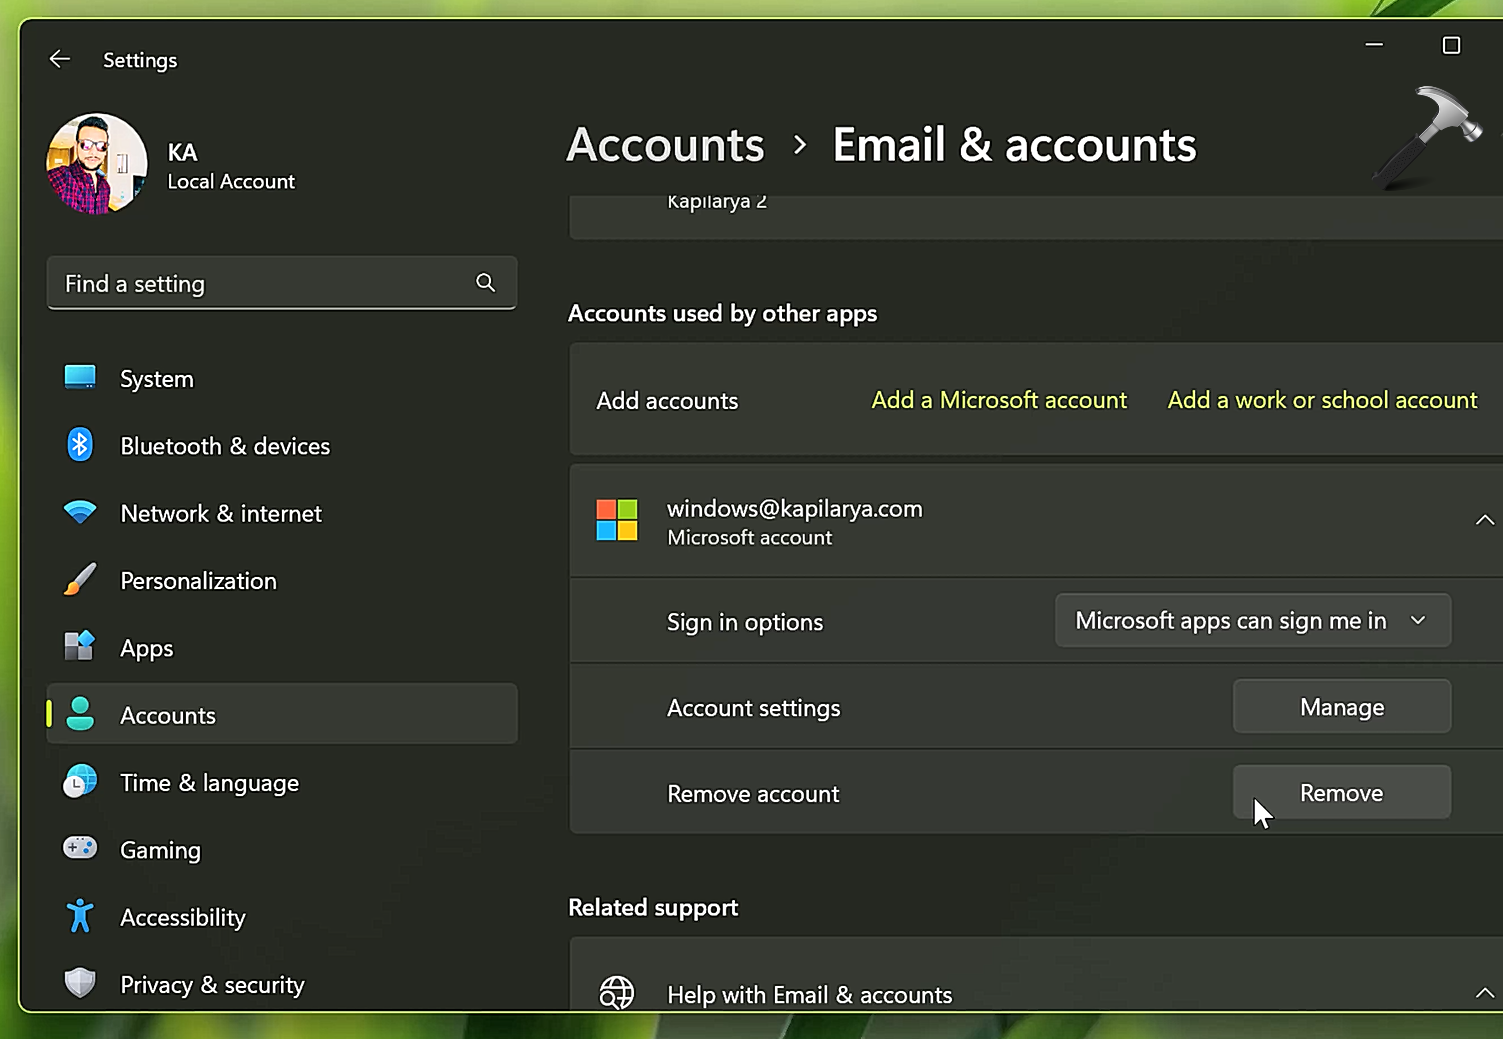
2. Open Settings app and go to Accounts > Email & accounts.
3. Under Accounts used by other apps, locate the Microsoft account you want to delete and click on the Remove button next to Remove account.
4. In the confirmation flyout menu, click on Yes to confirm this operation.
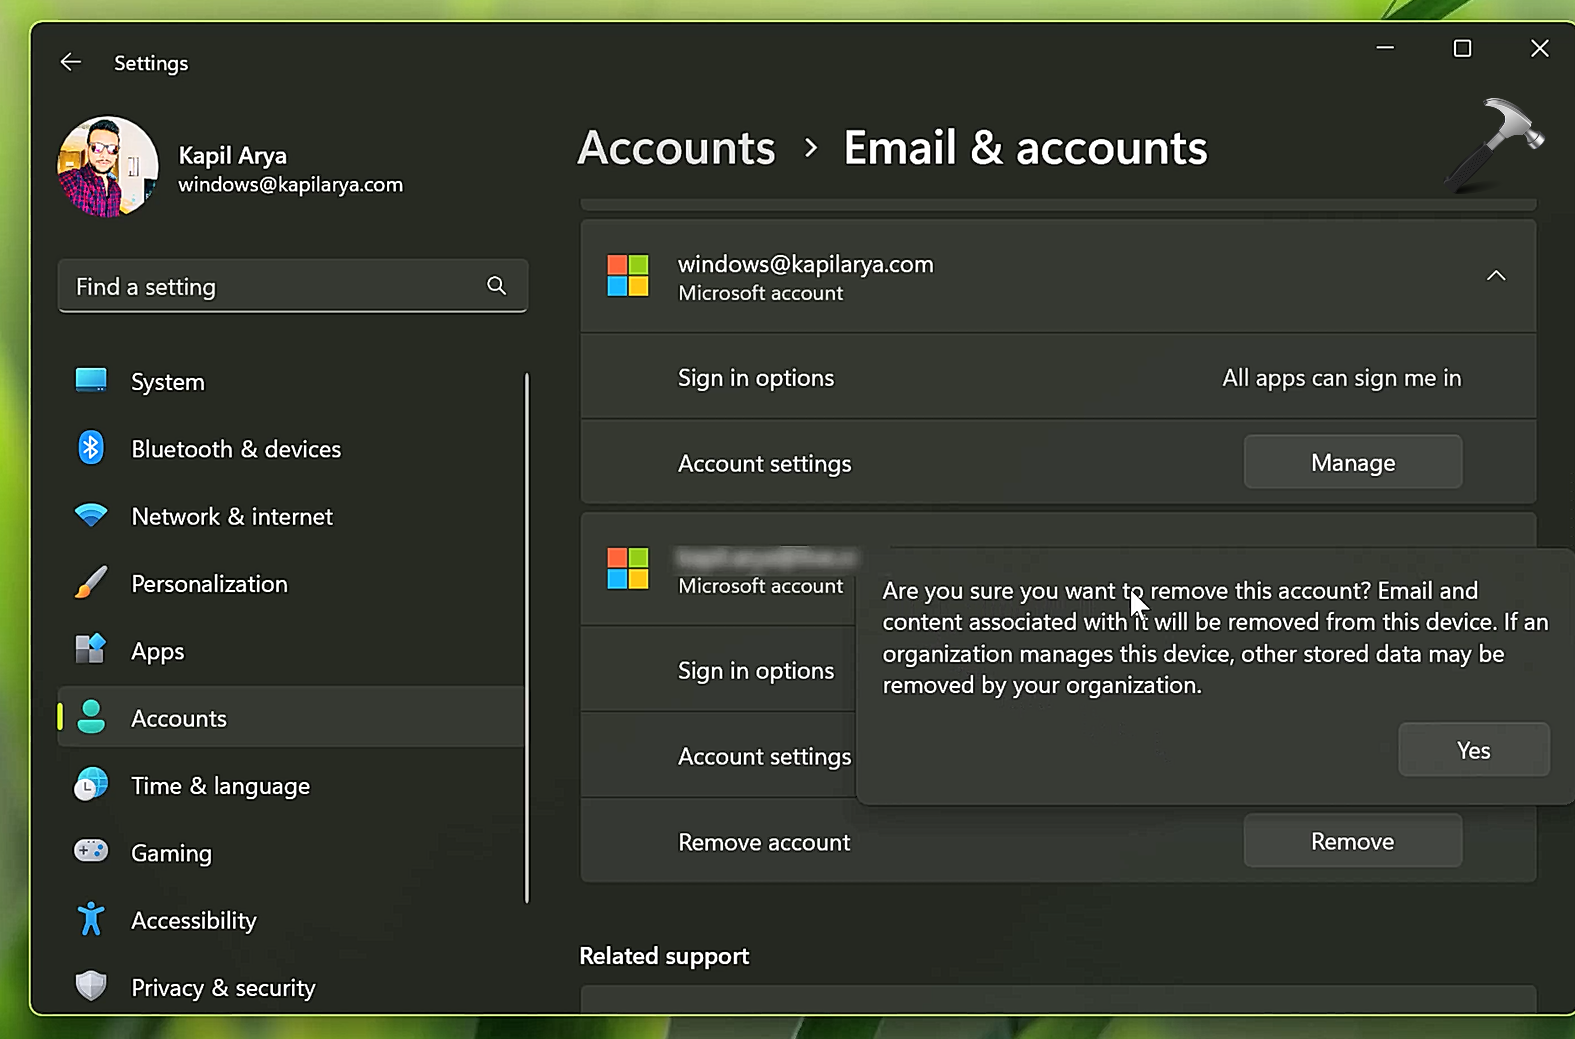
In this way, the Microsoft account you no longer want should be removed by this process.
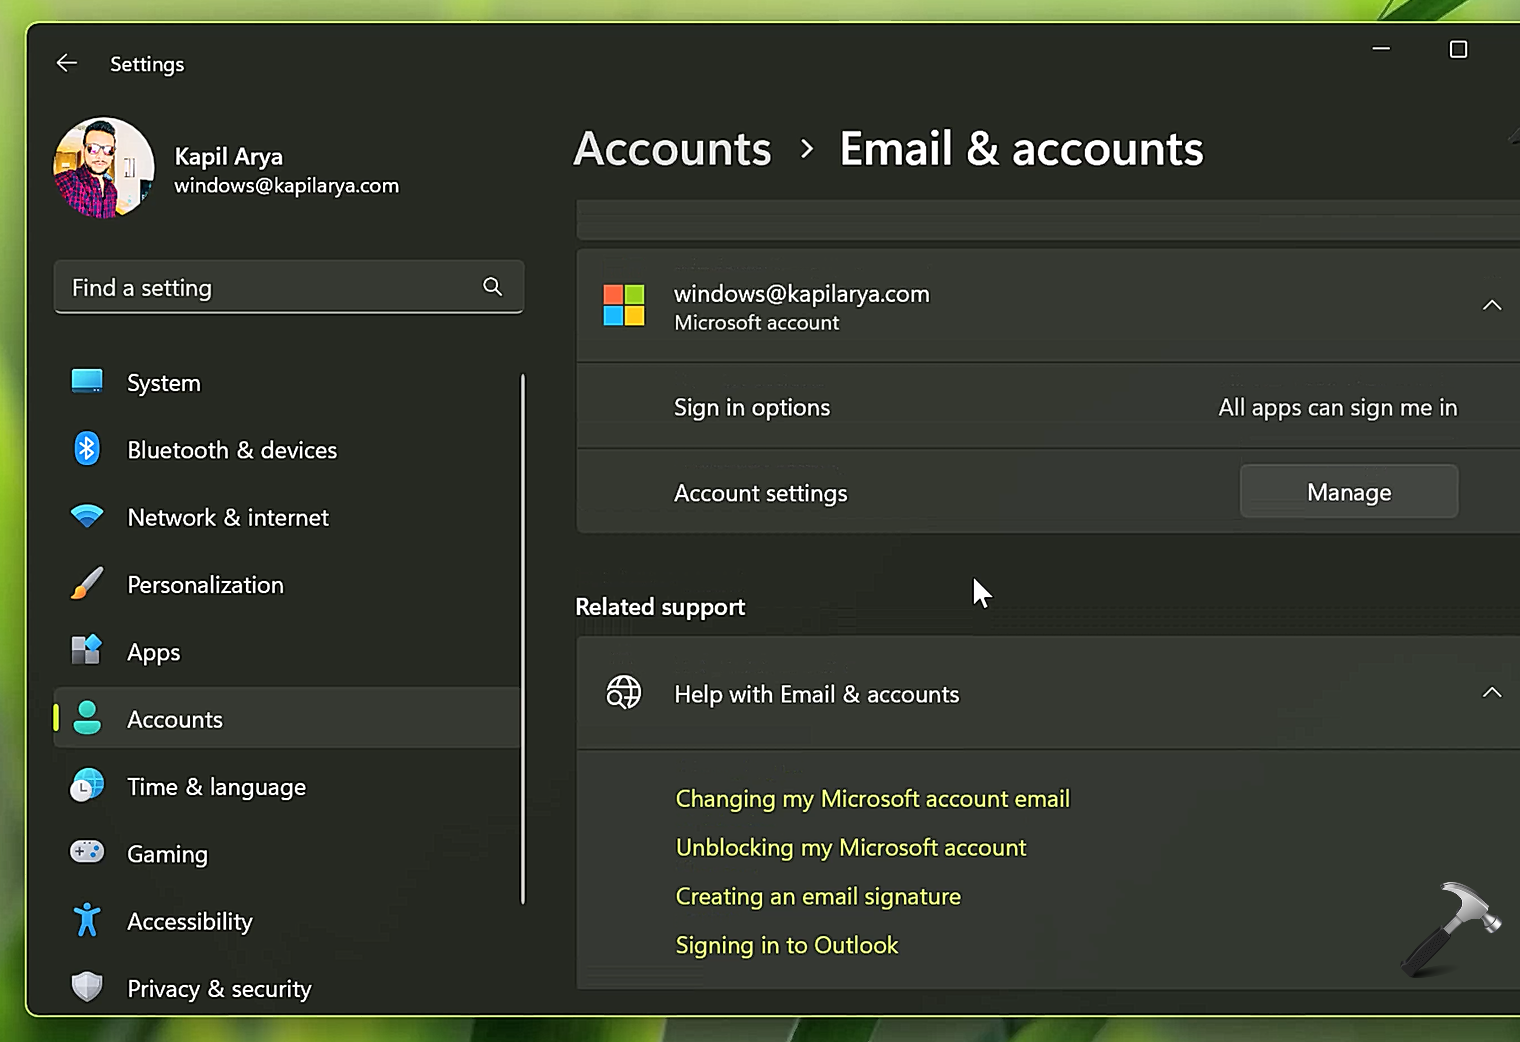
Part 2: Removing primary Microsoft account
If you have the one and only primary Microsoft account you want to remove, you need to use a different approach rather than PART 1 because Remove button is missing as shown below.
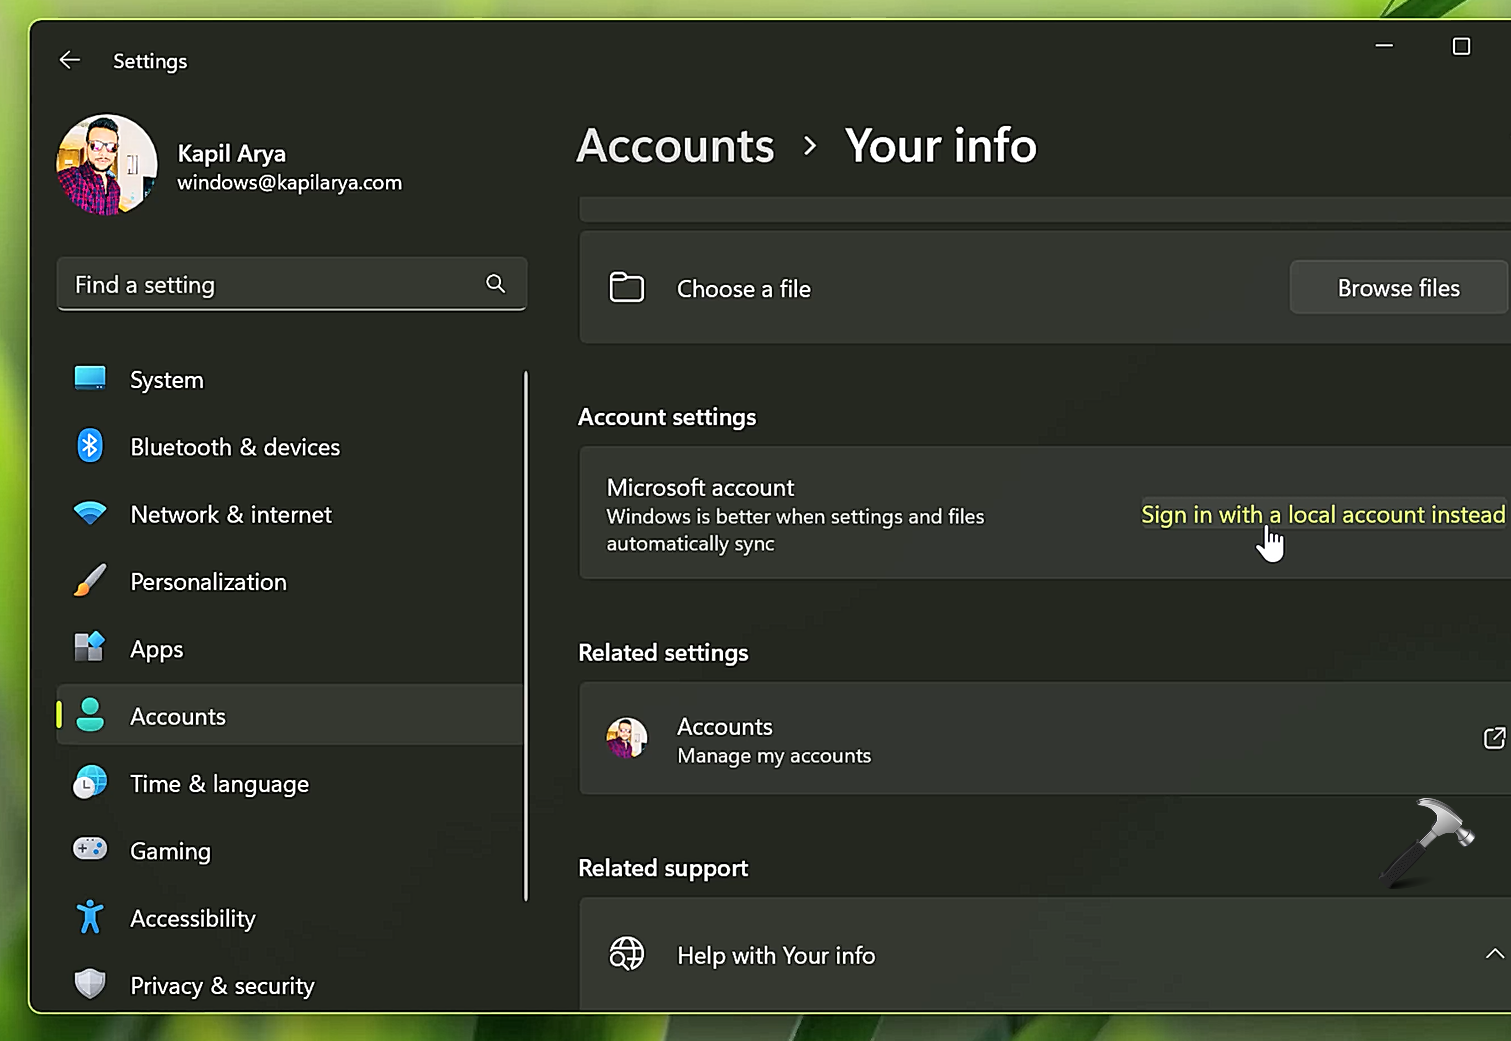
In this case, you need to switch to a local account first. Follow these steps:
1. Go to Settings > Accounts > Your info. Click on Sign in with a local account link under Account settings.
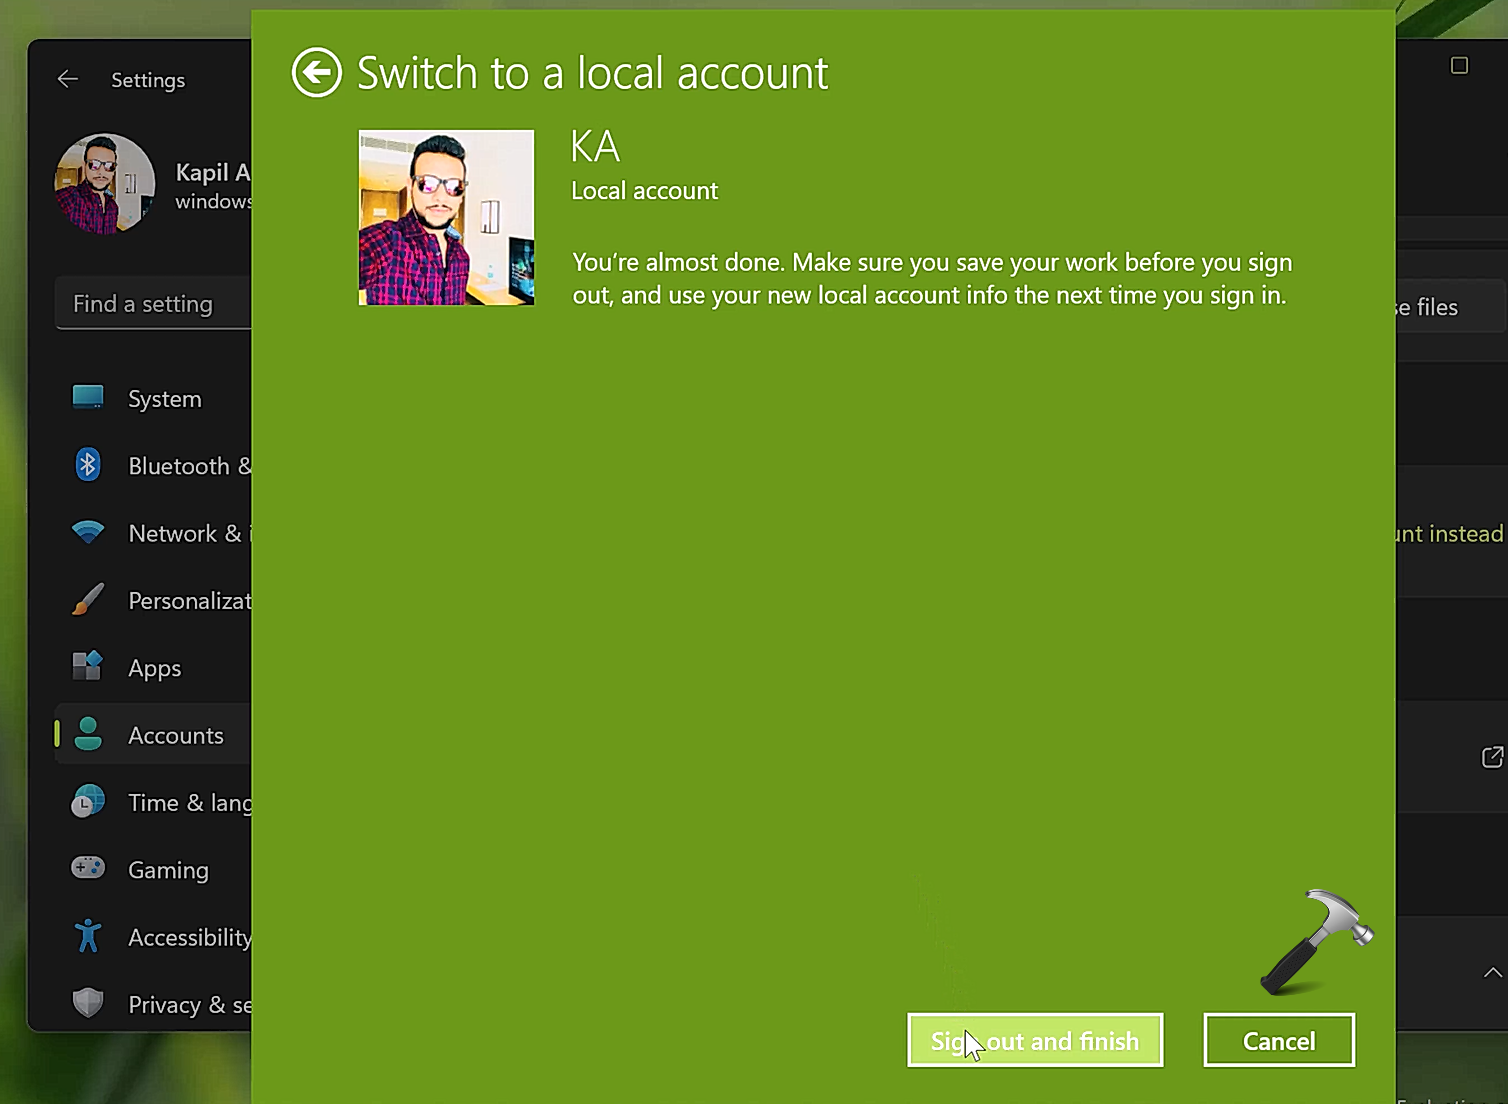
2. Follow the on-screen instructions to switch to local account.
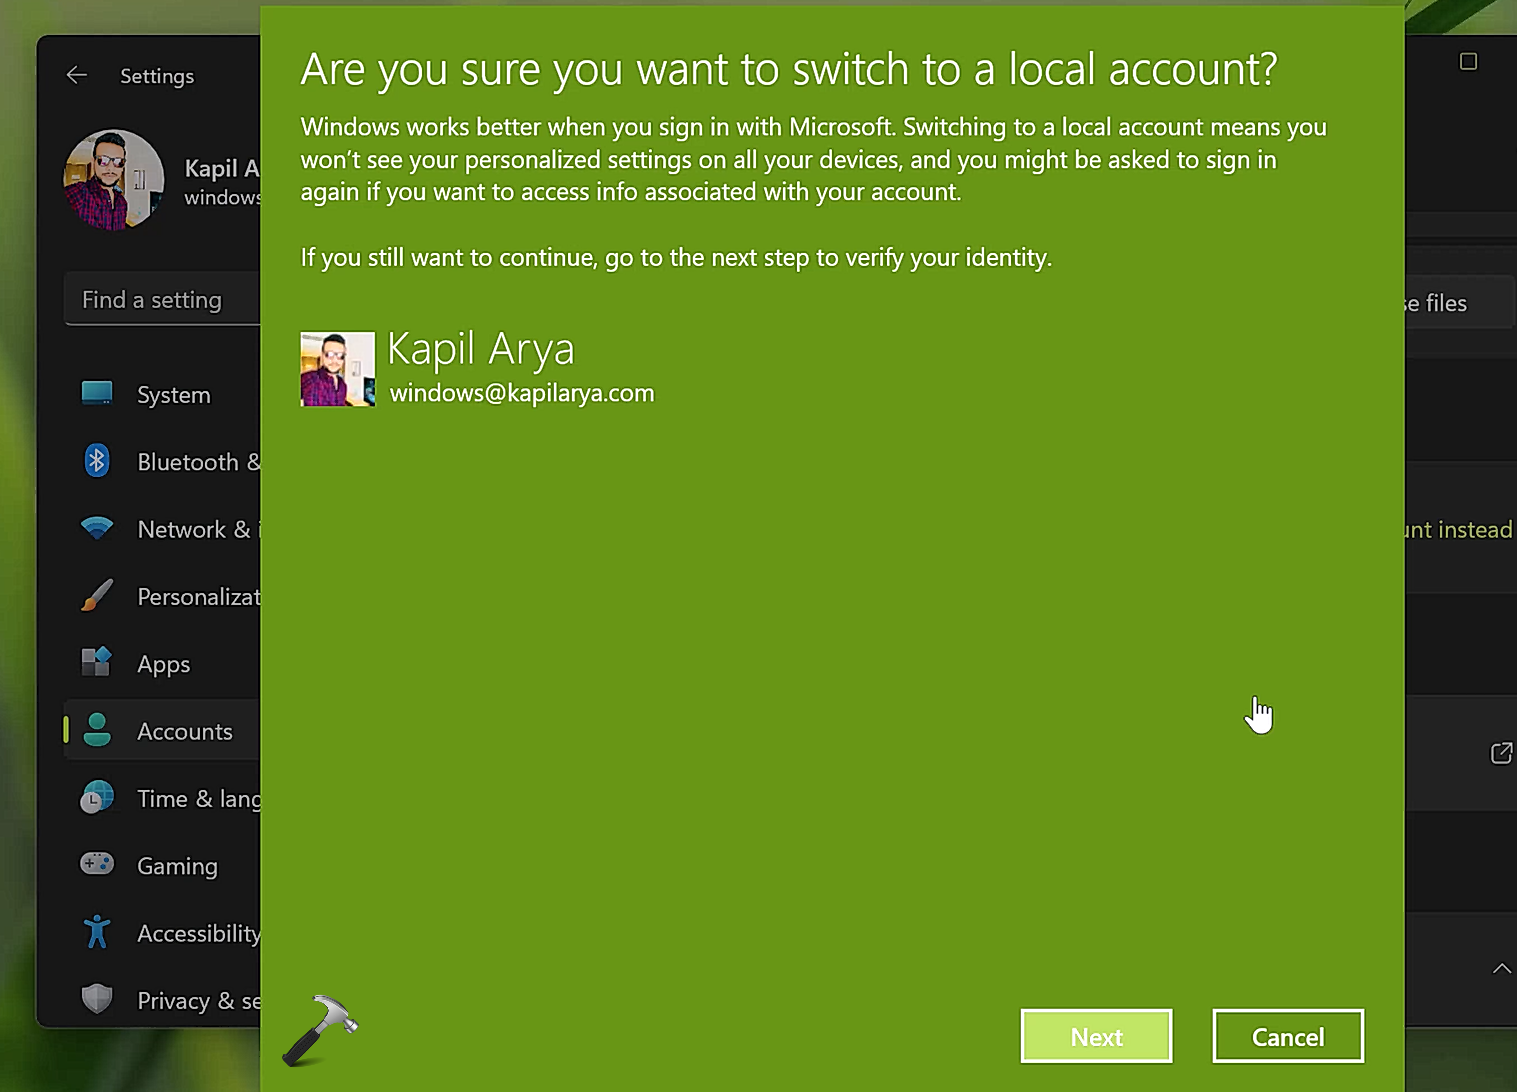
3. Confirm switching to local account.
4. Once switched to local account, go again to Settings app > Accounts > Email & accounts. And under Accounts used by other apps, locate the primary Microsoft account, click on the Remove button next to Remove account. Confirm with Yes.
So this is how you can remove Microsoft account from your Windows 11 operating system.
Video guide
Checkout this video guide for live demonstration:
That’s it!