Earlier, we’ve shared you the guide to use classic Disk Cleanup utility to free up space on your Windows:
How to use Disk Cleanup utility in Windows 10/8/7
Disk Cleanup tool remain part of Windows family since Windows 98. Recently, Microsoft has announced they’re removing Disk Cleanup tool with upcoming Windows 10 V1809. Microsoft storage team says:
With this notification, you’re recommended to use Storage sense feature as the substitute of Disk Cleanup utility. Storage sense feature is available on Windows 10 V1703 or later. With Storage sense, your Windows 10 can automatically free up disk space, when you’re low on it.
Here’s how to enable and configure Storage sense in Windows 10:
Page Contents
How To Use Storage Sense To Automatically Free Up Space In Windows 10
FIX 1 – Via Settings App
1. Right click Start Button or press  + X keys and select Settings.
2. In the Settings app, navigate to System > Storage.
3. Moving on, under Storage, you’ll find the Storage sense section. You can turn On this feature to let Windows 10 automatically manage space and free up space when you’re low on it. Click Change how we free up space automatically link there to configure the feature.

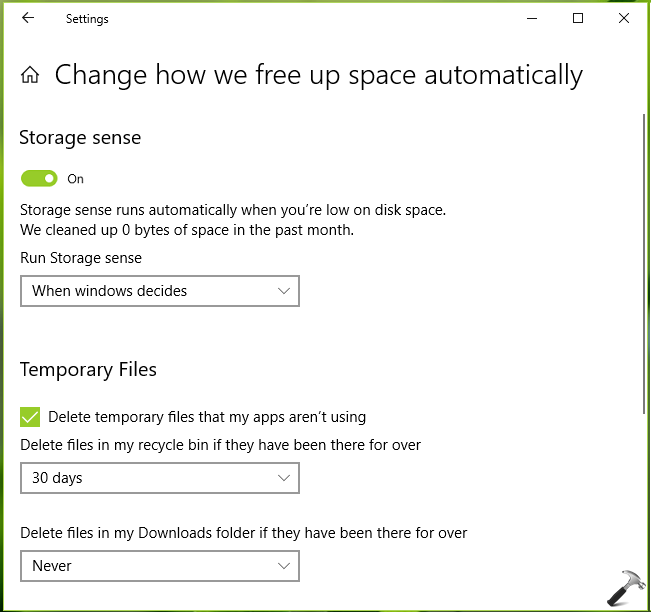
4. On next screen, choose when Windows should run Storage sense. You can enable/disable whether Windows should delete temporary files which apps are no longer using. Here, you can configure the frequency with which Windows cleanup Recycle Bin.
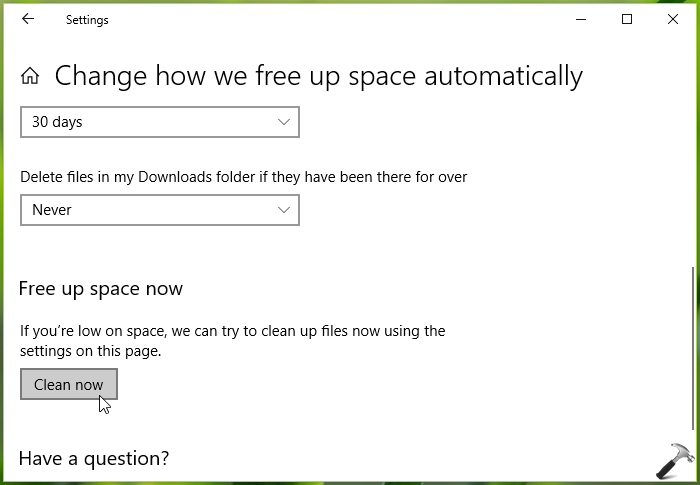
5. Moving on, on the same screen, under Free up space now, click Clean now to clear unnecessary files and free up disk space on the machine.
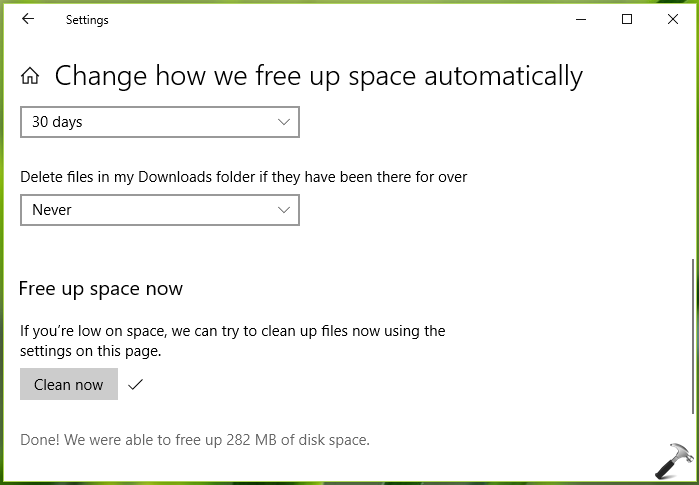
6. When cleanup is done, Windows will notify how much space it make free and usable for you.
So this is how you can configure and use Storage sense on Windows 10. Now let us see how to enable this feature via registry.
FIX 2 – Via Registry
Registry Disclaimer: The further steps will involve registry manipulation. Making mistakes while manipulating registry could affect your system adversely. So be careful while editing registry entries and create a System Restore point first.
1. Press + R and put regedit in Run dialog box to open Registry Editor (if you’re not familiar with Registry Editor, then click here). Click OK.

2. In left pane of Registry Editor window, navigate to following registry key:
HKEY_CURRENT_USER\SOFTWARE\Microsoft\Windows\CurrentVersion\StorageSense\Parameters\StoragePolicy
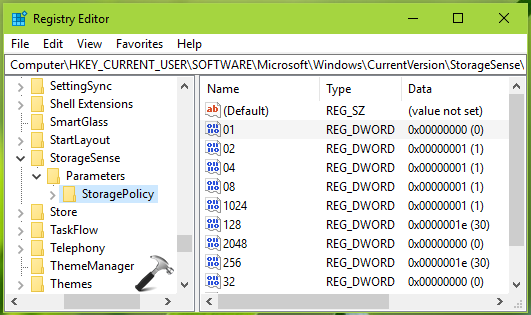
3. Now in the right pane of StoragePolicy registry key, you might see 01 named registry DWORD (REG_DWORD) which is set to 0. This DWORD can be used to allow/prevent Storage sense to run automatically when you’re low on space. So double click on this registry DWORD to modify its Value data:
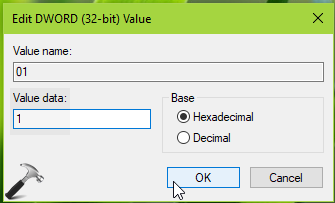
4. Finally, set the Value data to 1 and click OK. This should enable Storage sense to run automatically to free up space on your Windows 10, when you’re low on it. Close Registry Editor and reboot to make changes effective.
That’s it!
Also check: How to disable Storage Sense in Windows 10 using Group Policy.