
If you want to behave your apps different with respect to graphics, you can set graphics preference for apps. Windows 11 have the settings available so that you can configure them for certain apps of your choice. Using these settings, you can also set desired GPU, in case you’ve more than one GPU connected. You can individually specify the GPU for Microsoft Store apps and Desktop apps.
If it’s matter of performance, an external GPU may help you to get more productivity with device. In this article, we’ve two different methods for you to set graphics preference for apps in your Windows 11.
Page Contents
Set Graphics Preference for Apps in Windows 11
Method 1: Using Settings app
1. Press  + I keys to open Settings app.
2. In Settings app, go to System > Display > Graphics. Scroll down there and select the app for which you want to set graphics performance preference. Click Options.
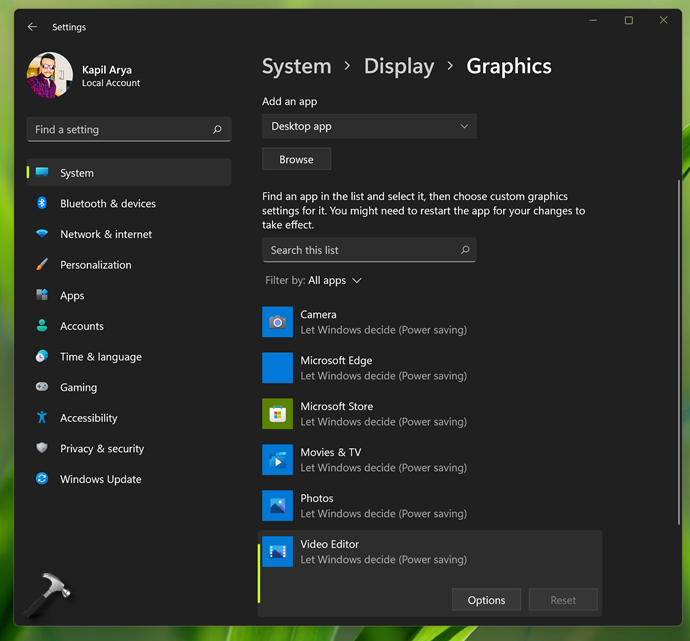
3. Under Graphics preference, select an option from either of these:
- Let Windows decide
- Power saving
- High performance
- Don’t use Auto HDR

4. Finally, click Save to apply the graphics performance preference for the app.
Method 2: Using Registry
 Registry Disclaimer: It is recommended to create a System Restore point first, if you’re not familiar with registry manipulation.
1. Run regedit command to open Registry Editor.
2. In left pane of Registry Editor window, navigate to:
HKEY_CURRENT_USER\Software\Microsoft\DirectX\UserGpuPreferences
3. In the right pane, you can create a registry string (REG_SZ) for the app name using this Microsoft documentation.

4. Double click on the registry string and set it’s Value data in either of these combinations:
AutoHDREnable=0;GpuPreference=1; (Don’t use Auto HDR, Let Windows decide)
AutoHDREnable=0;GpuPreference=1; (Don’t use Auto HDR, Power Saving)
AutoHDREnable=0;GpuPreference=2; (Don’t use Auto HDR, High Performance)
AutoHDREnable=1;GpuPreference=1; (Use Auto HDR, Let Windows decide)
AutoHDREnable=1;GpuPreference=1; (Use Auto HDR, Power Saving)
AutoHDREnable=1;GpuPreference=2; (Use Auto HDR, High Performance)
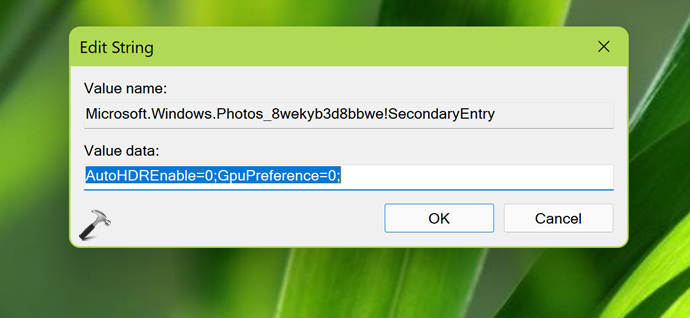
5. Click OK to save these registry values.
6. Close the Registry Editor and sign out and then sign in back to make changes effective.
That’s it!
Related: Enable or disable HDR in Windows 11.


What does GpuPreference=0 specify. In your article a value of 1 signals to let windows decide, a value of 1 signals power saving. Are you saying that windows deciding and power saving are ubiquitously 1? Or is this some strange effect because it appears you only have one GPU the Intel Iris XE graphics card?