Windows 11 comes with an in-built antivirus software called Microsoft Defender Antivirus. This helps in protecting the system from malware, virus and other potential threats. Cloud protection works with Microsoft Defender seamlessly to deliver real-time, intelligent and accurate protection. So, if you like to enhance standard real-time protection, then it is recommended to enable Cloud-delivered protection for Microsoft Defender.
In this post, you will get to know how you can enable Cloud-delivered protection for Microsoft Defender in Windows 11. One can perform this task in three different ways. Now, let’s have a look at these methods below!
Page Contents
Enable Cloud-delivered Protection for Microsoft Defender
Method 1: Using Windows Security
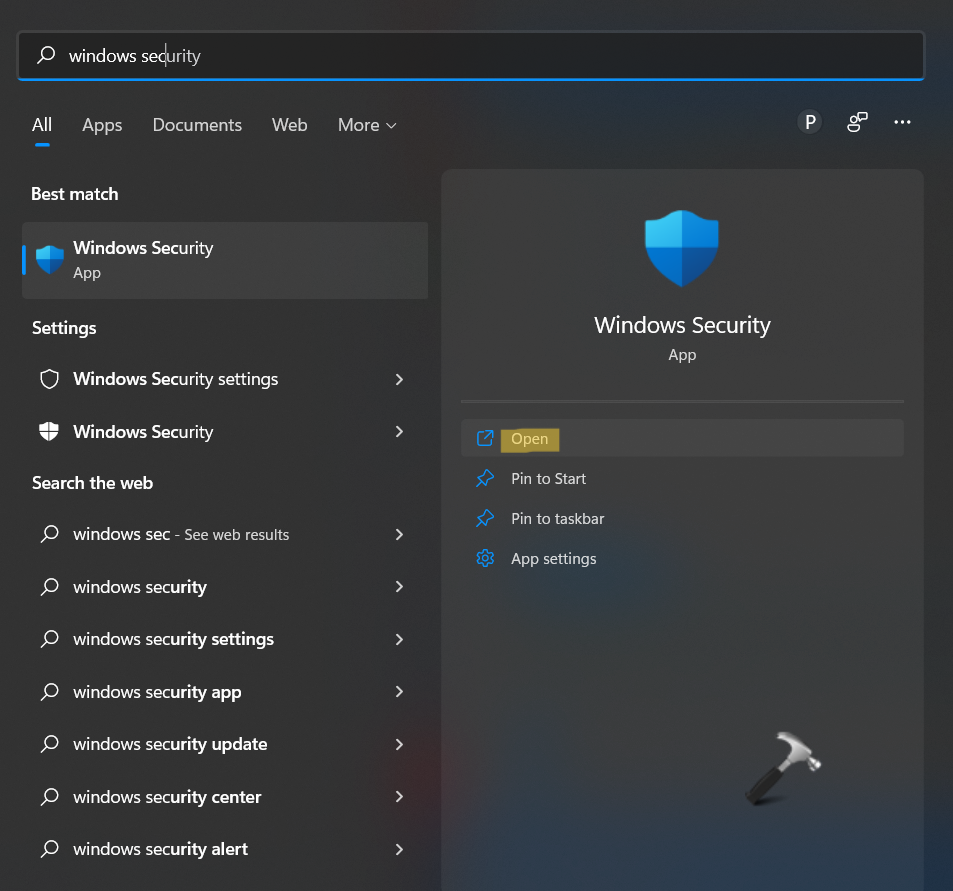
1. In the first place, open Windows Security through Windows Search.
2. After that, go to the Virus & threat protection tab.
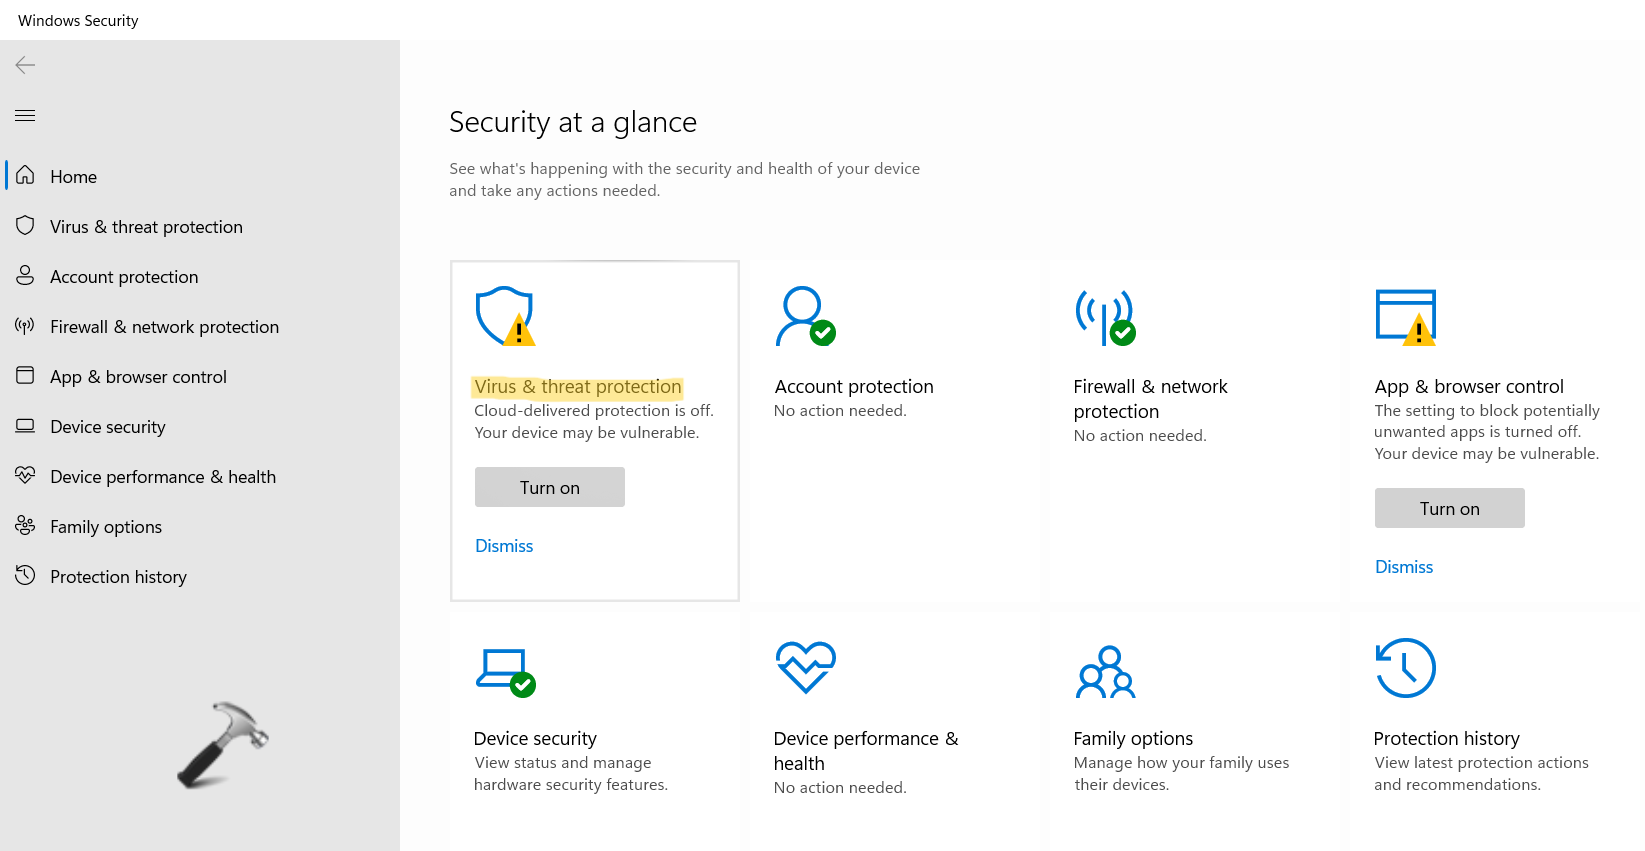
3. Now, click on Manage settings present under Virus & threat protection settings.

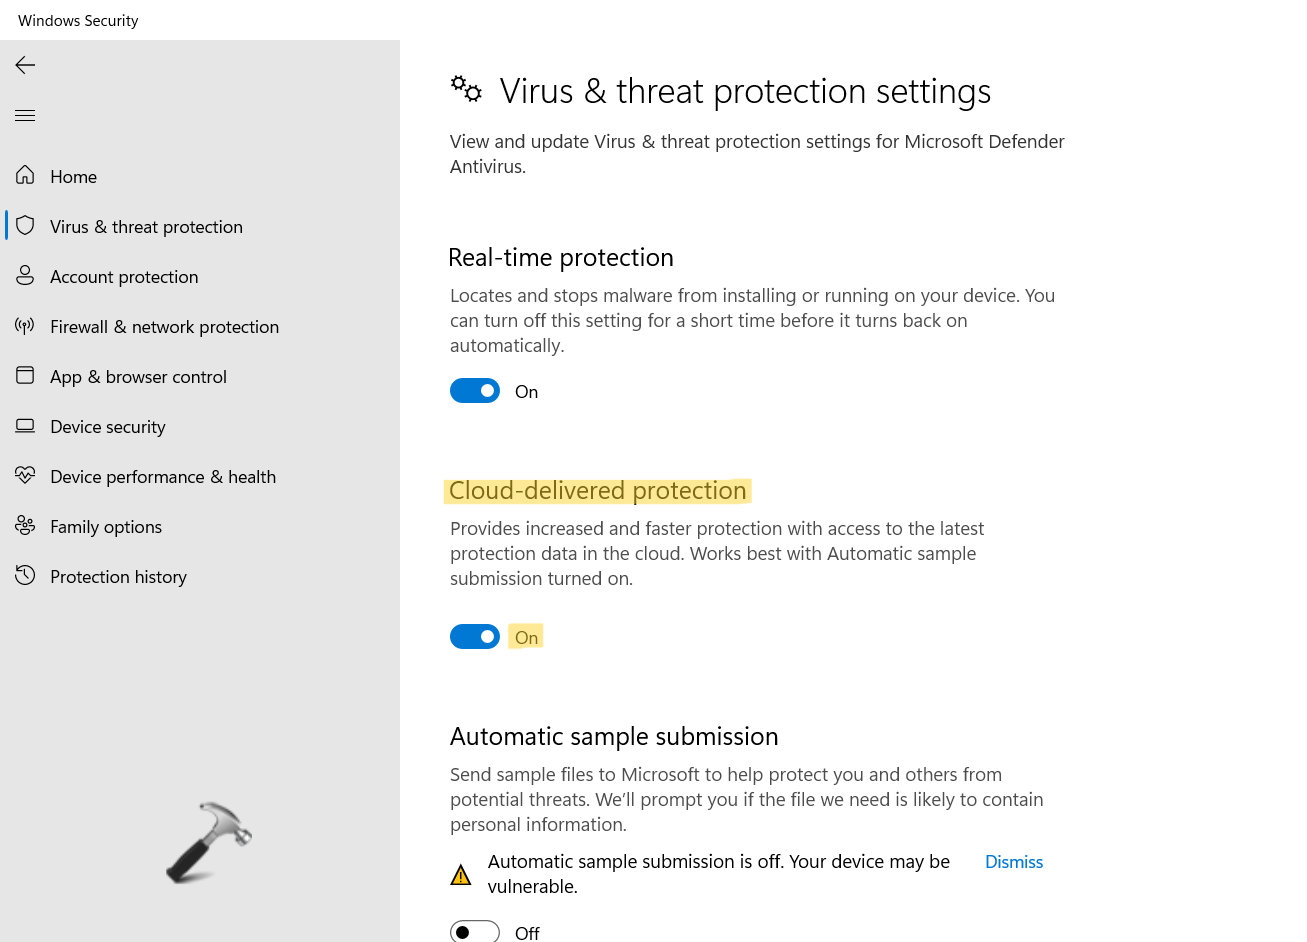
4. Turn the toggle On for Cloud-delivered protection. This will turn on the Cloud-delivered protection for Microsoft Defender.
Method 2: Using Command Prompt
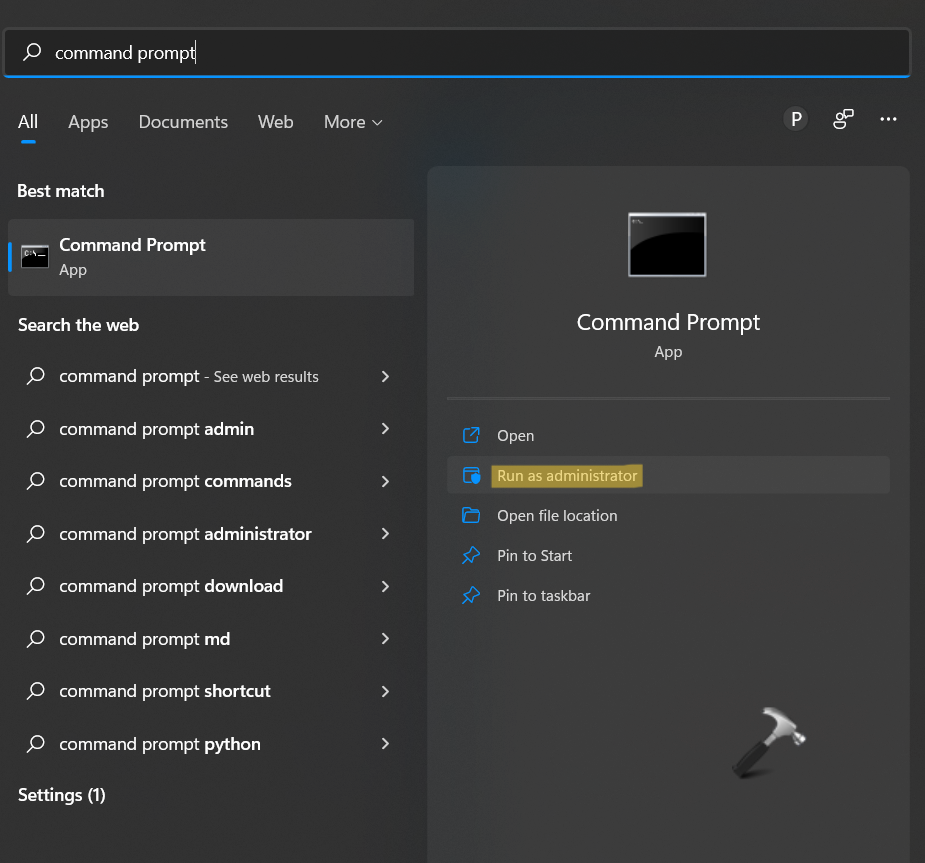
1. Firstly, open Command Prompt with admin privileges.
2. In the elevated Command Prompt, copy-paste the following command and hit Enter.
PowerShell Set-MpPreference -MAPSReporting 2

Or
PowerShell Set-MpPreference -MAPSReporting Advanced
3. Now, you can close Command Prompt.
Method 3: Using Registry Editor
1. In the first place, you need to open the Run dialog box. For this, press the Windows + R keys simultaneously on your keyboard. Once opened, type regedit in the Run dialog box to open Registry Editor.

2. After that, navigate to the following location:
HKEY_LOCAL_MACHINE\SOFTWARE\Policies\Microsoft\Windows Defender\Spynet
3. Once there, right-click on the DWORD key named SpynetReporting. Now, select the Delete option from the context menu.

4. Lastly, close Registry Editor and reboot your Windows system to apply the changes.
So, this is how Windows users can turn on Cloud-delivered protection in Windows 11 PCs. All of these methods are quite effective. Try all of them out and check what works the best for you!