
In Windows 11, Windows Search enables users to search from the taskbar to find what they are looking for. No matter what you search, it will show results on the web, in the cloud, or on the device. By default, Windows Search saves the recent search history on your system locally to help you locate things faster. For instance, you might find that an application tops your results if you have searched for the same earlier. So, how to enable/disable Search History in Windows 11?
In this post, learn how you can turn on or off Windows Search History on your system in two different ways.
Page Contents
Enable/Disable Search History in Windows 11
Method 1: Enable/Disable Search History through Settings
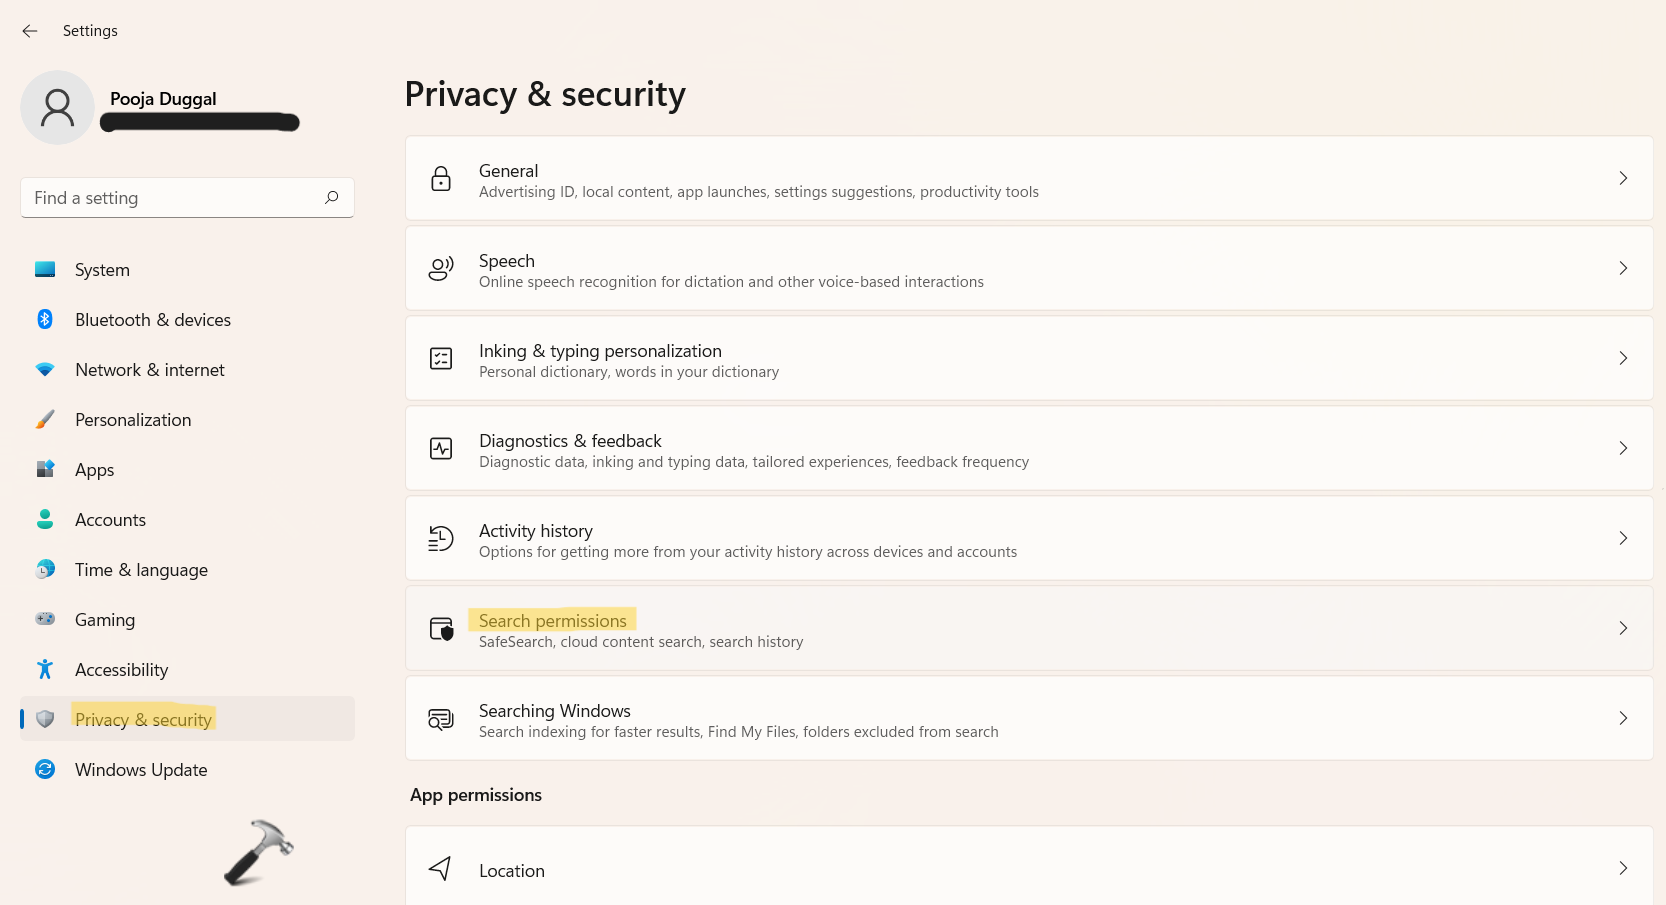
1. Initially, you need to open Settings by pressing the Windows + I tabs together on your keyboard. After that, go to the Privacy & security tab and then, select Search permissions present in the right pane.
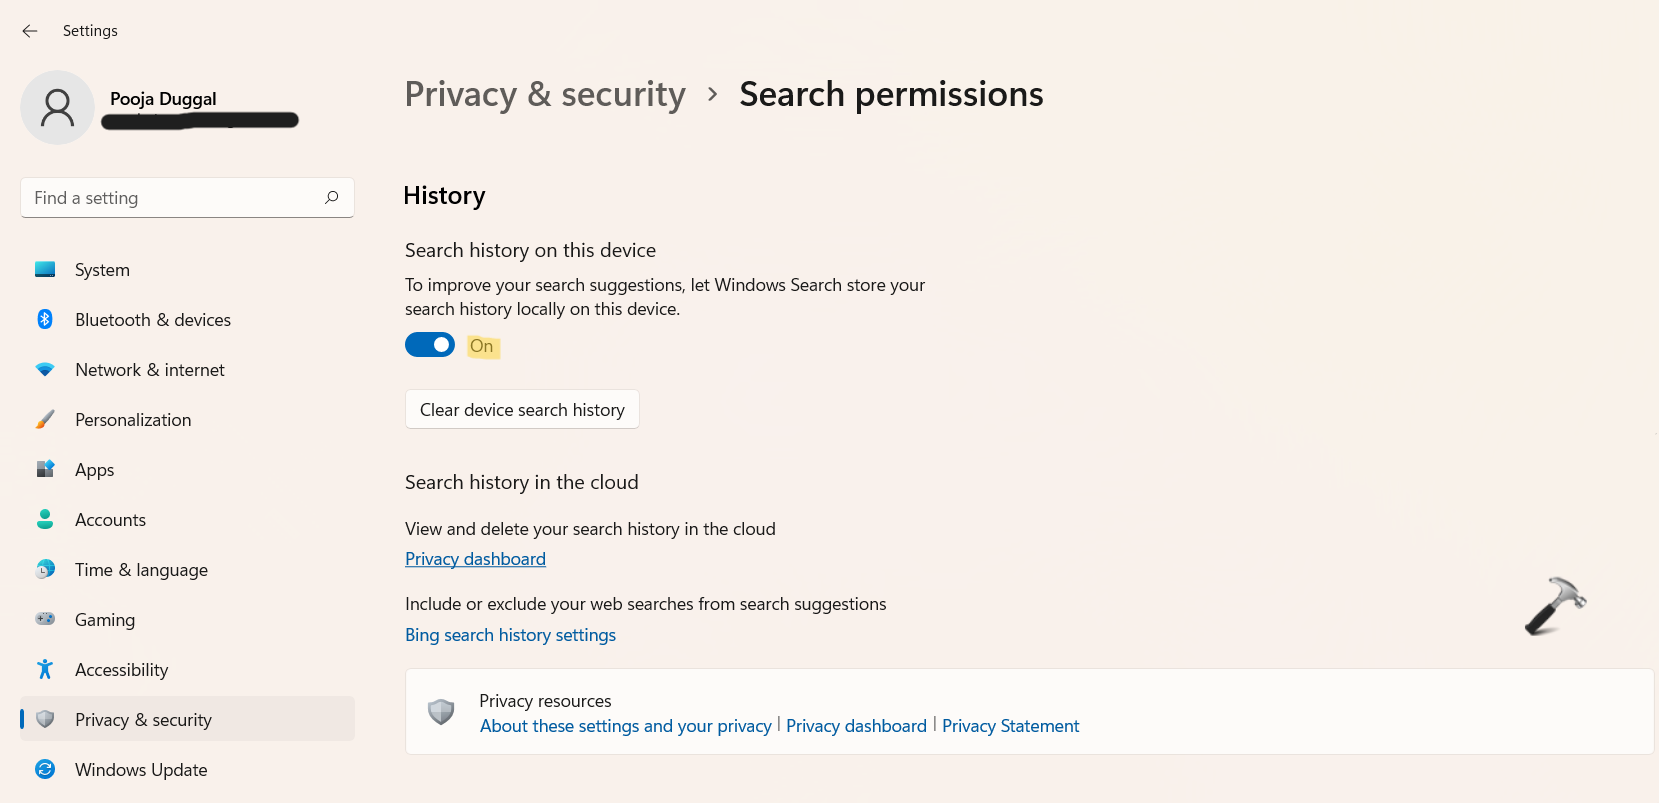
2. Once there, you can enable or disable Search history by toggling the switch. Under the History section, turn the toggle On present next to Search history on this device to enable Search History.
3. Or else, turn the toggle Off to disable Search History in Windows 11.
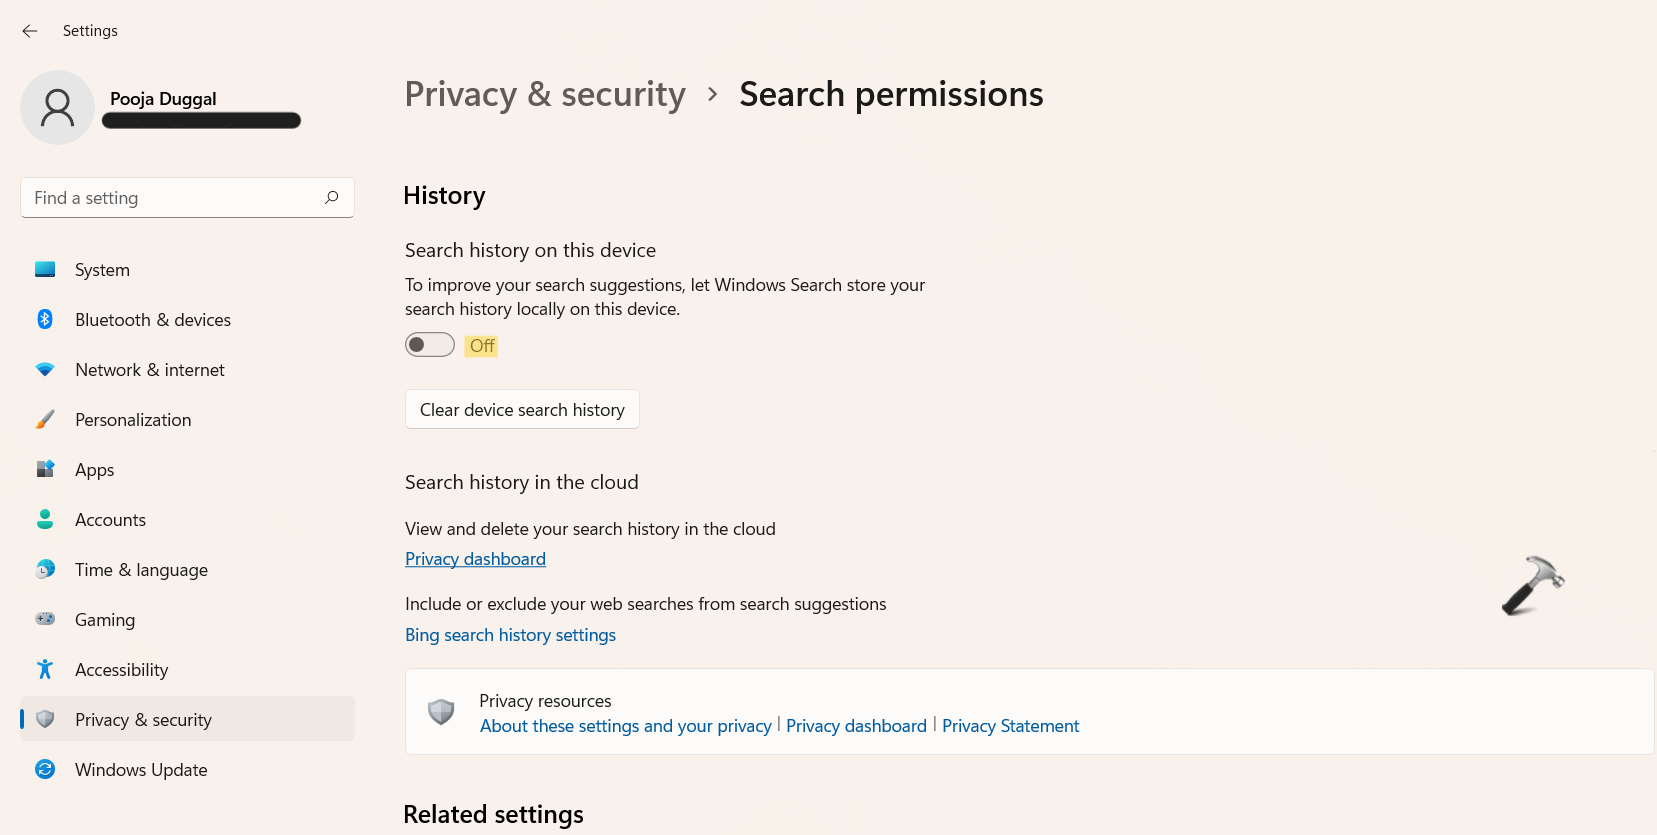
4. Now, you can close Settings.
Method 2: Enable/Disable Search History through Registry Editor
1. In the first place, you need to open the Run dialog box. For this, press the Windows + R keys simultaneously on your keyboard. Once opened, type regedit in the Run dialog box to open Registry Editor.

2. After that, navigate to the following location:
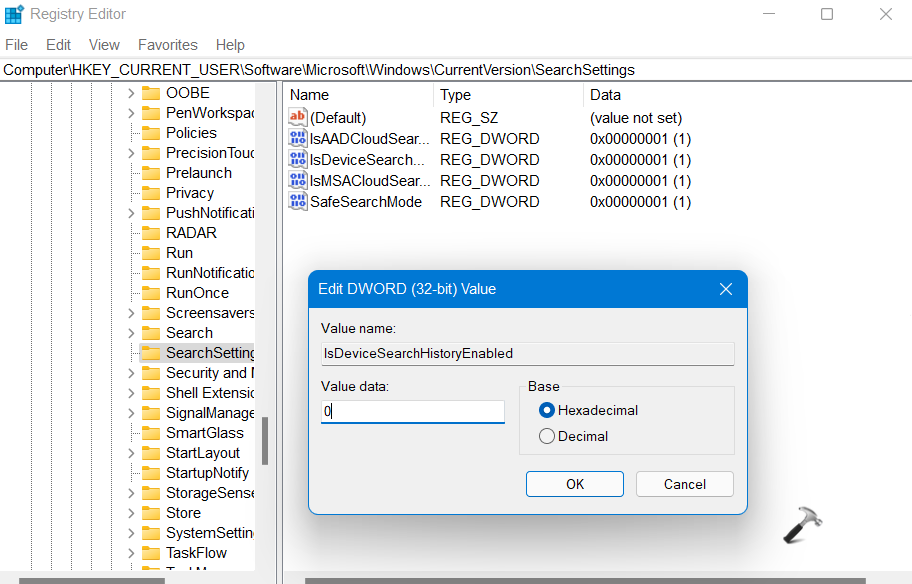
HKEY_CURRENT_USER\Software\Microsoft\Windows\CurrentVersion\SearchSettings
3. Once there, double-click on the IsDeviceSearchHistoryEnabled Now, change its value data to 1 to enable Search History.

4. Or else, change the value data of IsDeviceSearchHistoryEnabled REG_DWORD to 0 for disabling Search History in Windows 11.
5. After that, click OK for saving the changes. Once done, close Registry Editor and reboot your computer to apply the changes.
So, this is how to enable/disable Search History in Windows 11.


