
In Windows 11, there is an amazing feature called Activity History. With this feature, users can track everything on their system, such as the websites they browse, the files they open, the applications they use and so on. Usually, Activity History gets saved in your local machine, where the admin can access them. If you want to enable or disable Activity History in Windows 11, then read this post.
Due to privacy issues, some users do not want others to see all of their activities. So, read on to find how to turn on or off this feature in Windows 11 in different ways.
Page Contents
Enable or disable Activity History in Windows 11
Method 1: Enable or disable Activity History through the Settings app
1. Firstly, press the Windows + I tabs simultaneously on your keyboard to open Settings.
2. Once there, go to the Privacy & security tab and then, choose the Activity History option.

3. Now, you will come across the Store my activity history on this device option.
To enable Activity History, make sure the checkbox present next to it is checked.
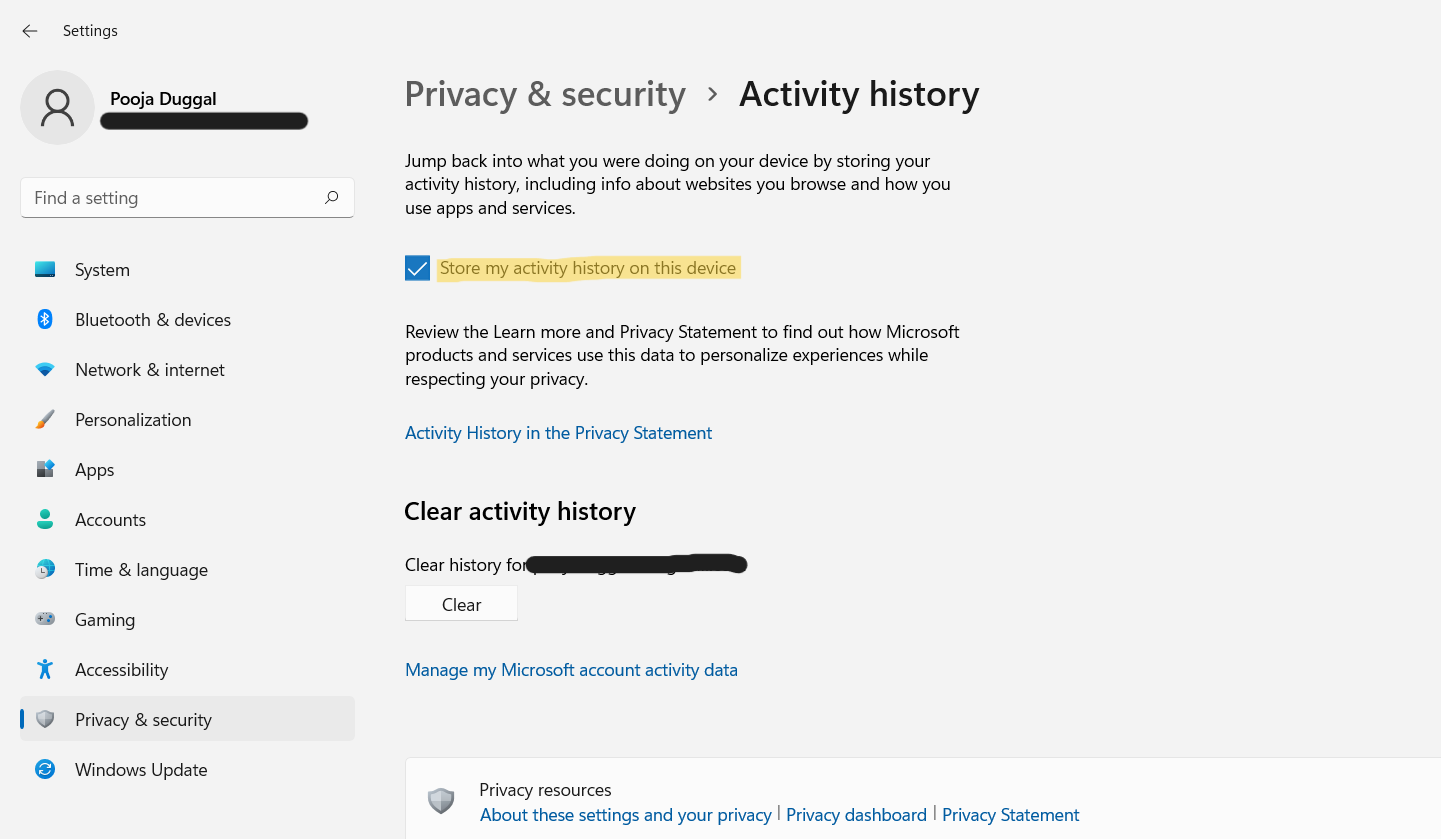
To disable Activity History, uncheck the checkbox. This will disable your Activity History successfully.

Method 2: Enable or disable Activity History through Registry Editor
1. In the first place, you need to open the Run dialog box by pressing the Windows + R keys on your keyboard. Once opened, type regedit in the Run dialog box and press the Enter If prompted by UAC, click on Yes.

2. Now, you have to navigate to the following location:
HKEY_LOCAL_MACHINE\SOFTWARE\Policies\Microsoft\Windows\System
3. Once there, right-click on any empty space present on the right side of the window. After that, click on the New option and then, select DWORD (32-bit) Value.

4. Now, you need to right-click on the newly created REG_DWORD to rename it. Choose the Rename option from the context menu.
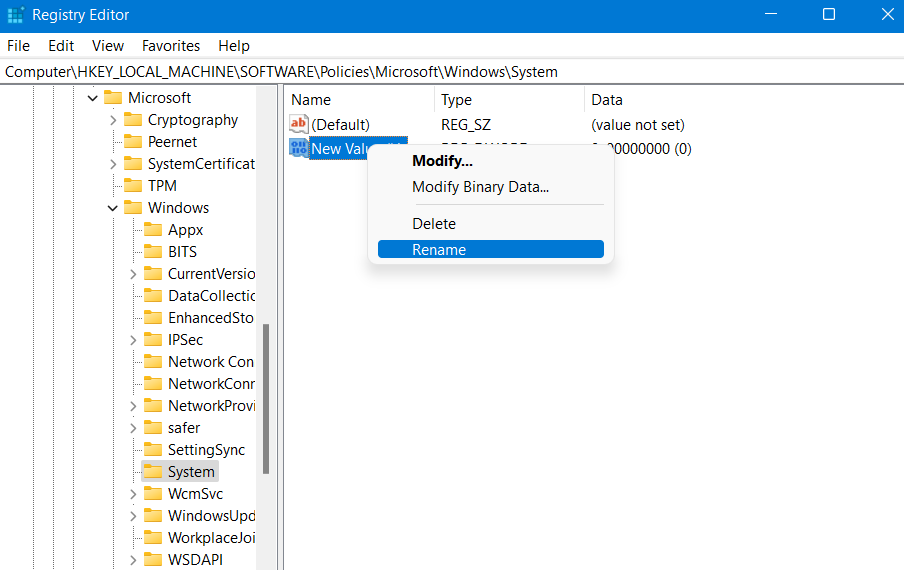
5. Rename the REG_DWORD as PublishUserActivities.
6. After renaming it, double-click on PublishUserActivities and change its value data to 0. This will enable Activity History in Windows 11.

Or else, double-click on PublishUserActivities and change its value data to This will disable Activity History in Windows 11.

7. Lastly, press OK.
So, this is how you can enable or disable Activity History in Windows 11 through different methods. Go with the method that you find simple.


