Several users have reported that their CHKDSK scan gets stuck at 11%, 12%, 20%, or even 100% for hours without any progress. This is a common issue on raw drives, or it can also happen if the hard drive file system is corrupted/damaged, the drive is highly fragmented, or it has bad sectors.
If the CHKDSK scan is stuck on your Windows 11/10 PC, follow this guide for troubleshooting methods.
Page Contents
Fix: CHKDSK Got Stuck in Windows 11/10
Method 1: Defragment the Hard Drive
1. Click the Start button, type “defragment” in the search bar, and select “Defragment and Optimize Drives” from the results.

2. In the Optimize Drives app window, choose the partition drive where CHKDSK got stuck.
3. First, click “Analyze” to analyze the disk for fragmentation. Then, click “Optimize” to defragment the drive.

Method 2: Stop CHKDSK Scan
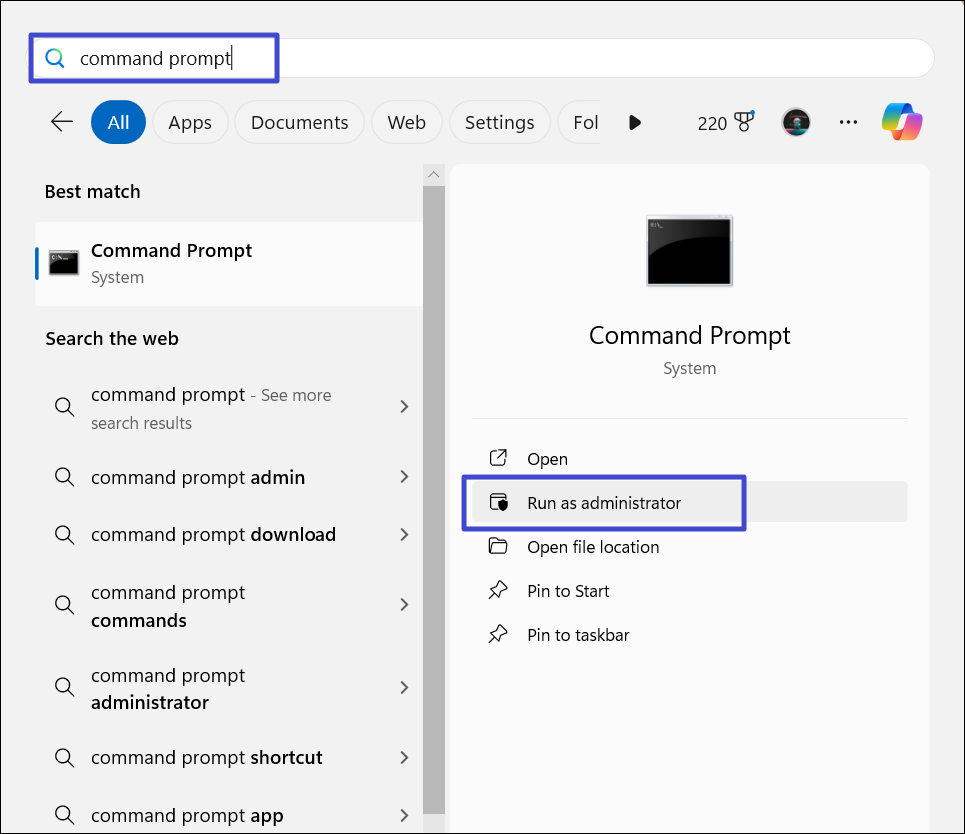
1. Type “Command Prompt” in the Windows Search and select “Run as administrator“.
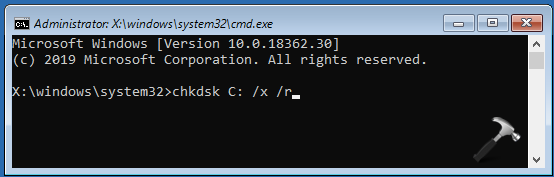
2. In the Command Prompt window, type “chkntfs/x c:” and hit Enter.

3. The above command will stop any ongoing CHKDSK operations.
Method 3: Stop CHKDSK as a Scheduled Task
In some cases, if CHKDSK is set as a scheduled task, it can get stuck when Windows starts. To prevent this, you need to remove CHDSK from the scheduled task list.
1. Press Windows + S, type “Task Scheduler“, and select the “Task Scheduler” utility.

2. Select “Task Scheduler Library” on the left, then expand “Microsoft“.
3. Then, find the CHKDSK command on the right pane. Right-click on it and select “Delete“.

Method 4: Disk Perform Cleanup
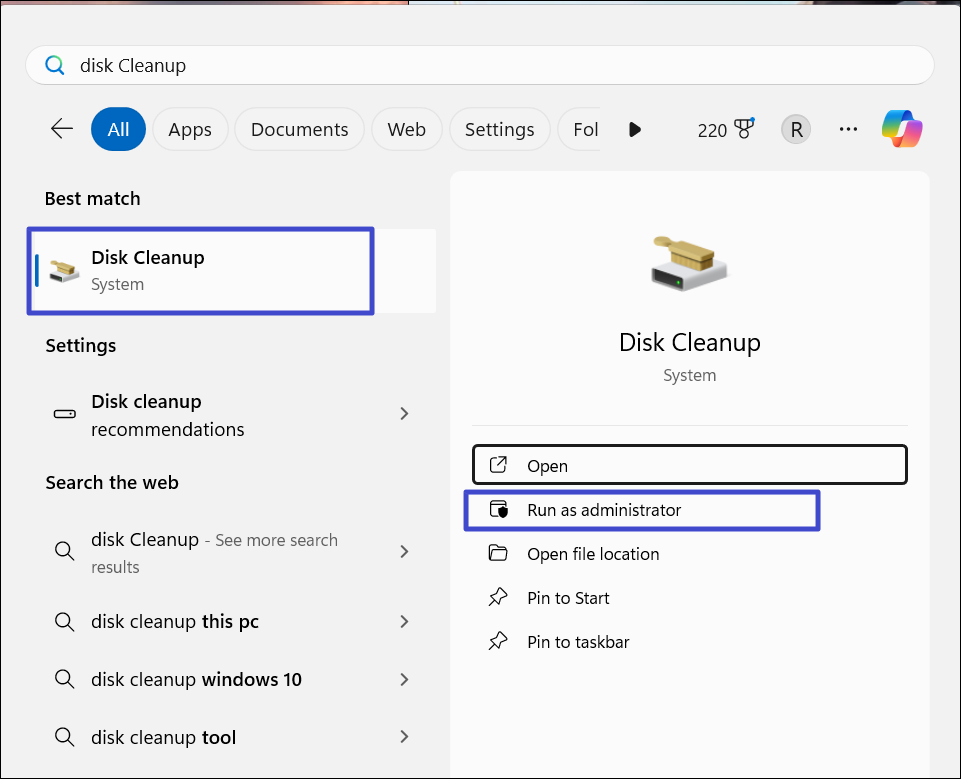
1. Type “Disk Cleanup” in the Windows Search and select the top result.
2. Choose the drive you want to clean up and click “OK“.

3. Next, select the files you want to delete like Temporary Internet files, Recycle Bin, Temporary Files, etc., and click “OK“.

4. Click “Delete Files” to confirm.

Method 5: Run SFC and DISM Scans
1. Open Command Prompt as an administrator.
2. In the Command Prompt window, type the following command, and hit Enter:
sfc /scannow
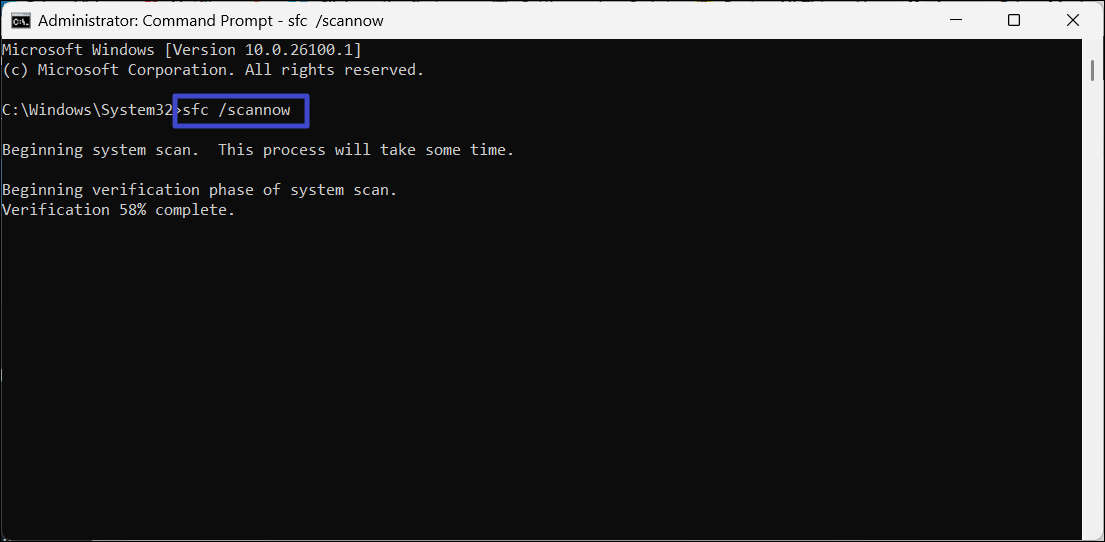
3. Once the scan is complete, you should see the message “Windows Resource Protection did not find any integrity violation”.
4. If you see any other message, run the following command to repair the OS image:
Dism /Online /Cleanup-Image /RestoreHealth
5. Once it’s complete, restart your PC.
Method 6: Clean Boot Your Windows
Clean booting your Windows can fix many issues on Windows 11 including CHKDSK stuck problem. A clean boot will temporarily disable the third-party programs, drives, and services that might interfere with the CHKDSK scan. Try performing the CHKDSK scan in the clean boot and see if the issue appears again. If it doesn’t re-enable all the disabled services and restart your PC.
Method 7: Perform Startup Repair
If clean booting your Windows doesn’t fix the problem, you can try performing a startup repair on your PC. Startup repair is a built-in recovery feature in Windows 10/11 that finds and repairs the damaged system files.
Method 8: Let the CHKDSK Scan Run its Course
Sometimes, CHKDSK scans might seem stuck even though it’s still working. This doesn’t necessarily mean there’s an issue. In some cases, the scan can even pick up where it left off after a system reboot.
Unfortunately, predicting a CHKDSK scan’s exact duration is impossible especially when you have large hard drives. For large hard drives (like 1TB), CHKDSK scans can last five hours or more. The scan time increases with even larger drives.
You should let the CHKDSK scan run its course and the issue resolve itself. Alternatively, run the scan overnight to avoid interrupting your important tasks.
That’s it.