If a disk is corrupted and unreadable on your Windows operating system, you can perform a check on disk for errors. Windows provides a built-in tool to check your disk for issues. To use the tool, you have to open File Explorer and right click on the disk and select Properties. On the property sheet, you can switch to Tools tab. Under Error checking, you can hit Check button and it will automatically scan the disk for file system errors. However, if you get The disk check could not be performed because Windows can’t access the disk message after that, this article is for you.
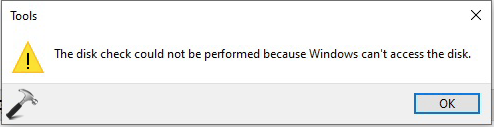
Here is the screenshot of the warning message.
Basically, this disk check is the GUI version of command line tool chkdsk. If you are using Windows for a long time, you may be aware of the chkdsk tool. I’ve already shared this guide covering how to use chkdsk to scan disk for errors. So you can use CHKDSK as an alternative to above. Or you can also try the other suggestions mentioned below.
Page Contents
Fix: The disk check could not be performed because Windows can’t access the disk
Fix 1: Try Changing Drive Letter
The first solution you can try here is to change drive letter associated with the disk. Changing drive letter is quite simple and is covered under following guide:
How to change drive letter in Windows
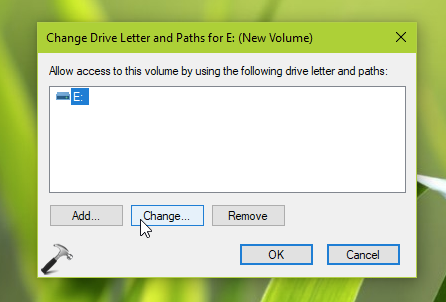
Once you change the drive letter, you should be able to perform disk check as expected.
If the issue still persists, refer to FIX 2 next.
Fix 2: Use Windows PowerShell To Scan Disk
You can also use Windows PowerShell to scan the disk for errors. It can be an alternative solution to this problem. For that, you can use Repair-Volume PowerShell cmdlet. Try these steps:
1. Open Windows PowerShell as administrator. If you do not run Windows PowerShell as administrator, you’ll get Access denied error in next steps.
2. Type following after substituting exact disk/drive letter and press Enter key:
Repair-Volume <Drive-Letter> –Scan

3. You’ll find the results in few moments. If it says NoErrorsFound, the disk has no errors and this is confirmed. If it reports errors, you can try these cmdlets next to fix:
Repair-Volume <Drive-Letter> –OfflineScanAndFix
Repair-Volume <Drive-Letter> –SpotFix
That’s it!