
Fixing the Windows 11 update not enough space is one of the most frequent problems that users come across when installing updates. Windows updates are essential when it comes to security patches, bug fixes, and performance improvement; however, at times, your PC just lacks the storage capacity to do the update.
You have nothing to worry about; you have come to the right place. This article will take you through the steps in practice, and you will be able to resolve the Windows 11 Update not having enough space.
Page Contents
Fix: Windows 11 update not enough space
Fix 1: Clean Up Temporary Files in Windows 11
Unnecessary storage takes up unnecessary space on your PC, and clearing it can create instant space to update.
1. Open the Windows Settings with Win + I. Go to System > Storage.
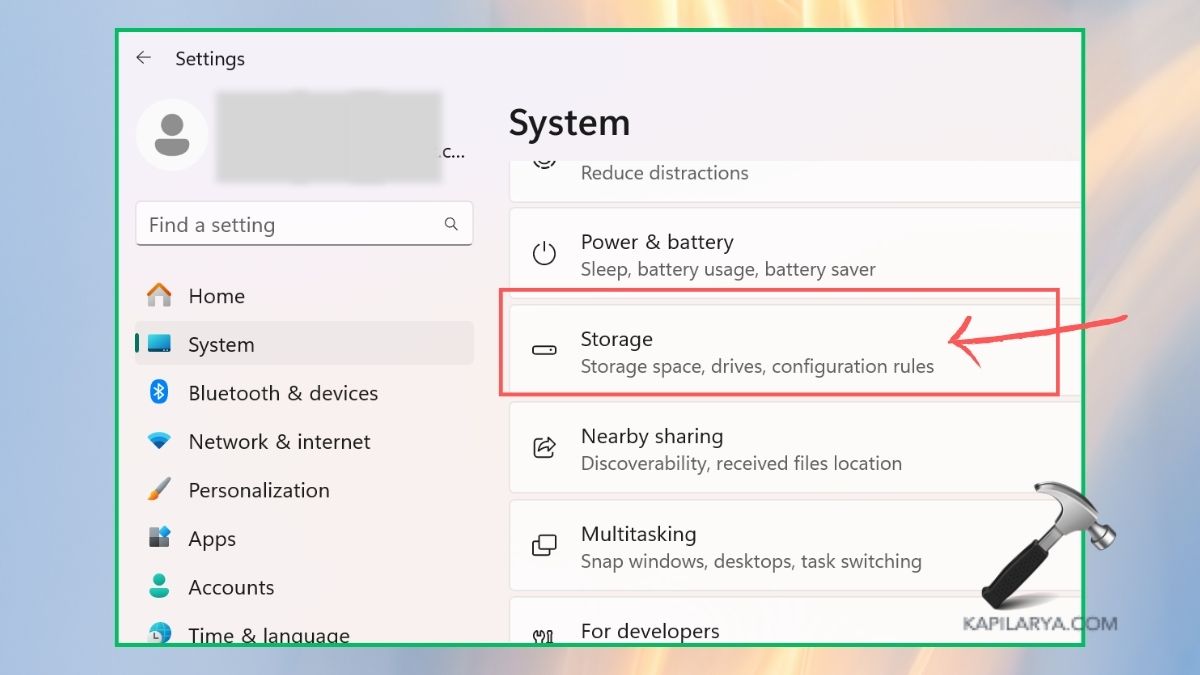
2. In the Temporary files section, there is a view detail button. Select files such as System cache, Delivery Optimization files, and old Windows update files.
Click on the “Remove files” in order to delete.

It can release a few gigabytes in a single run, which is why the technique is one of the most efficient as far as releasing the Windows 11 not enough space message is concerned. You can also turn on Storage Sense to get Windows 11 automatically manage storage space for you.
Fix 2: Move Programs to Another Drive Without Reinstalling
When you are running out of space on your main drive (C:) you do not necessarily have to uninstall applications. Instead, they can be transferred to another drive if your Windows system has one.
1. You must go to Windows 11 Settings > Apps > Installed apps.
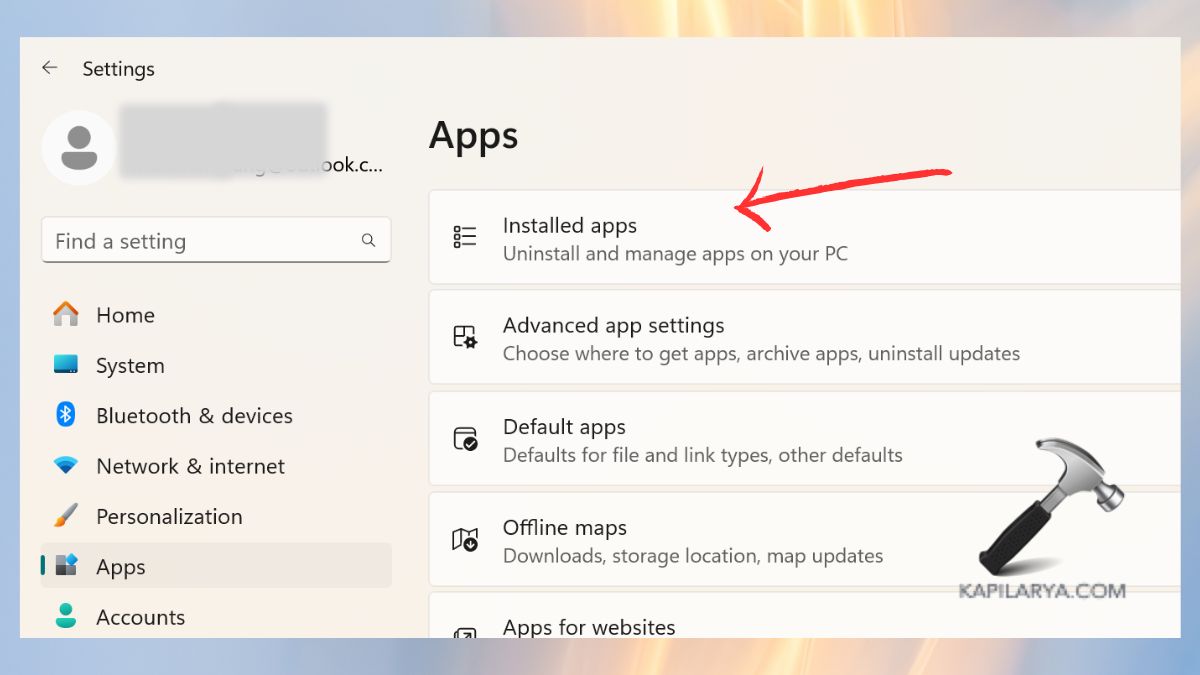
2. Choose the program that you wish to transfer. Click Move and select another drive (as D: or E:).

Confirm the transfer. This will help you free up the space in your system drive and, at the same time, enjoy access to your programs.
Fix 3: Delete Files from the Downloads Folder
The Downloads folder normally occupies a large amount of space. Old files, PDFs, videos, and other files that you no longer need can take up some gigabytes.
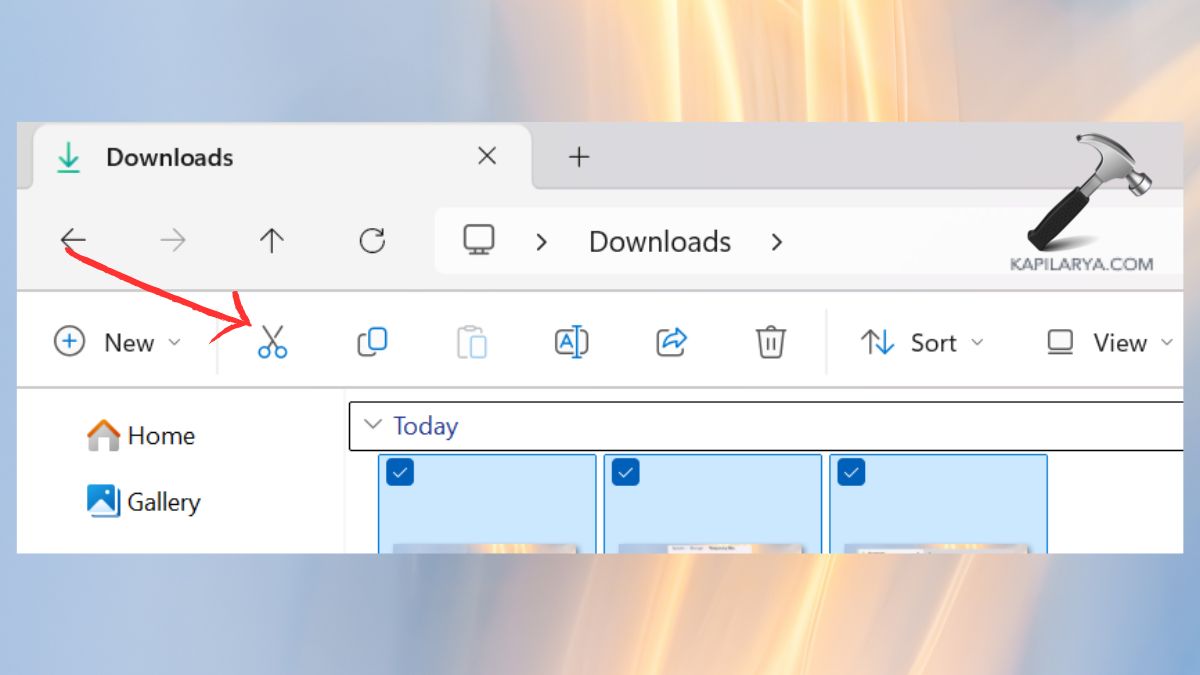
1. Open File Explorer and navigate to This PC > Downloads.

2. Sort files by size or date. Remove the files that you are not in need of anymore.

3. Use the “Cut and Paste” option to transfer the important documents that you require to an external disk drive or a cloud.
It takes the least amount of time and is also the safest and one of the simplest methods to free up some space to update things.
Fix 4: Merge Partitions to Increase Storage
There are situations where your system drive is small, with another partition with space. Combining partitions enables you to give yourself a larger storage drive for Windows.
1. Press the Win+X keys and tap on Disk management.

2. Find the partition that has additional capacity. Erase the unallocated partition and identify the partition as Unallocated space.
Click on the system partition (C:), right-click on this picture, and choose Extend Volume.

Follow the steps in the Wizard to go through with the merge.
Fix 5: Change Windows Update Folder Location
Windows downloads update files in the SoftwareDistribution folder of the system drive. In case it is getting full, you can transfer this folder to a different drive.
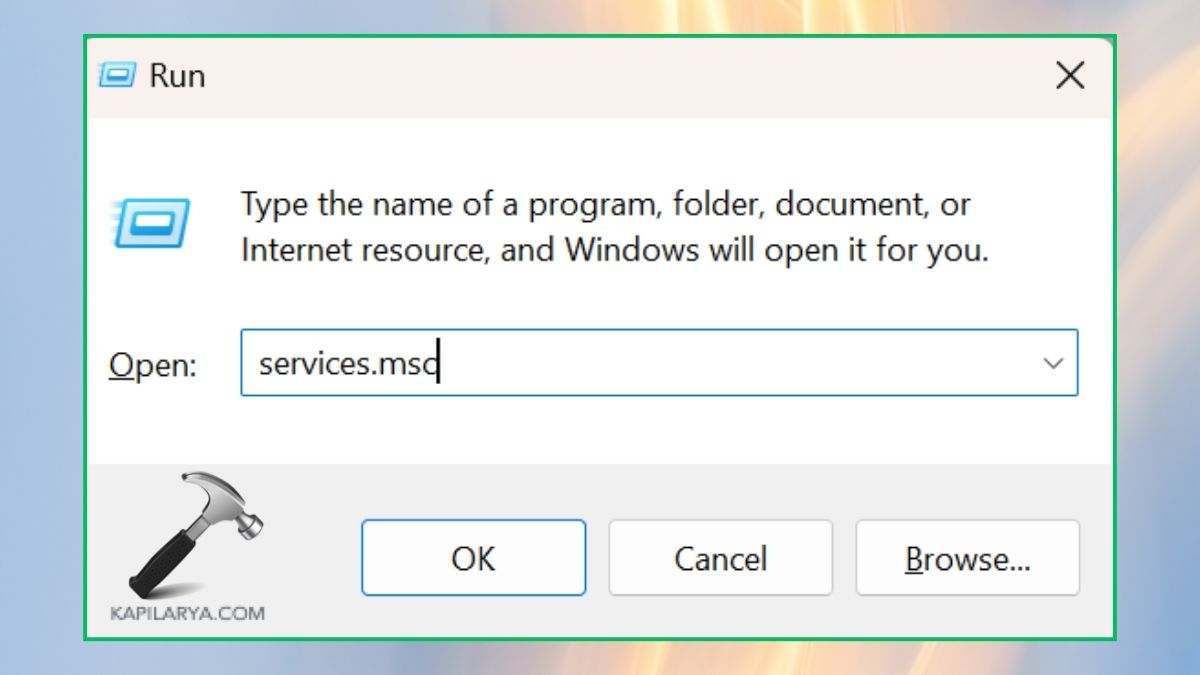
1. Open Windows, press Win + R, then input the services command and Enter.
services.msc
2. Click on Windows Update, right-click, and Stop.

3. In C:\Windows\SoftwareDistribution, copy the folder to another drive (e.g. D:). You have to rename the folder to the new name “SoftwareDistribution.old”.

4. Then, open Command Prompt (Admin) and put in the command.
mklink /j C:\Windows\SoftwareDistribution D:\SoftwareDistribution

Reboot your PC and start the Windows update. The new updates will now be downloaded to the new location, as it is not occupying space in the C: drive.
Frequently Asked Questions (FAQs)
That’s it!


![[Latest Windows 11 Update] What’s new in KB5089549?](https://www.kapilarya.com/assets/Windows11-Update-768x651.png)