
In Windows 11, Segoe UI is the default font. This font belongs to the Segoe family, which is used in many Microsoft products for its online services and user interface text. If you are bored of your default system font, then change it to your desired font.
Using an easy registry tweak, Windows users can change the default font. In this post, learn how to change default font in Windows 11. Go through the following steps to change the default font of your system, including title bar, Recycle bin, message box, and others.
How to change default font in Windows 11
 Registry Disclaimer: It is recommended to create a System Restore point first, if you’re not familiar with registry manipulation.
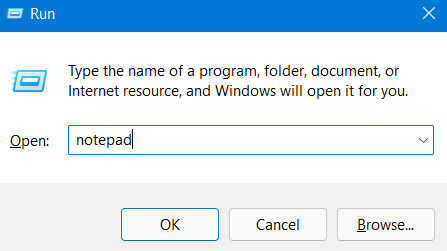
1. In the first place, you need to open Notepad. For this, open the Run dialog box by pressing the Windows + R keys together on your keyboard and type notepad in it. Once typed, press Enter to open the Notepad app.
2. After that, copy and paste the following code:
Windows Registry Editor Version 5.00


[HKEY_LOCAL_MACHINE\SOFTWARE\Microsoft\Windows NT\CurrentVersion\Fonts]

"Segoe UI (TrueType)"=""

"Segoe UI Bold (TrueType)"=""

"Segoe UI Bold Italic (TrueType)"=""

"Segoe UI Italic (TrueType)"=""

"Segoe UI Light (TrueType)"=""

"Segoe UI Semibold (TrueType)"=""

"Segoe UI Symbol (TrueType)"=""


[HKEY_LOCAL_MACHINE\SOFTWARE\Microsoft\Windows NT\CurrentVersion\FontSubstitutes]


"Segoe UI"="NEW_FONT"
Note: In this text code, you need to change the NEW_FONT with the font name that you will select from Settings in the next few steps.
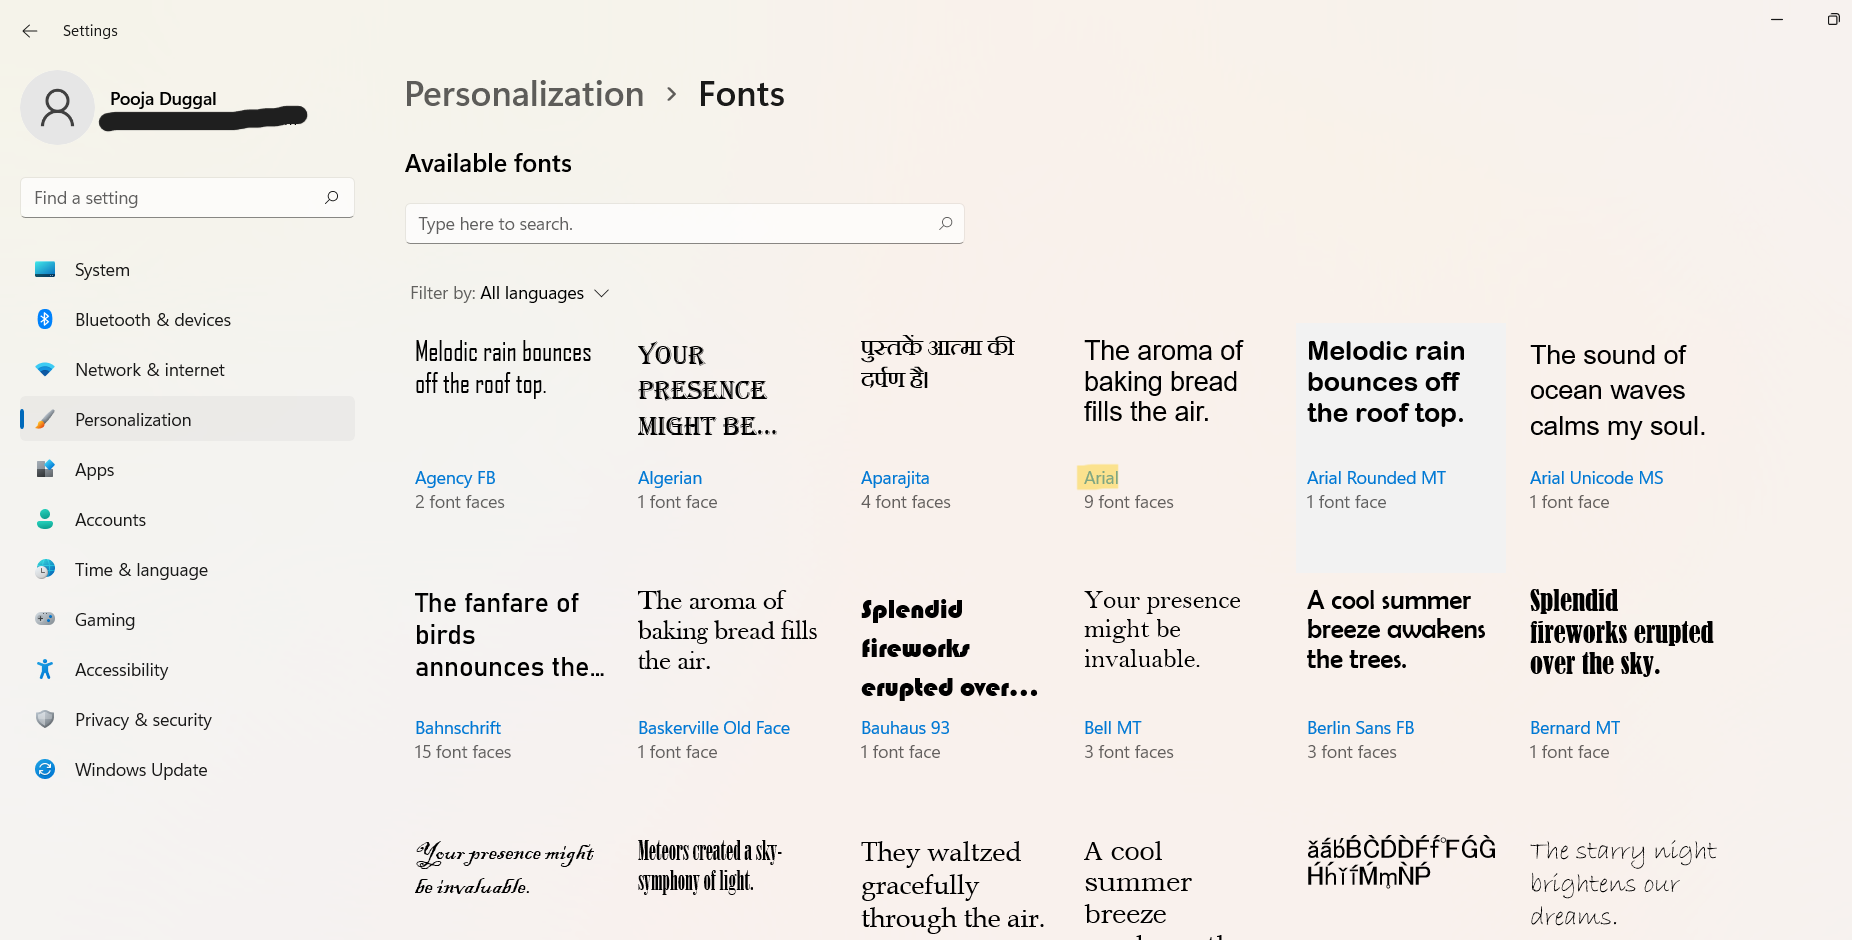
3. Now, you need to open Settings and go to the Personalization From there, choose the Fonts option.

4. Next, you will come across a wide range of fonts. Choose the font that you like to use and note its official name. For reference, we are choosing Arial.
5. Once you have changed the font name, click on File and then, choose the Save as Next, name the file, select the file location and click on Save. Please note that you save the file in the .reg extension. For this, type the file name and add .reg to it. For example, default_font.reg here.

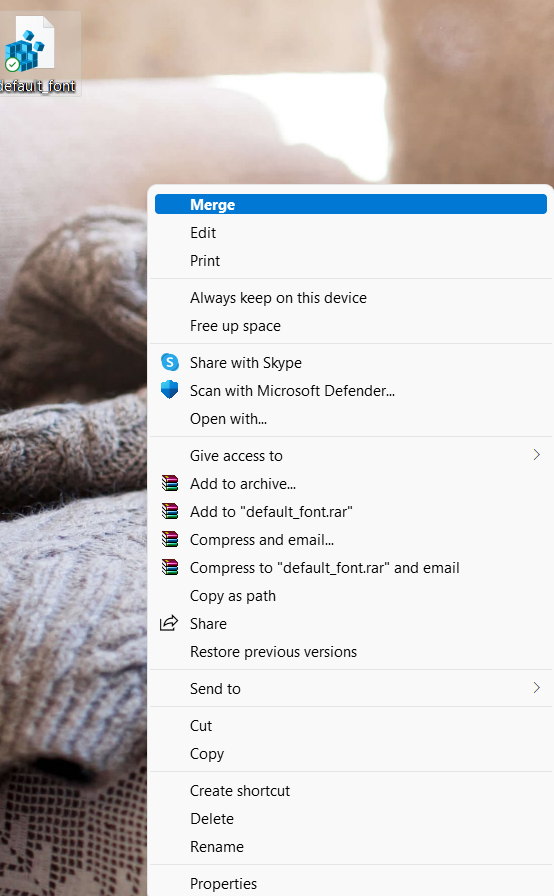
6. Now, you need to right-click on the newly created .reg file and then, click on Show more options. Next, choose the Merge option from the menu.
7. Click on Yes and then, press OK.

8. Lastly, you need to restart your system for applying the changes.
So, this is how Windows users can make changes to the default font in Windows 11 effectively.
Related: How to delete font cache in Windows 11.


Hello I tried to do everything that you listed here and I got all the way to the end but then I could not finish it it wouldn’t allow me
istryEditor
Cannotimport CUsers\OVIK,OneDrive\Desktop\Arialdefault_font.reg: The specifiedfileis not.registry script. Youcanonnyy import binary registry files from within the registry editor.