Microsoft uses Windows diagnostic data to keep Windows secure and up-to-date, troubleshoot problems, and make product improvements. If you’ve enabled Tailored experiences, it can also be used to offer you personalized tips, ads, and recommendations to enhance Microsoft products and services for your needs. There are two types of diagnostic data mainly: required diagnostic data and optional diagnostic data. In this article, you’ll learn how to send optional diagnostic data on Windows 11.
As I mentioned, there are two types of diagnostic data Windows collect/sent:
Required diagnostic data: used for information about your device, settings and capabilities, and whether it is performing properly. This is the minimum or essential level of diagnostic data needed to help keep your device reliable, secure, and operating normally. With this data, system may not perform as expected.
Optional diagnostic data: this includes extra details about your device and its settings, capabilities, and device health. Optional diagnostic data also includes information about the websites you browse, device activity and enhanced error reporting. Optional diagnostic data can also include the memory state of your device when a system or app crash occurs (which may unintentionally include parts of a file you were using when a problem occurred). Note that Required diagnostic data will always be included, when you choose to send Optional diagnostic data.
Why you should Send optional diagnostic data on your Windows?
If you want to receive preview builds on Windows 11, released from Windows Insider Program, you must send optional diagnostic data.
Here’s how to enable it.
Page Contents
How to Send optional diagnostic data on Windows 11
Method 1: Using Settings
1. Press  + I keys to open Settings app.
2. In the Settings app, go to Privacy & security > Diagnostics & feedback.
3. Turn On the Send optional diagnostic data option.

Method 2: Using Group Policy
1. Open Group Policy Editor snap-in.
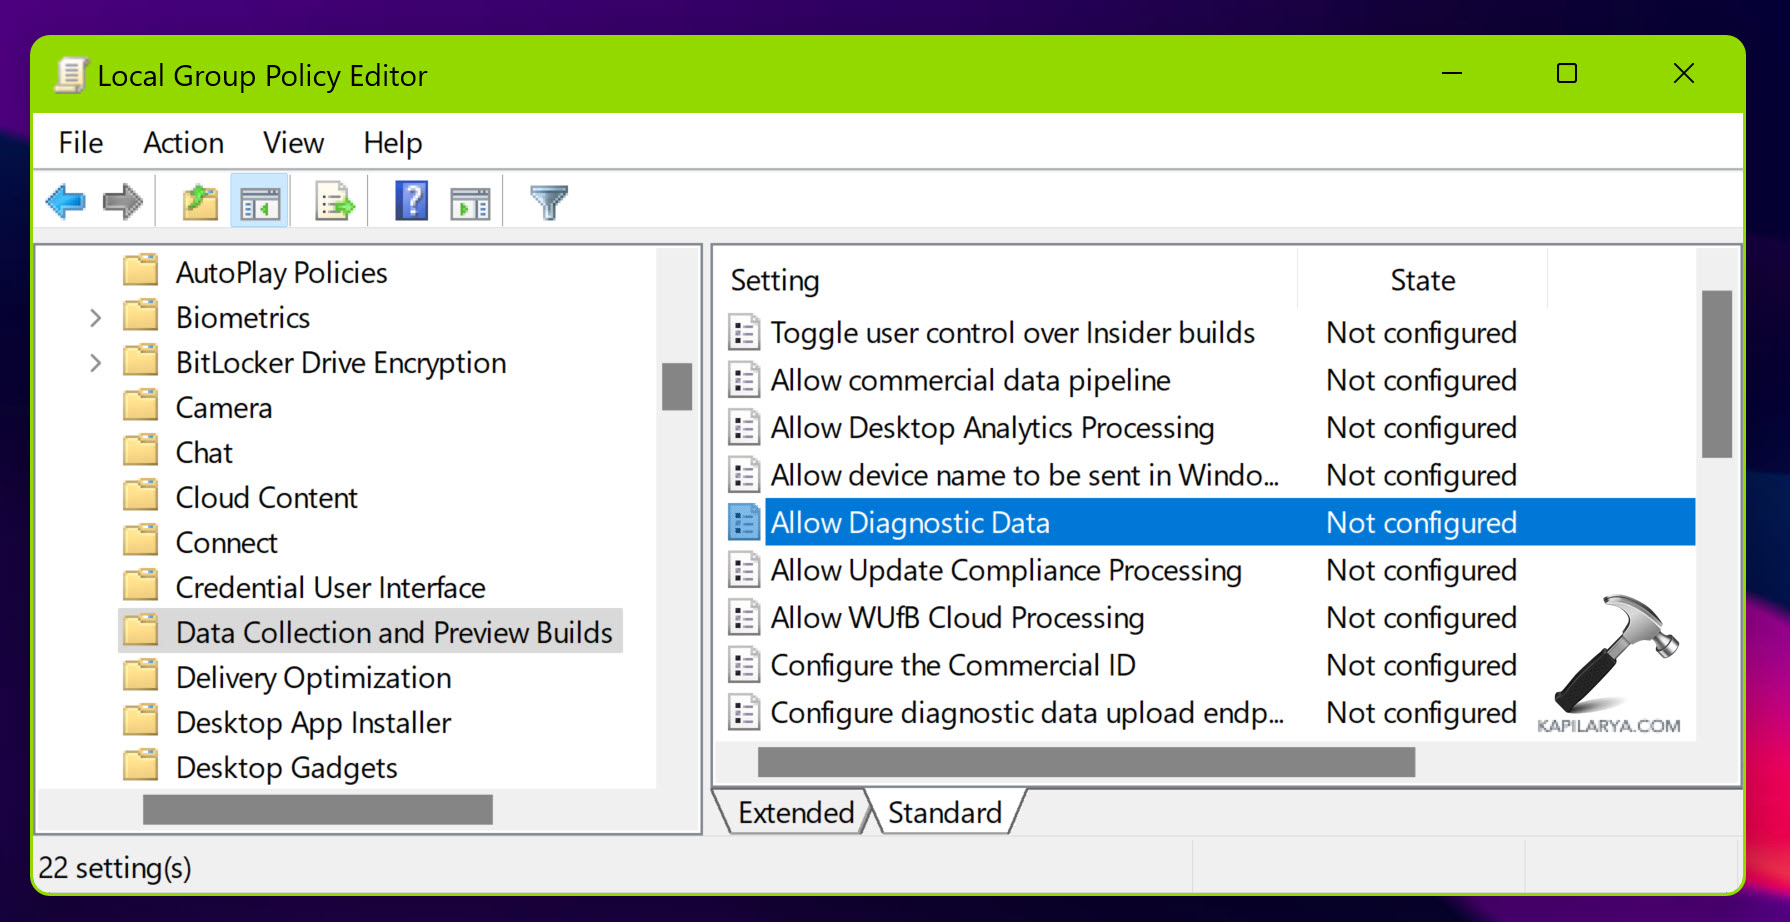
2. In the Group Policy Editor window, navigate here:
Computer Configuration > Administrative Templates > Windows Components > Data Collection and Preview Builds
3. Locate policy named Allow Diagnostic data and double click on it to modify.
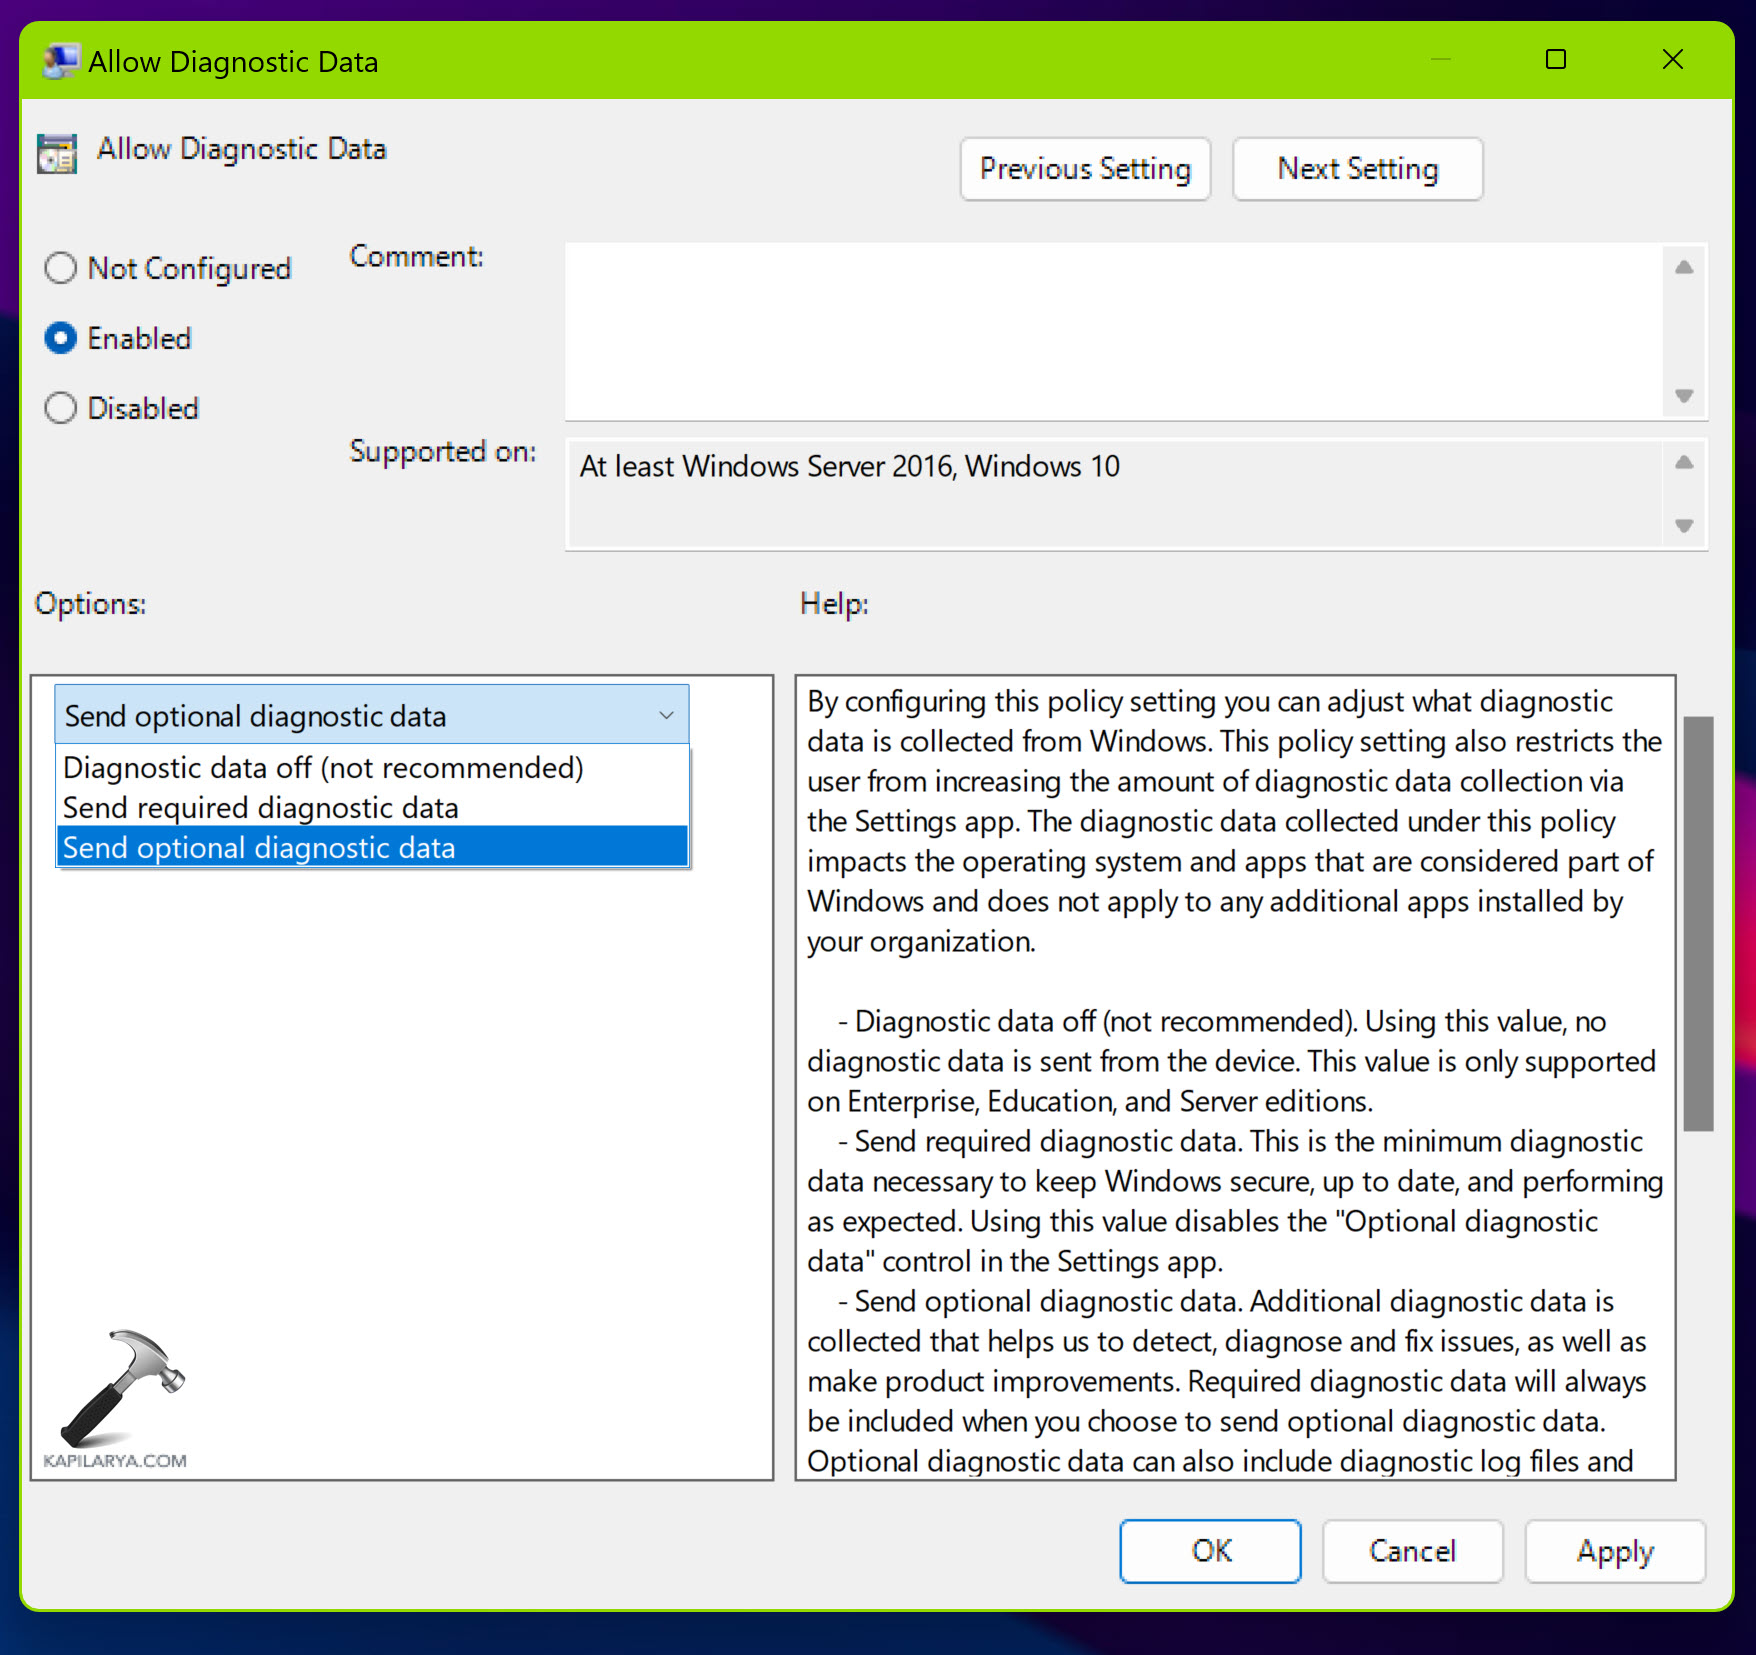
4. Set policy to Enabled, from Options, select Send optional diagnostic data. Click Apply, OK.
5. You can close Group Policy Editor now.