
A clean install is done to install Windows from scratch. Usually, a clean install is quick and easy method to get latest Windows operating system. It often takes time lesser than upgrading. Though, clean install is quick method but you’ve to reinstall all of your software after that. The clean install is suitable for those who want to use system like a fresh machine. If you’re facing trouble with current installation, a clean install is the final solution. If you bought new drive and want install Windows on that, clean install is the only way to get started. If you want to move from Windows Insider build to regular or stable build, a clean install may be required. In this guide, we’ll see the steps to make clean install of Windows 11.
Before doing a clean install, you’ve to backup your current installation using OneDrive or to an external or network drive. Because for clean install, we’ve to first format the drive with current installation and then we can install Windows. The clean install will require Windows 11 bootable USB or Windows 11 installation media. You can create either of these using Windows 11 ISO file which is available free of cost from Microsoft. During or after clean install, you’ve to activate Windows with your genuine product key. You can use Windows 10 product key to activate Windows 11. Once the system is activated, you’re good to go!
Here are the steps for making a clean install of Windows 11 operating system. Make sure you system is enough battery or it is connected to AC power source during these steps.
Page Contents
How to make clean install of Windows 11
Steps for clean install of Windows 11
1. Plugin your Windows 11 bootable USB or installation media and start the system. Press any key when you see Press any key to boot from CD or DVD… message.

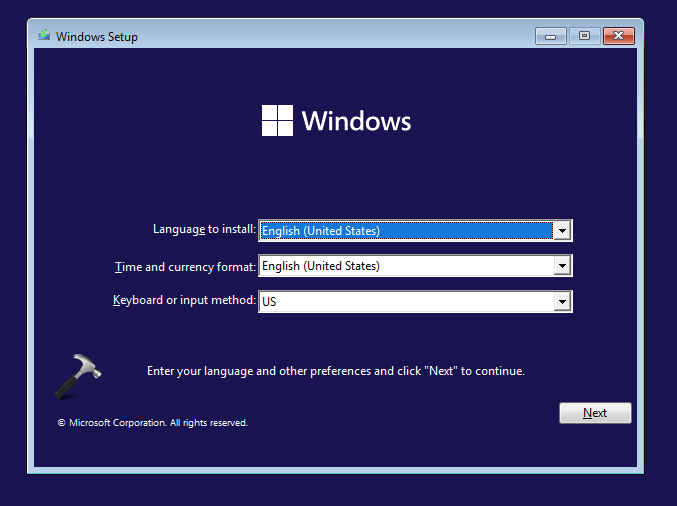
2. Now system will boot from your USB drive and you’ll see Windows Setup screen. Make your selections, click Next.
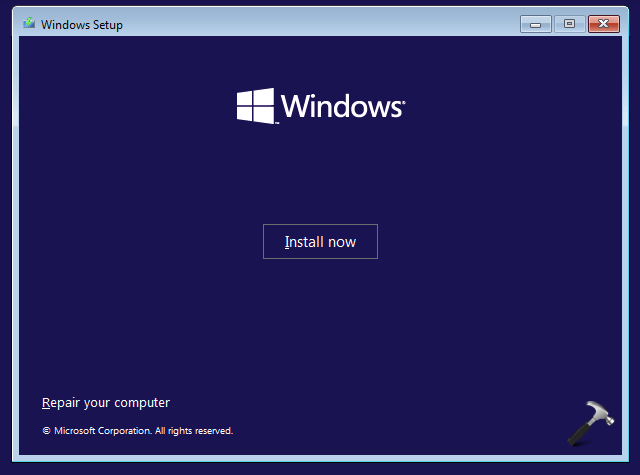
3. Click Install now.
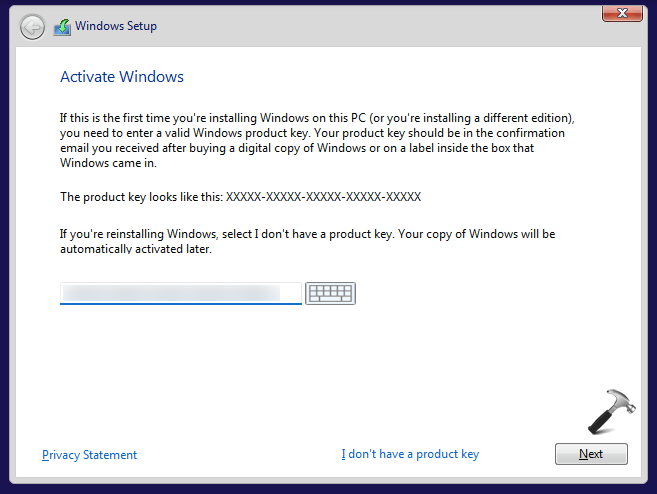
4. In next screen, under Activate Windows, type in your Windows 11 product key. If you’ve Windows 10 product key, you can also type in that. Hit Next. To activate Windows later, you can click I don’t have product key. You can activate your system later using Settings app.
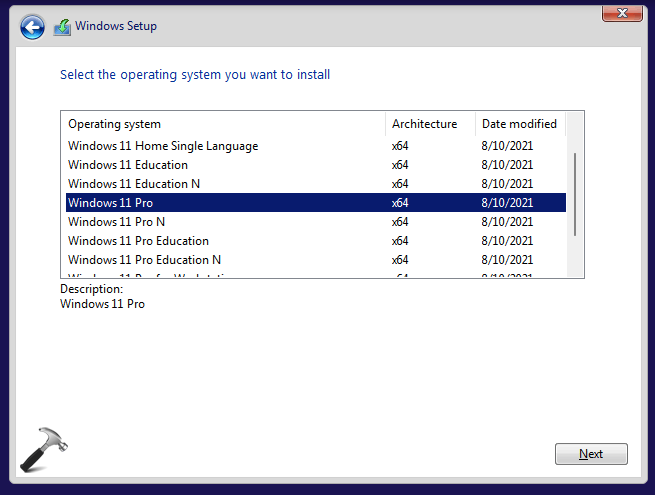
5. Now select the Windows 11 edition in next screen. Be careful here and select that edition for which you’ve provided product key in previous step.
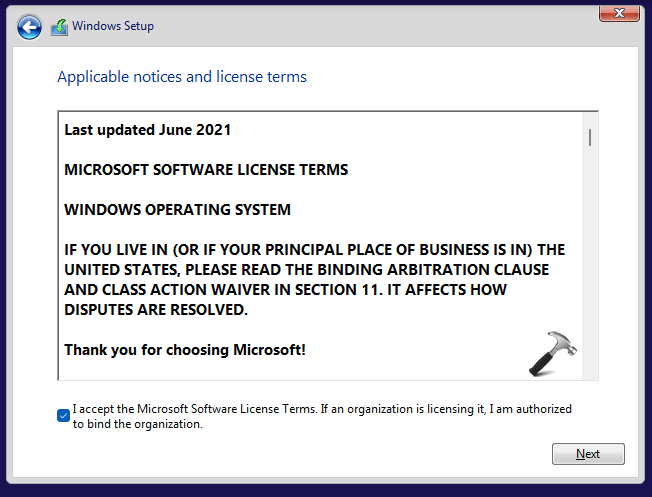
6. Accept licensing terms and hit Next.
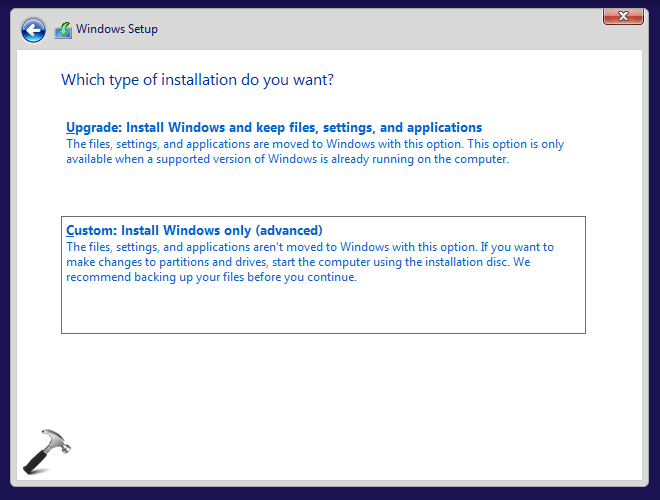
7. Select Custom: Install Windows only (advanced) in next screen, as we’re doing a clean install.
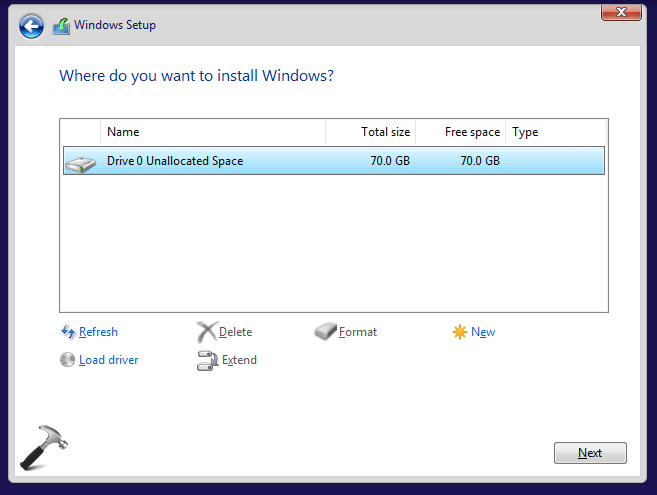
8. Now select the hard drive where you want to install Windows. This drive should be above 64GB in size.
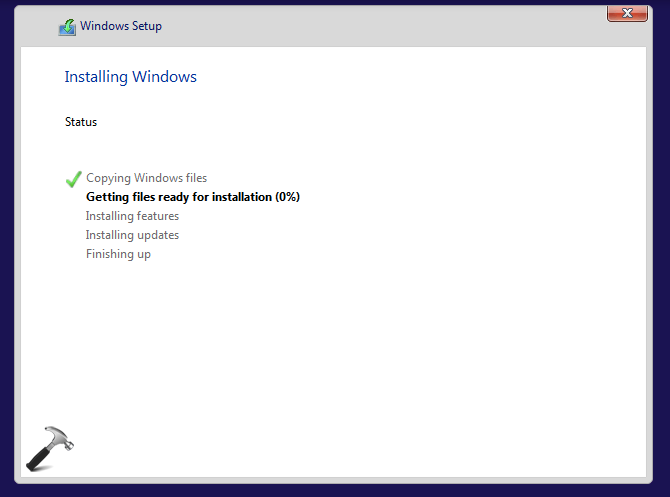
9. Once you hit Next in previous step, Windows 11 installation will begin. This may take a while. Let it be completed. Once it is completed, your system will automatically restart.
10. After restart, your system will be Getting devices ready. It will restart then to move to OOBE setup.

11. When the system restarts, you will first see Windows 11 logo. Then first screen of OOBE setup here is for the country or region selection. Select your country or region and click Yes.

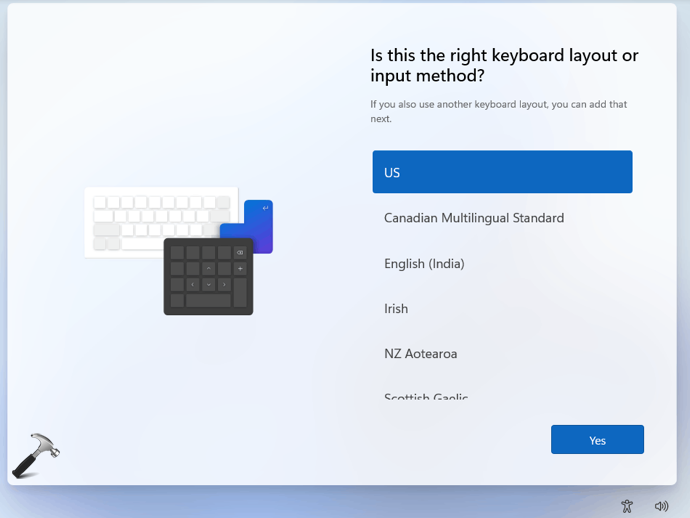
12. Next, select your keyboard layout or input method and click Yes.
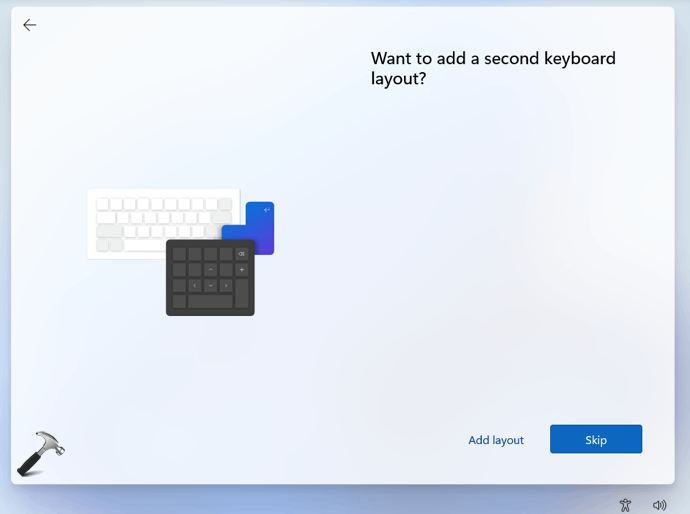
13. If you want to add second keyboard layout, click Add layout, else click Skip.
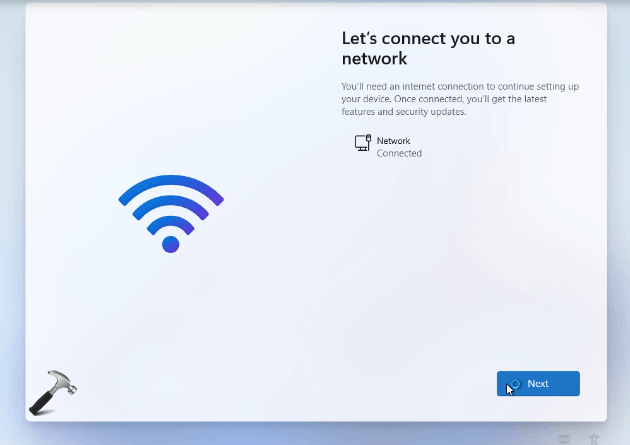
14. Moving on, you will be now asked to add or connect to your network. Note that this screen may not appear, if your system is automatically connected to the network.
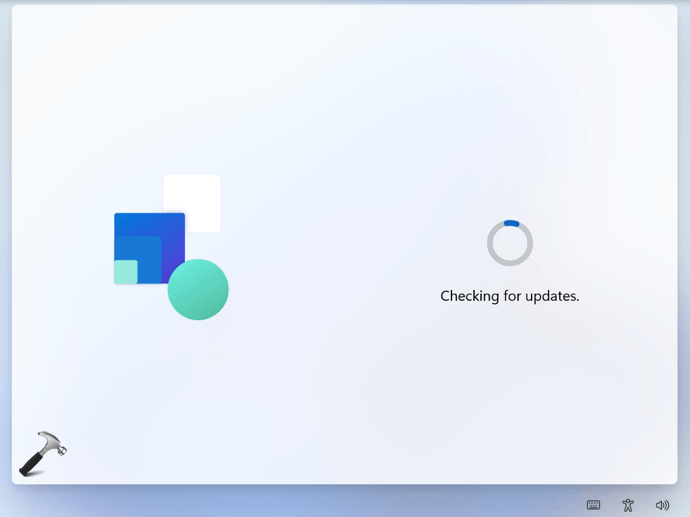
15. The system may now start checking for updates.
16. In few moments, you will receive a screen to name your PC. Type in a name for your PC and click Next. After this, system will restart. If you like, you can also click on Skip for now, if you want to do naming of your PC later using this guide.

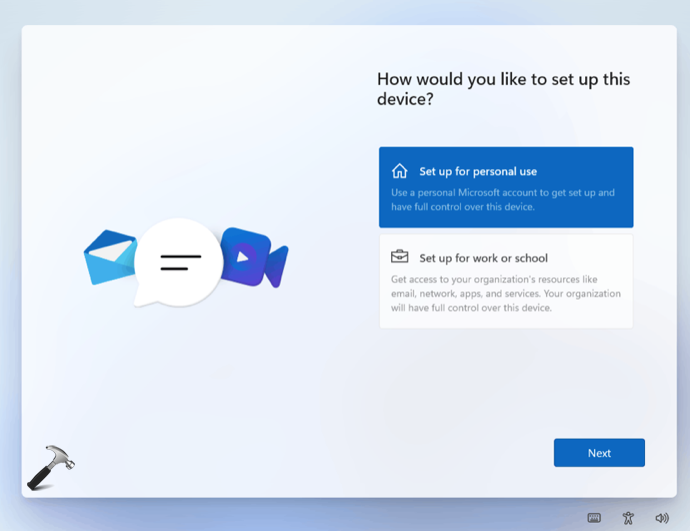
17. After this, you have to select whether you want to set up the system for personal or work/school use. In this example, we selected Set up for personal use.
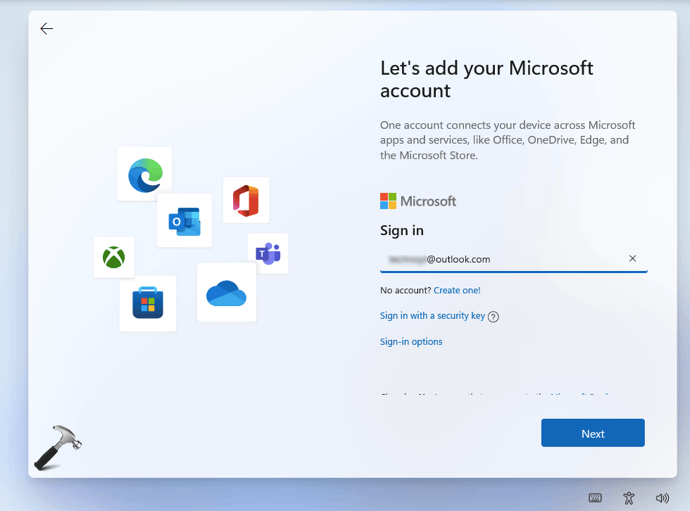
18. Then type in your Microsoft account you want to use with the system.
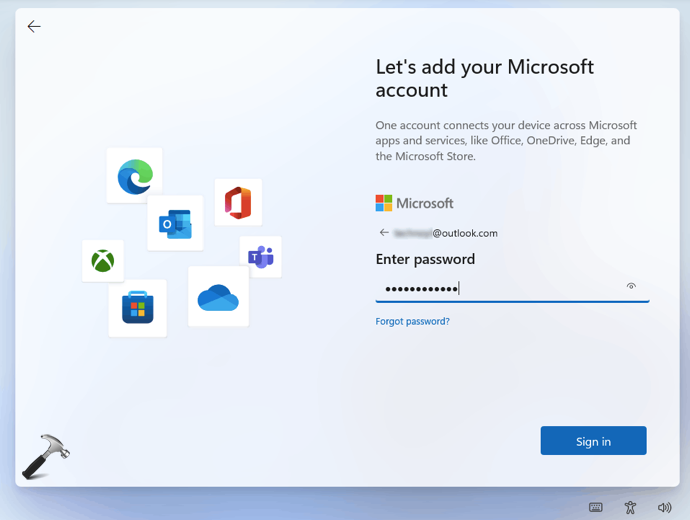
19. Next, type in the password for your Microsoft account and click Sign in.
20. Then click on Create a PIN.

21. Under Set up a PIN, type in a PIN and click OK.

22. If you have used this Microsoft account earlier on any of your system, you will be asked whether you want to restore files from OneDrive. If you don’t want to restore, you can click on Set up as new device.

23. Under privacy settings, make your selections and click Accept.
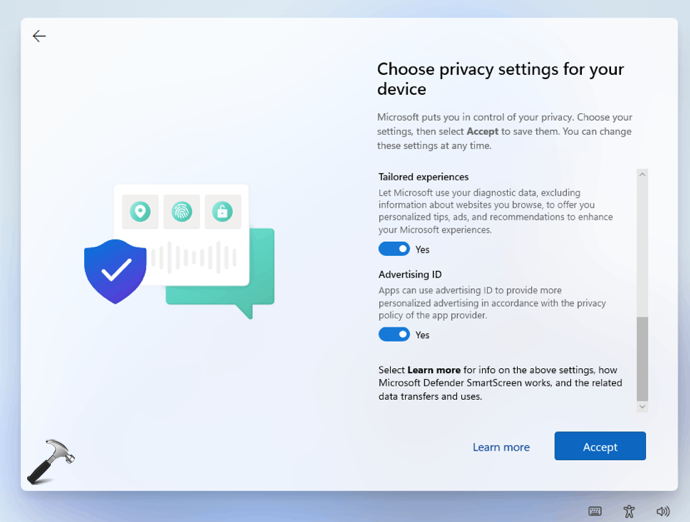
24. If you want to customize your experience, you can make a selection how you want to use the system.

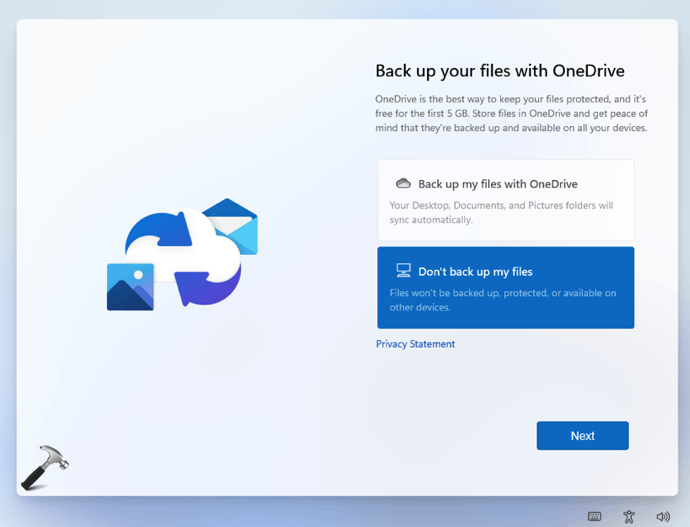
25. Under Back up your files with OneDrive, select whether you want to back up files.
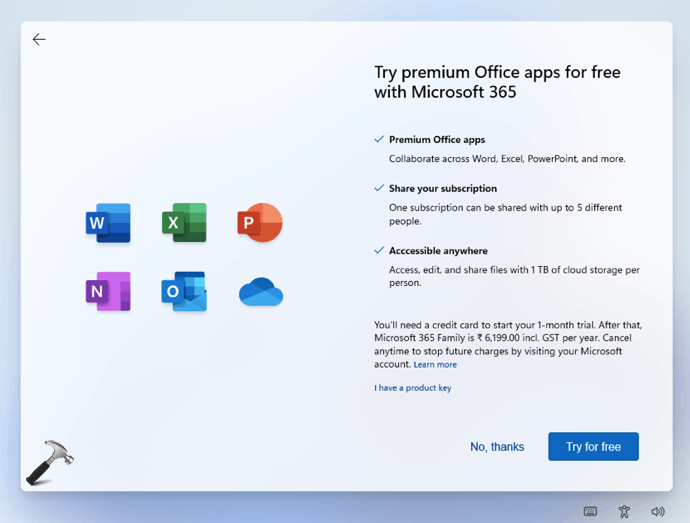
26. If you want to try premium Office apps, select Try for free or click No, thanks.
27. After this, system will again start checking for updates.
28. If your system found some updates, they will be now installed. This may take a while depending upon your system.

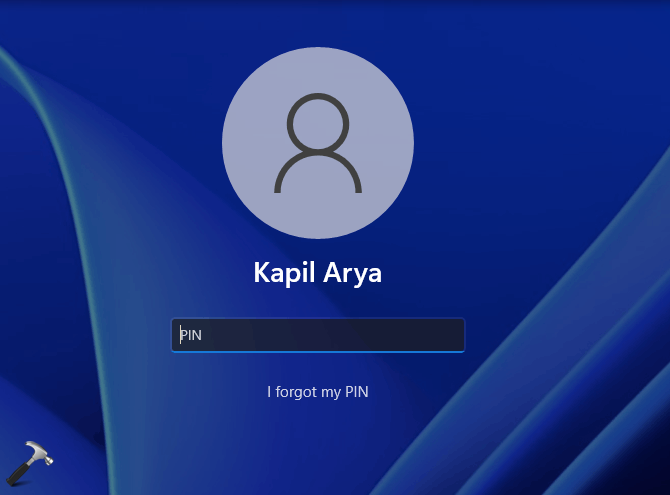
29. Once updates are installed, you will be able to log into your account.
30. After login, you will see the first time sign-in animation. This may take a while. Let it be completed.

31. Once first time sign-in animation is completed, you will be landed to the Desktop.
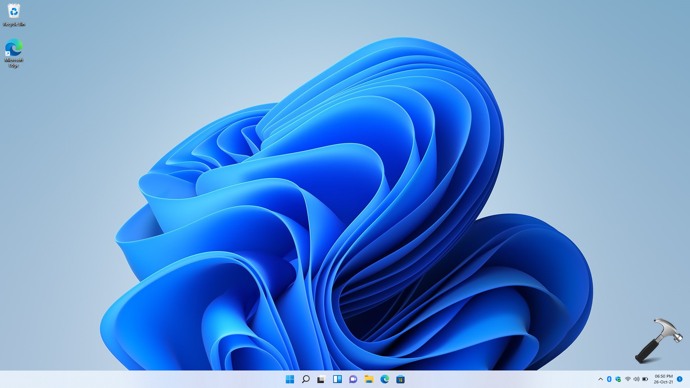
This finally completes the steps for clean install.
Video guide
You can checkout this video for live steps:
That’s it!
Related: How to upgrade Windows 10 to Windows 11.


![[GUIDE] How To Make Clean Install Of Windows 10](https://www.kapilarya.com/assets/windows_10_wallpaper_1705148703-768x432.png)