Generally, when hard disk read-only mode occurs, you will be unable to modify contents on a file or save new files to it. If you want to add/write new data to a read-only hard disk drive, you have to first remove read-only attribute on it and make hard disk writable. Next we would tell how to clear read-only status on hard disk drives on Windows 11 computer.

Page Contents
Fix hard disk is read-only in Windows
If you are experiencing this problem, there are a few things that you can do to try to resolve it. In this article, we will take a deep look at how to format a read-only disk to normal Windows 11. So, let us get started.
Fix 1: Remove Disk Write Protection by CMD
To remove disk write protection, you can use simple methods like Command Prompt and the Registry Editor.
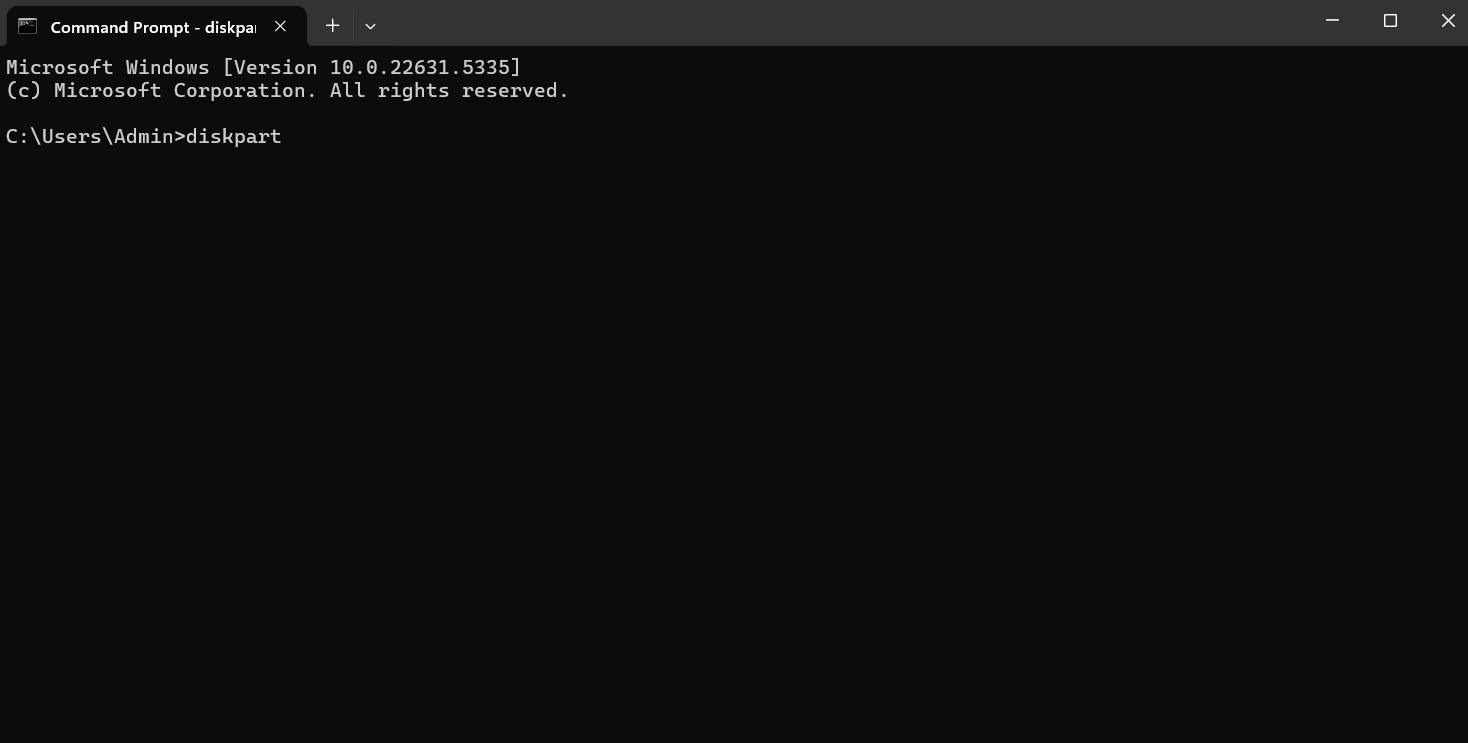
Step1: Open the start menu. Then type “CMD”. Press Enter to continue.

Step 2: Now, you have to Type command diskpart and hit Enter. You will see a new command window.
Step 3: Here you have to type list disk. Press Enter button. Here make sure your storage device is listed.

Step 4: Now, type the command select disk X (replace X with correct drive) and hit Enter.

Step 5: Next, press Enter at the attributes disk clear readonly command. Again, press the Enter button.

Fix 2: Change Read-only permission on Windows 11
There are times when you come across a USB drive that is labeled as read-only. And you wonder how to change read-only USB on Windows 11. Here is how it is done. To change a read-only USB drive to writable in Windows 11.
Step 1: Open File Explorer and select the USB drive you need to make writable.

Step 2: Right-click on the USB drive and select “Properties” from the menu.

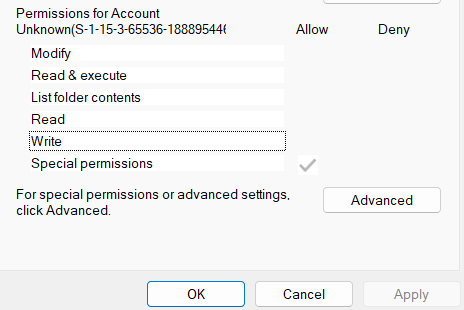
Step3: Click the Security tab, then click the “Edit” button.
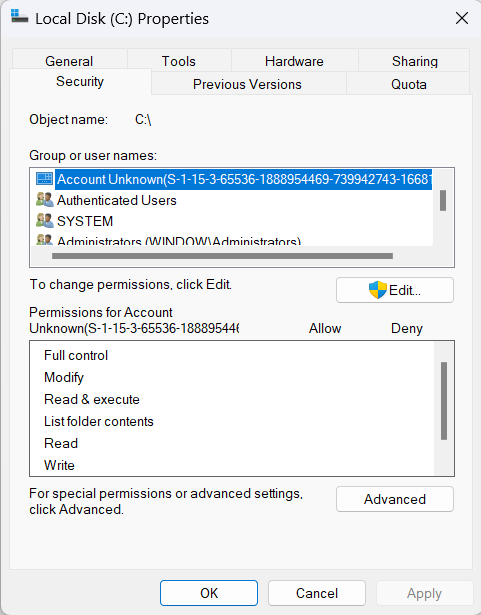
Step 4: Find your username under the “Group or user names” section and check the “Allow” box next to Full Control.
Fix 3: Run CHDSK to fix read-only SSD
Chkdsk is a built-in Check Disk utility for Windows PC to help you fix disk errors.
Step 1: Open the Start Menu. Then type “CMD”. Press Enter to continue.
Step 2: Type chkdsk g: /f /r /x to remove write protection on hard disk.
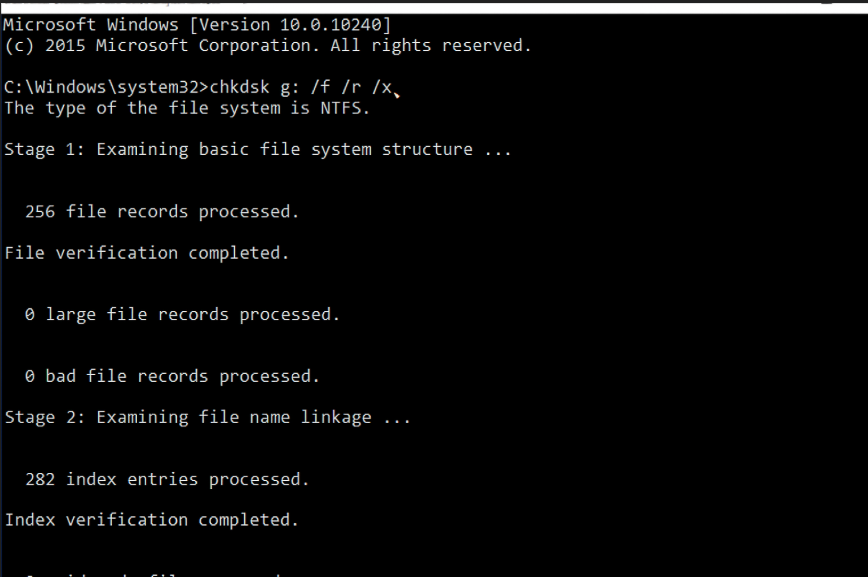
Step 3: Now the write protection is removed.
Hope this helps you!