
Theoretically, OEM stands for Original Equipment Manufacturer. Basically, OEM is a company that manufactures products may be hardware or software and sells these products to the other company. Then this other company resells the products under its brand name to the end-users or customers. In case of Windows operating system, OEM can be understood with a simple example. Microsoft creates Windows operating system, we all know that. It is then sold to PC partner companies such as HP, Dell, Asus, Lenovo, MSI, Acer etc. The PC partner companies customize Windows to make it compatible for their devices. When you buy devices from either of these PC partners, you’ll get Windows OEM installed on the system. Usually the pre-loaded Windows when you buy a new device is the based on OEM Windows license. In this guide, we’ll see how to add or customize OEM support information in Windows 11.
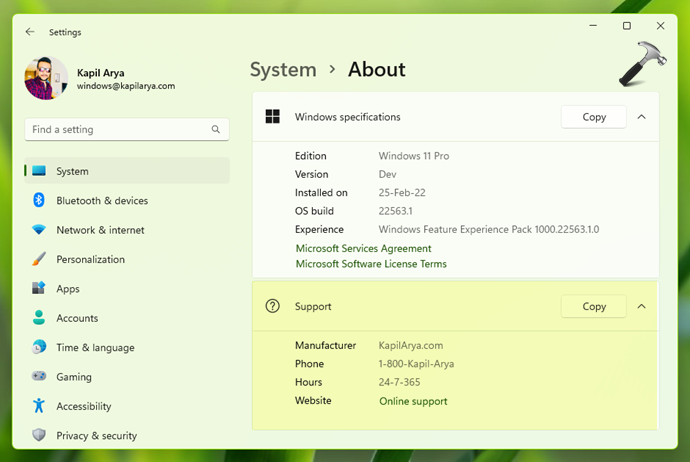
In Windows 11, OEM support information can be located at Settings app > System > About. If you bought a system based on Windows OEM, you’ll have the support information mentioned here. In case, you’ve a made a clean install, this support information may be missing. Irrespective of either cases, you can easily add or customize the support information available here using registry. Below screenshot shows the customized support information in Windows 11.
Here is the how-to part:
Add or customize OEM support information in Windows 11
 Registry Disclaimer: It is recommended to create a System Restore point first, if you’re not familiar with registry editing.
1. Run regedit command to open Registry Editor.
2. In the right pane of Registry Editor, go to:
HKEY_LOCAL_MACHINE\SOFTWARE\Microsoft\Windows\CurrentVersion\OEMInformation
3. In the right pane of OEMInformation registry key, you can add or customize following registry strings:
Manufacturer, Model, SupportHours, SupportPhone, SupportURL
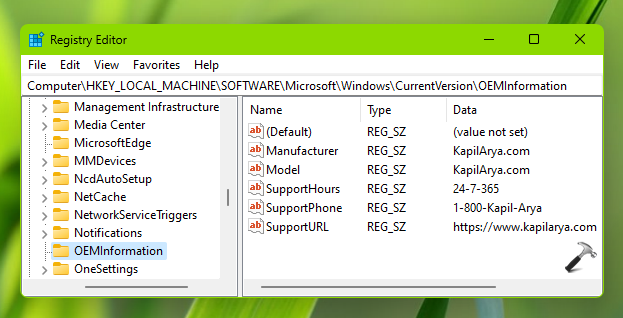
4. Double click on each of these registry strings (REG_SZ) one-by-one and add/replace the customized Value data.
5. Once you’re done adding or substituting the custom data, close Registry Editor and reboot to make changes effective.
That’s it!
Related: Change Registered Owner and Organization Name in Windows.


