We all know that Microsoft is ending extended support for Windows 7 on January 14, 2020. As the end of support is reaching, more and more customers are moving to Windows 10. If you’re a Windows 7 end user, you can simply download Windows 10 ISO file and perform an in-place upgrade using our step-by-step guide:
How to perform in-place upgrade to Windows 10 using ISO file
In-place upgrade is one of the safest option to upgrade to Windows 10. It will keep your existing data, prevent you from application reinstalling, and re-configuring your machine settings. Additionally, the in-place upgrade moves your old installation content to Windows.old folder. So you have a chance to downgrade to Windows 7, if the upgrade failed somehow or if your system didn’t worked with Windows 10.

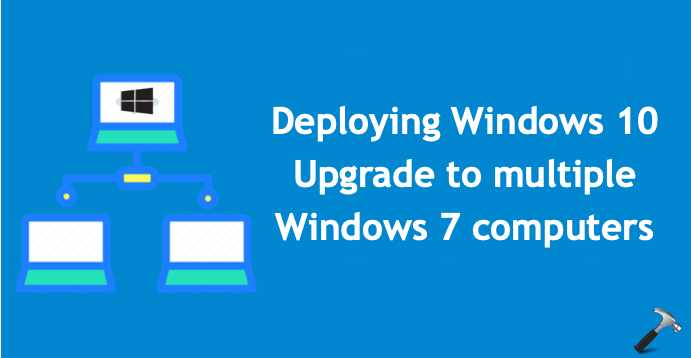
However, when it comes to upgrade hundreds or thousands of system in your organization or workplace, in-place upgrade methods seems challenging. Under this condition, you need to deploy Windows 10 upgrade on multiple machines using deployment tool such as System Center Configuration Manager (SCCM) or Microsoft Deployment Toolkit (MDT). In the post, we’ll review the steps to deploy Windows 10 upgrade using SCCM.
Page Contents
How To Deploy Windows 10 Upgrade To Multiple Windows 7 Computers At The Same Time
Pre-deployment checks
Make sure you’ve latest SCCM version i.e. 1906 installed on the site, if you’re planning to upgrade to latest Windows 10 version, i.e. 1909 as of this writing. If you don’t have latest SCCM version install, you need to update the site first. Then ensure you’ve supported version of Windows ADK installed. Since this is Windows 7 to Windows 10 upgrade, we’ve to use task sequencing. Then download Windows 10 ISO form Microsoft Volume Licensing Center. After downloading the ISO file, extract it to a folder.
Deploying the Windows 10 Upgrade using SCCM
1. Open SCCM console, and navigate to Software Library > Operating Systems. Then right click Operating System Images and click Add Operating System Image.
2. This will open up Add Operating System Image Wizard, so browse to your ISO extracted .wim file and click Next. In General section, enter name, Windows 10 version and any comment you like to add and hit Next. On Summary section, review the information and click Next and complete this wizard.
3. Next, we’ll distributed the added image now. So at Software Library > Operating Systems > Operating System Images, right click on image we just added and select Distribute content. This will open up Distribute Content Wizard, so provide the information required and complete this wizard.
4. Then add the OS upgrade package. In console, click on Software Library > Operating Systems > Operating System Upgrade Packages > Add Operating System Upgrade Packages. Provide the Data Source as the complete installation folder path under which setup.exe file is present and complete the wizard.
5. Now right click on added OS upgrade package and click Distribute Content and complete the wizard.
6. Next, we’ll be creating task sequence for deploying upgrade. Under console, at Software Library > Operating Systems > right click Task Sequences and select Create Task Sequence. Choose your preferences and complete the wizard. Make sure you choose the correct operating system upgrade package here.
7. Moving on, right click on added task sequence and review everything. Although, SCCM takes care of most of things, but IMO, you should reconfirm everything.
8. Now right click on the task sequence added in step 6 and choose Deploy. This will open Deploy Software Wizard. Provide the General information and choose only one target machine. It is recommended that you deploy the upgrade to single Windows 7 computer initially. With this experiment, you can check if deployment works perfectly or not. If it doesn’t works fine, you’ve options to rectify configuration before you deploy to all target machines. Complete the Deploy Software Wizard by adding your preferences.
9. Now log on to single Windows 7 target machine and go to Control Panel > right click Configuration Manager. On the property sheet, switch to Actions tab and select Machine Policy Retrieval & Evaluation Cycle and click Run Now. Then open Software Center via Start Menu or search. Under Applications, you should have upgrade task sequence we created in step 6 available, click on that.
10. Then click on Install button in the next screen. A confirmation prompt may appear, click Install Operating System on it.
11. Now the deployment will start, first system will download required files and restart to prepare upgrade and you’ll then see actual upgrade being performed. This may take some time. Once the target machine is upgraded to Windows 10, you can configure it the way you like with SCCM.
12. If the upgrade went smoothly on one single target computer, you can go back to step 8 and configure the upgrade sequence for all machines and upgrade all of them to Windows 10.
In this way, you can deploy Windows 10 upgrade to multiple machines using SCCM.
That’s it!
Also see: How to make clean install of Windows 10.
![KapilArya.com is a Windows troubleshooting & how to tutorials blog from Kapil Arya [Microsoft MVP (Windows IT Pro)]. KapilArya.com](https://images.kapilarya.com/Logo1.svg)


![[Latest Windows 11 Update] What’s new in KB5063060? [Latest Windows 11 Update] What’s new in KB5063060?](https://www.kapilarya.com/assets/Windows11-Update.png)
![[Latest Windows 10 Update] What’s new in KB5060533? [Latest Windows 10 Update] What’s new in KB5060533?](https://www.kapilarya.com/assets/Windows10-Update.png)

Leave a Reply