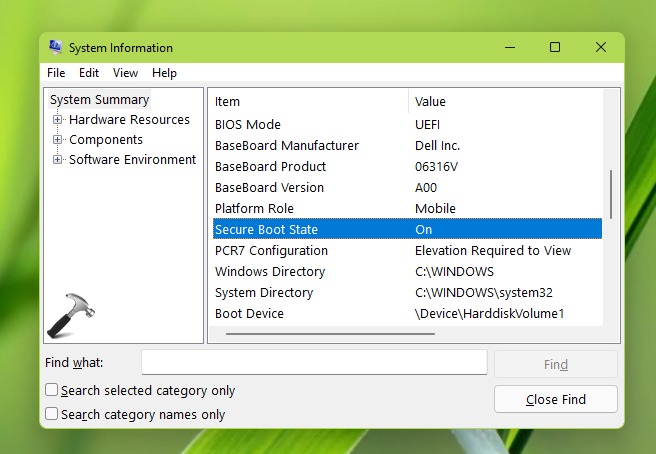
We all know that Secure Boot protects the boot process against security attacks from malicious code like malware and ransomware. In Windows 8 or later, we have devices that supports Secure Boot. The Secure Boot got more attention with the announcement of Windows 11 as it is one of primary requirements for the operating system. Without Secure Boot on, you won’t be able to install or upgrade to Windows 11. If you’re on Windows 10 and looking forward to upgrade to Windows 11, you need to enable Secure Boot to fulfil minimum hardware requirements. You can check out this post to see if you have already Secure Boot enabled. You can follow this guide to enable Secure Boot. In case if your computer won’t boot after enabling Secure Boot, this post may help you to fix.
So this is one of the common problems that you may face after enabling Secure Boot. Usually, your Original Equipment Manufacturer (OEM) may ship your device with Windows installed and Secure Boot enabled. To install Windows of your own choice, you need to disable Secure Boot. Once it is disabled, the computer is under legacy boot aka Compatibility Support Module (CSM). Under legacy boot, you’re free to install any operating system of your choice. However, with any operating system installed of your choice, if you want to re-enable Secure Boot, this doesn’t works.
Here’s how you can fix it.
Fix: Computer won’t boot after enabling Secure Boot
The root cause for this problem is the partition style. With Secure Boot, Windows can use GUID Partition Table (GPT) partition style. While with legacy boot, Windows uses Master Boot Record (MBR) partition table.
So when you enable Secure Boot, the drive is still in MBR partition table which is not bootable. If you disable Secure Boot, the system loads without any problem.
To make you computer bootable with Secure Boot enabled, you need to convert your data or drives from MBR to GPT to let them supported with Secure Boot.
Now, here’s a catch! If you try the legacy method of converting MBR to GPT, you’ll loose all the data on the drive(s). So you need to back up all the data before you do this.
If you want to switch from MBR to GPT without loosing your data, you can use Microsoft’s official command-line tool i.e. MBR2GPT. You can refer following article to use this tool:
How To Convert A Disk From MBR To GPT In Windows 10 Without Losing Data

Once you convert your drive(s) from MBR to GPT, your system should be able to boot with Secure Boot enabled.
That’s it!