Seeing a Wi-Fi Certificate Error on a Windows 11 PC means Windows can’t find or trust the certificate required to authenticate your wireless network, especially secure enterprise or 802.1X networks.
Page Contents
Fix: Wi-Fi Certificate Error on Windows 11
This often prevents your computer from connecting to Wi-Fi or accessing the internet. Below are proven fixes to resolve this issue and restore wireless connectivity.
Fix 1: Set the Correct Date and Time
An incorrect system time can make certificates look invalid or expired.
1. Open Settings and go to Time & language.
2. Turn on Set time automatically and Set time zone automatically.
3. Restart your PC and try connecting again.
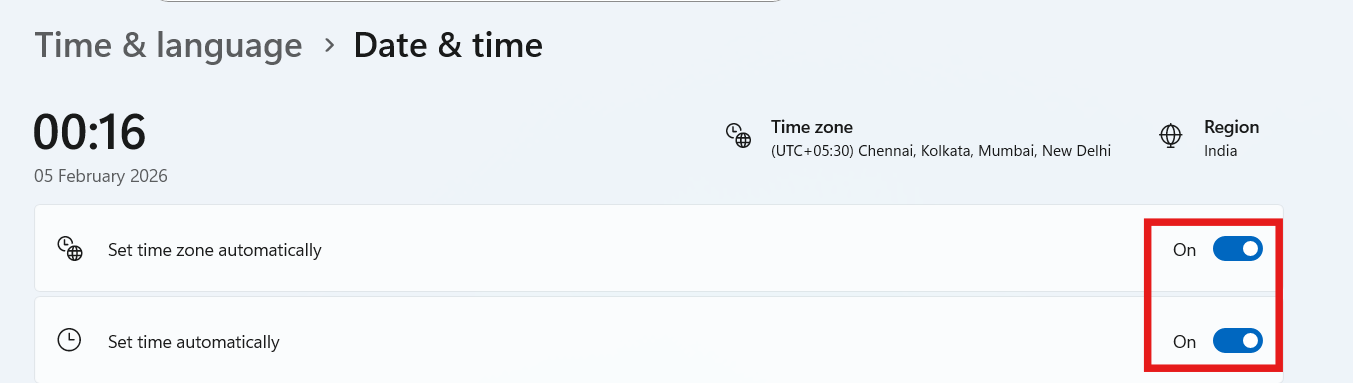
Accurate time ensures certificate validity checks don’t fail.
Fix 2: Update Your Wi-Fi Network Drivers
Outdated or corrupted network drivers can interfere with certificate handling:
1. Right-click Start and open Device Manager.
2. Expand Network adapters.
3. Right-click your Wi-Fi adapter and choose Update driver. Search automatically.
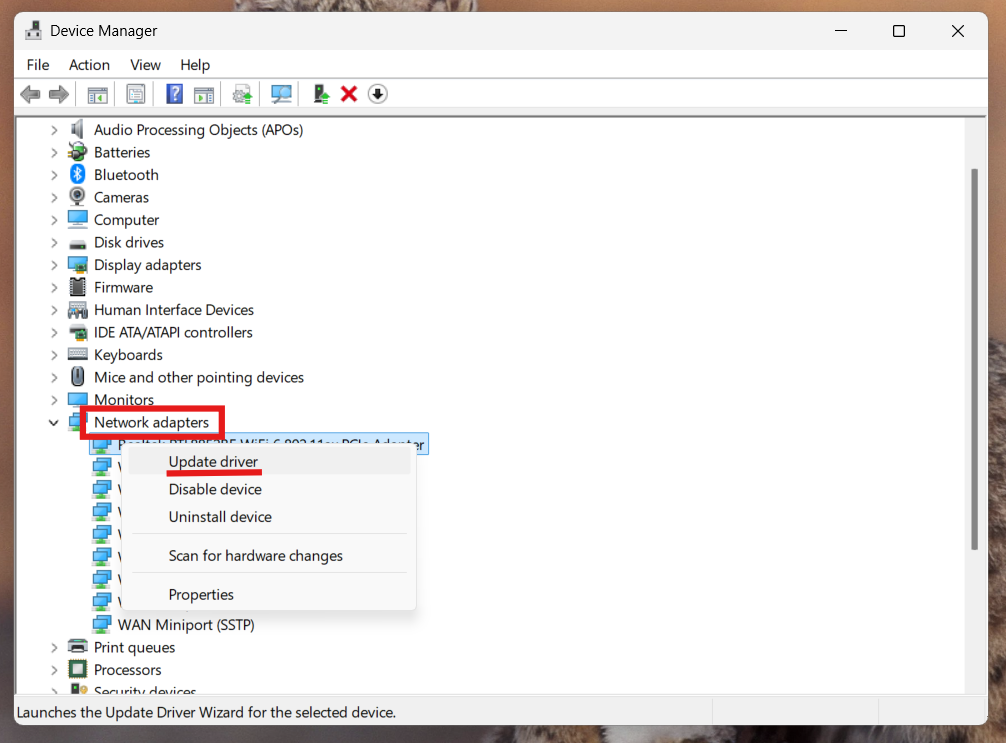
If available, install the latest driver from your manufacturer’s site, then reboot.
Fix 3: Reset Network Settings
A network reset can clear misconfigurations that block certificate-based login:
1. Go to Settings and go to Network & Internet. Then click on Advanced network settings.
2. Click Network reset and select Reset now.
3. Restart your PC after the reset completes.
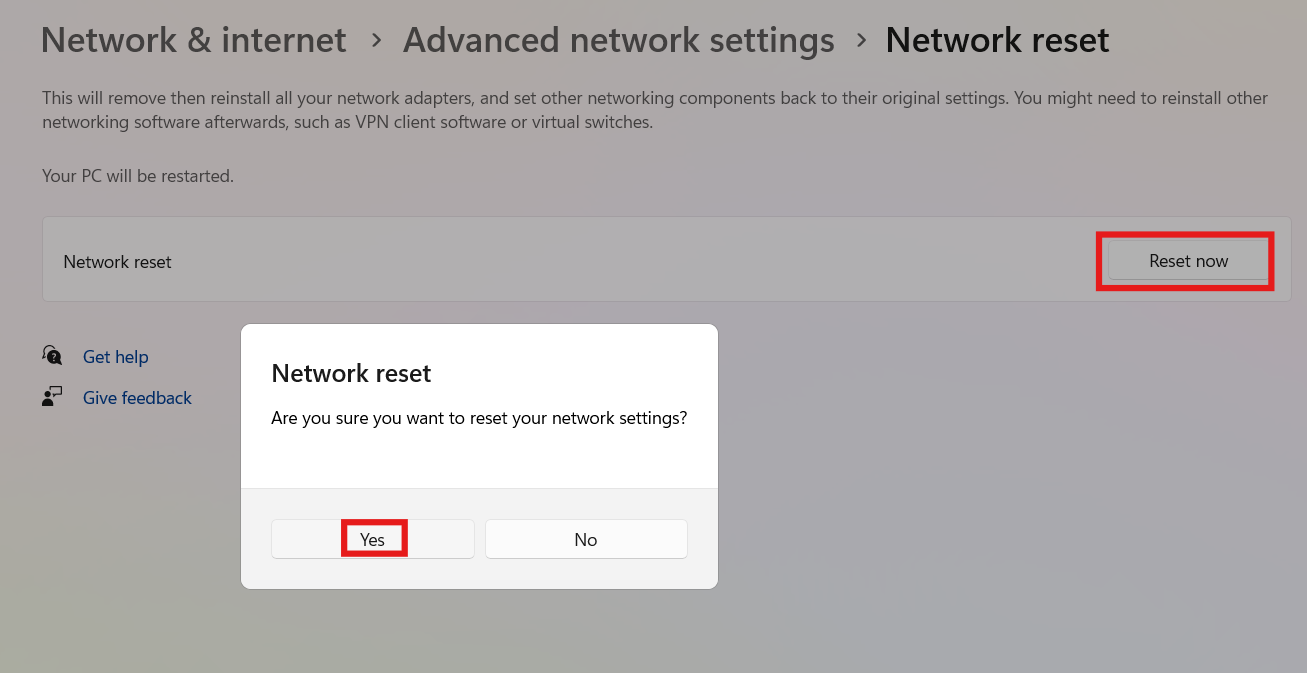
This reinstalls adapters and restores default network configurations.
Fix 4: Check Wi-Fi Authentication Settings
If your Wi-Fi uses 802.1X or certificate authentication:
1. Open Settings and go to Network & Internet. Click on Wi-Fi.
2. Select your network, then Properties, and go to Edit under Authentication.
3. Turn off Enable IEEE 802.1X authentication temporarily to test.
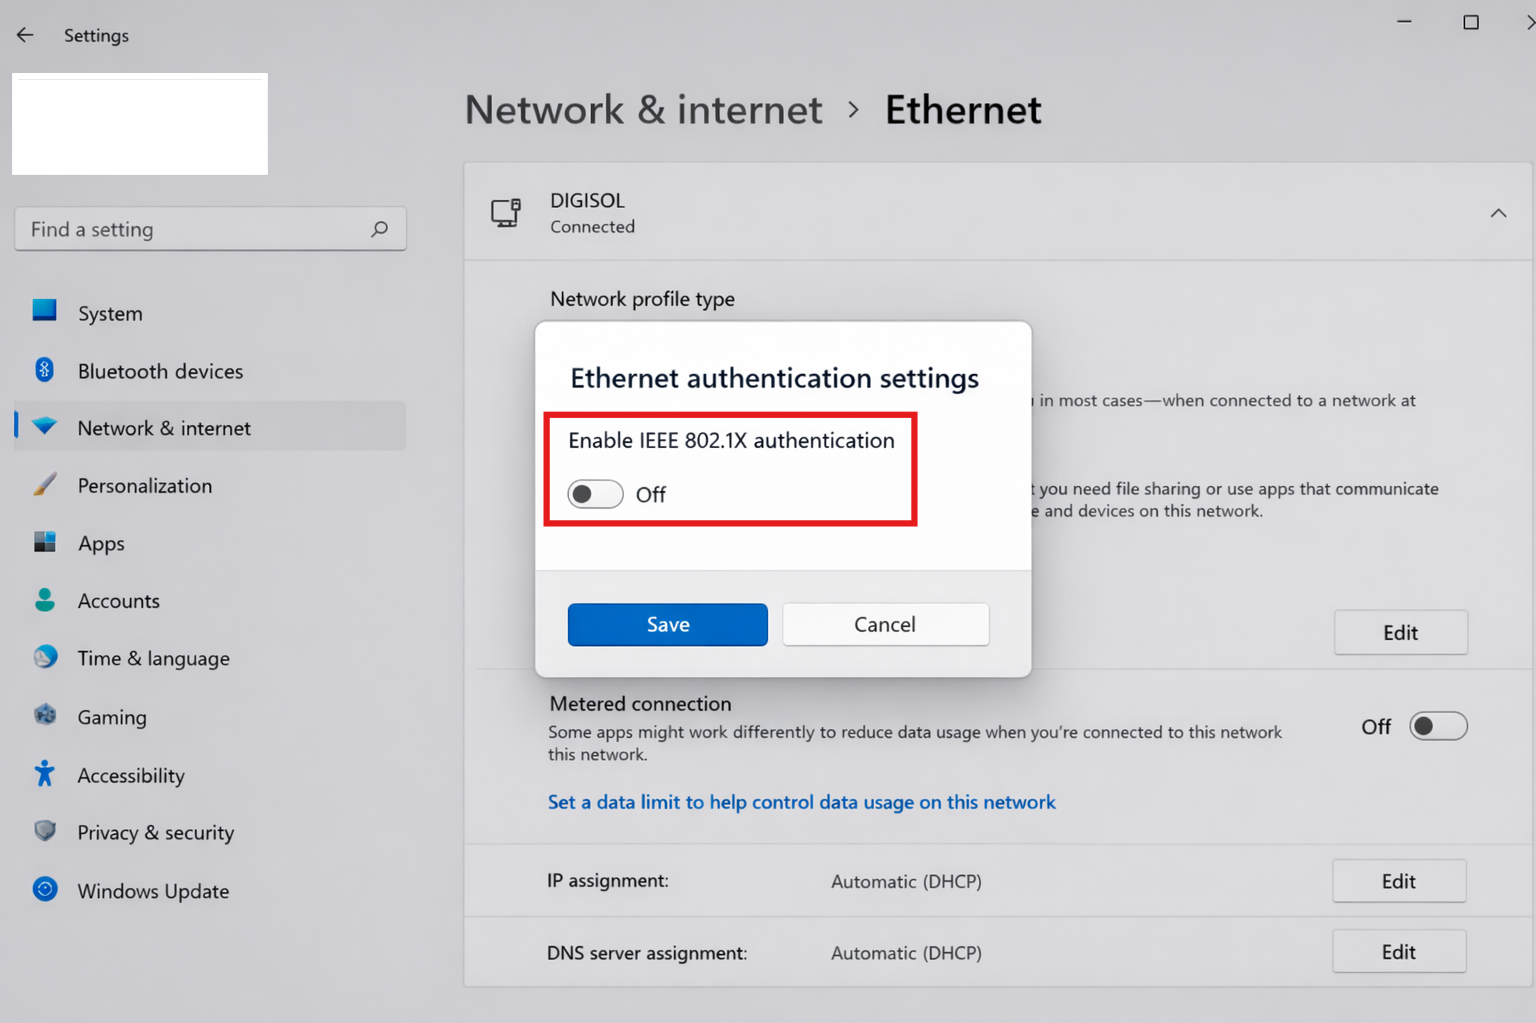
If disabling fixes the error, your certificate or authentication profile may be misconfigured.
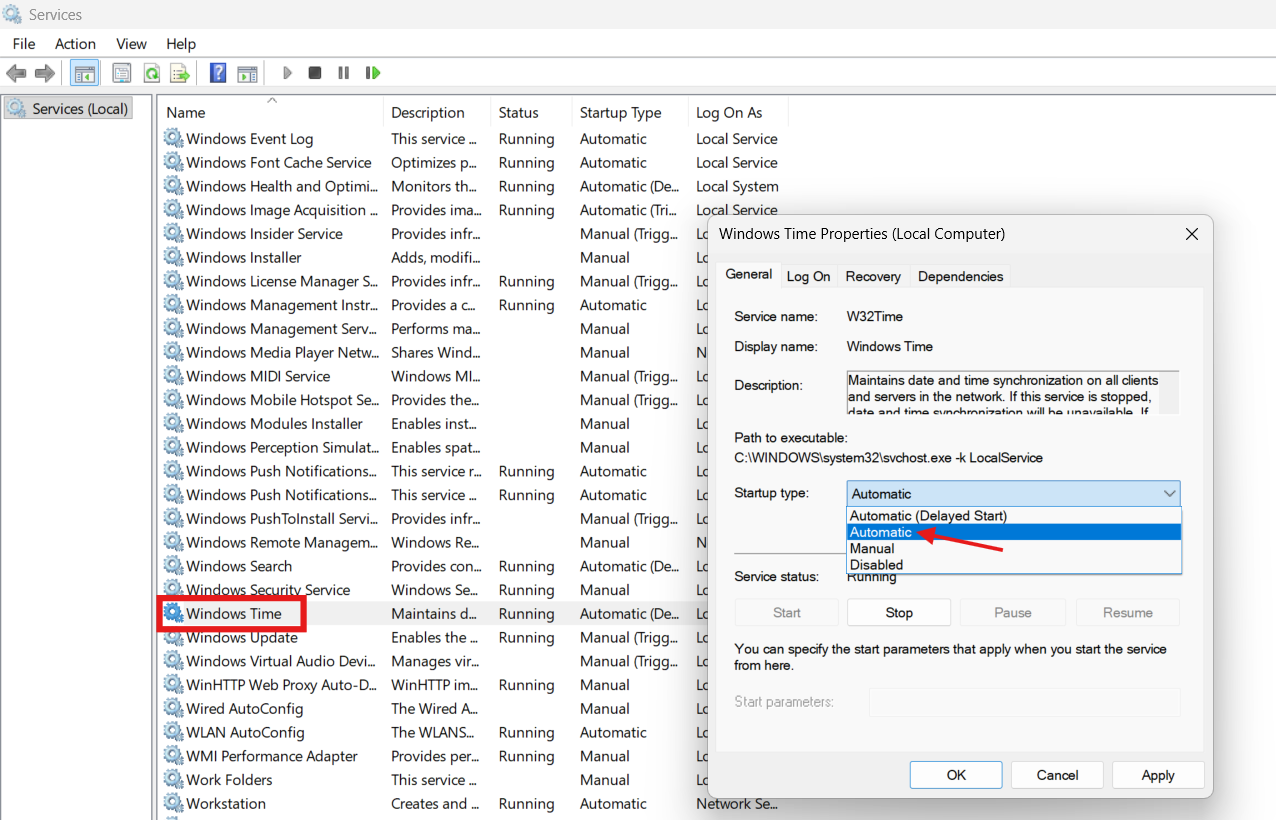
Fix 5: Enable Windows Time Service
The Windows Time service keeps your clock synchronized:
1. Press Win + R, type services.msc, and press Enter.
2. Locate Windows Time, right-click, and choose Properties.
3. Set Startup type to Automatic and click Start.
4. Reboot after saving the changes.
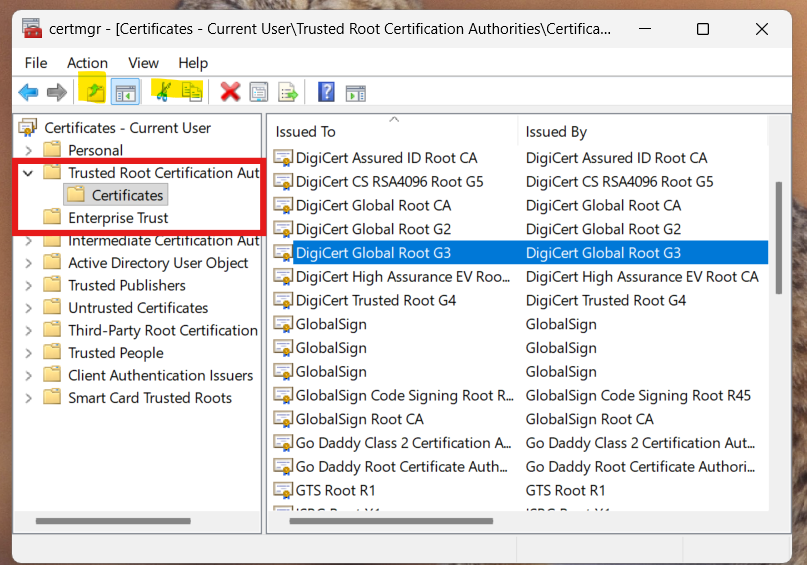
Fix 6: Use Certmgr to Check Your Certificates
Windows stores Wi-Fi certificates in the Certificate Manager.
1. Press Win + R, type certmgr.msc, and press Enter.
2. Expand Trusted Root Certification Authorities and Enterprise Trust.
3. Look for expired or missing certificates and import or renew them as needed.
If needed, ask your network admin to reissue the correct certificate.
See also: Generate self-signed SSL certificate in Windows 11/10/Server.
Fix 7: Enable Hyper-V (Optional Test)
Some users have found that enabling Hyper-V resolves networking issues:
1. Press Win + R and type optionalfeatures. And click Enter.
2. Check Hyper-V and click OK.
3. Reboot your PC and test the connection.
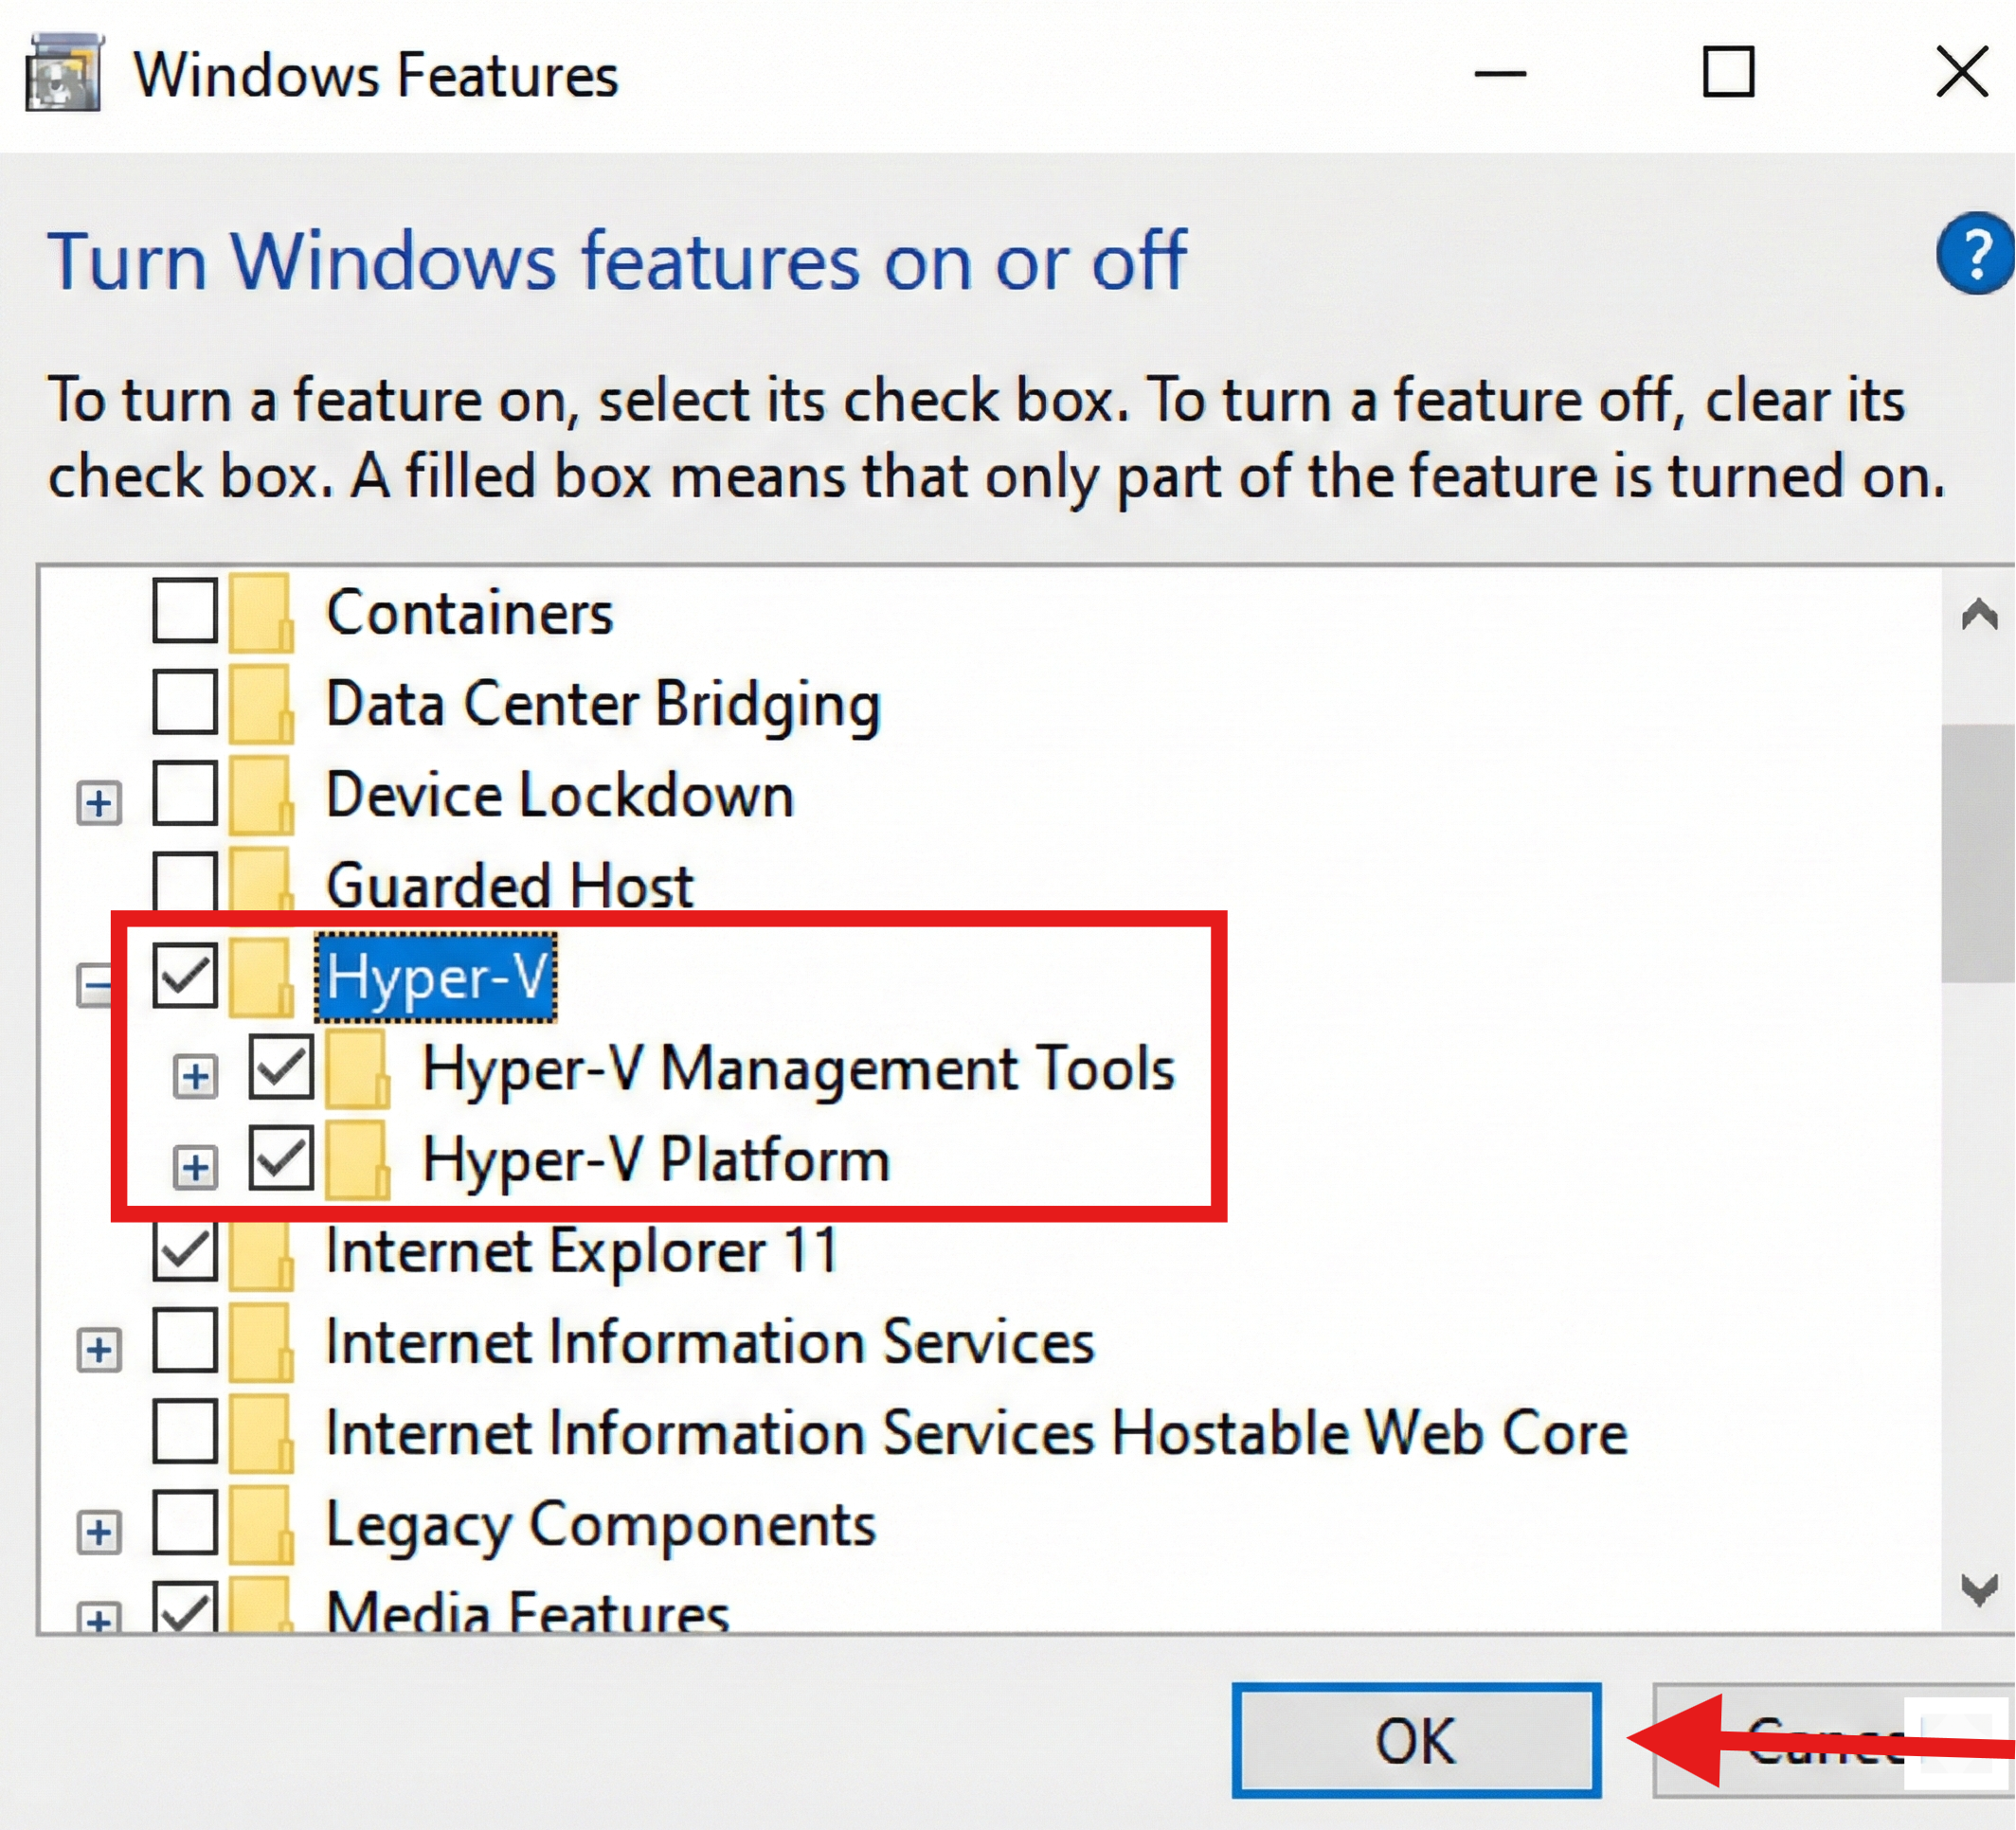
Although not common, this can fix deep networking layer glitches.
Fix 8: Contact IT Support
If none of the above helps, especially on corporate or school Wi-Fi, your network’s certificate configuration might be incorrect or expired. Your system administrator can check certificate validity and authentication profiles on your network server.

Summary
Wi-Fi certificate errors typically stem from mismatched clock settings, outdated drivers, mis-configured authentication, or missing certificates. Start with simple time and driver fixes, reset network settings if needed, and ensure your authentication profiles and certificates match what your network requires. Often this restores Wi-Fi connectivity without reinstalling Windows.
That’s it!