
When your HDMI port is not working, it can disrupt your ability to connect to external monitors or TVs, preventing you from enjoying the full potential of your system. However, there are several effective troubleshooting steps you can take to identify and resolve the problem. This article will explore various solutions to help you fix the HDMI port not working issue on Windows 11, allowing you to seamlessly connect to external displays and enjoy an enhanced computing experience.
Page Contents
Fix: HDMI Port Not Working on Windows 11
Fix 1: Reboot PC
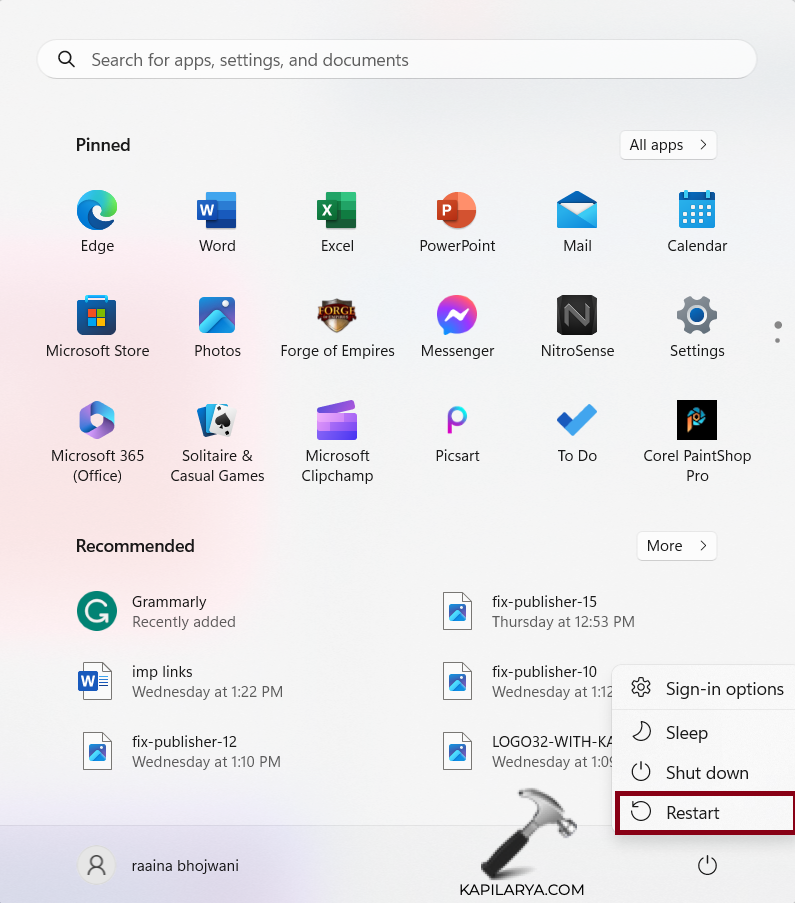
1. Open the Start menu by pressing the Windows key.
2. Click on the Power button and choose “Restart”.
Fix 2: Check the Audio Output
1. Open Settings by pressing the Windows + I keys.
2. Click on “Sound”.
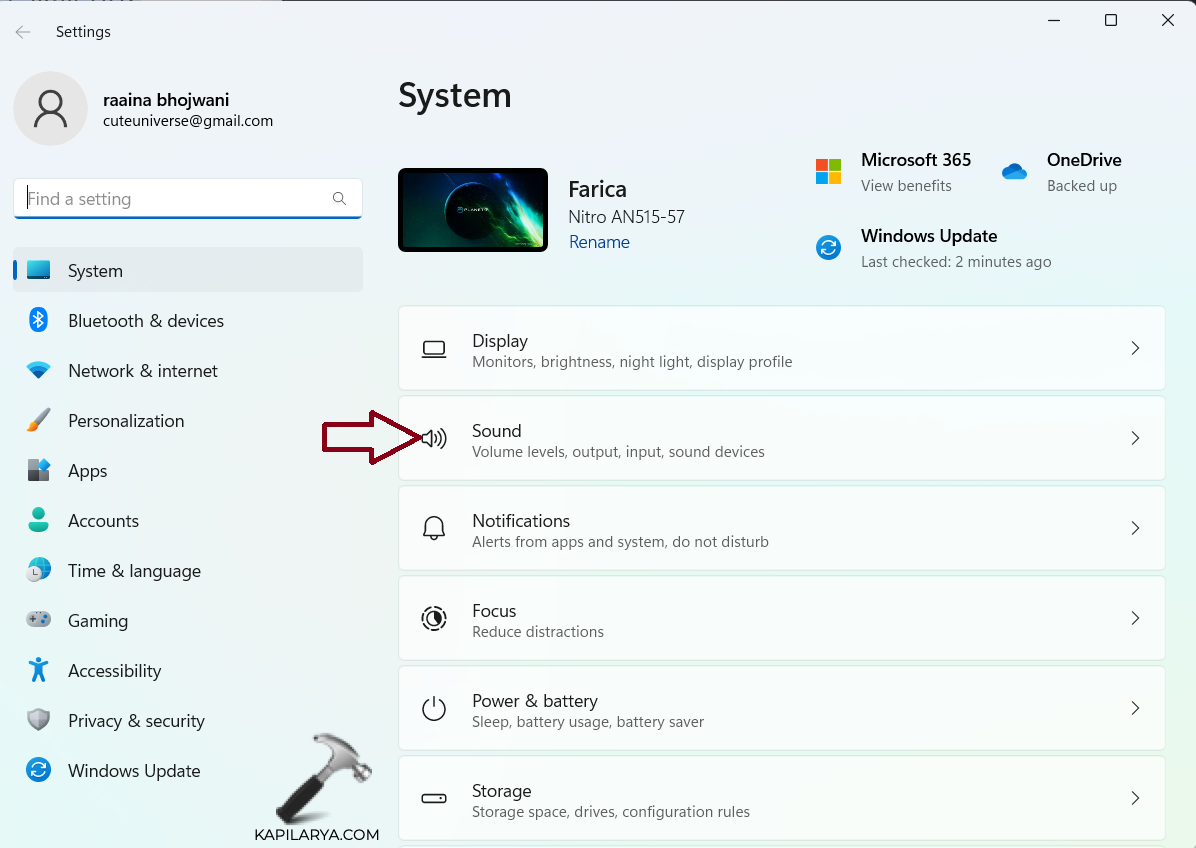
3. Click on “Choose where to play sound” and select the device that is connected.

Fix 3: Reinstall GPU Drivers
1. Right-click on the Windows icon and choose “Device Manager”.

2. Right-click on the GPU driver and choose the “Uninstall device” option.
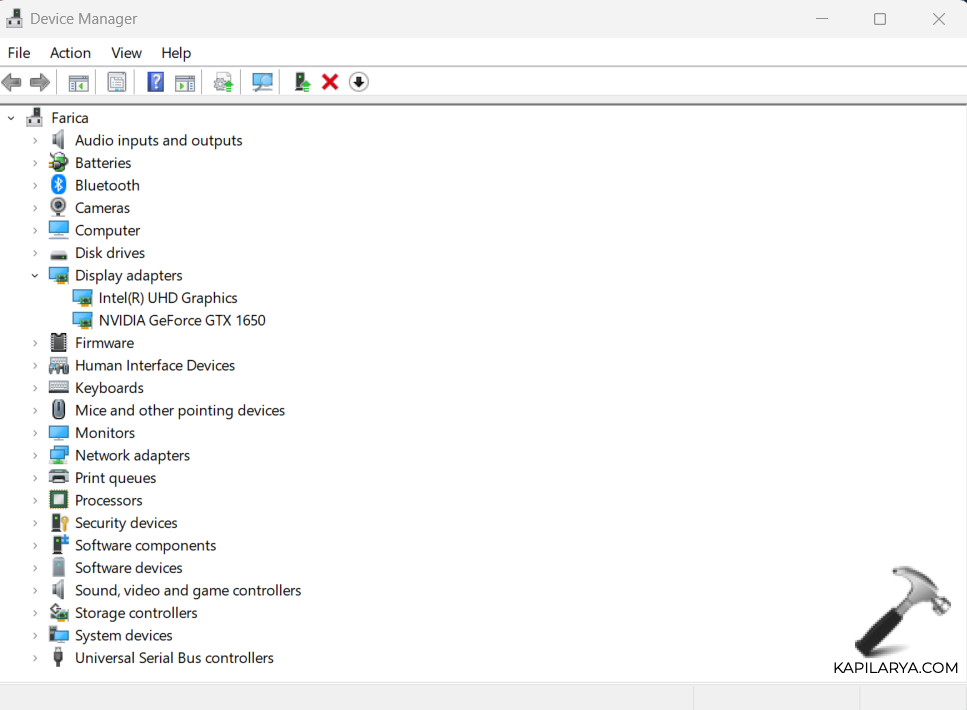
3. Reboot your PC.
Fix 4: Check HDMI Input
Check if the HDMI cable is correctly connected to your computer and the external display. Ensure that the HDMI input on the display is selected as the source. Sometimes, Windows 11 may not automatically detect the external display, so you can manually choose the appropriate HDMI input.
Fix 5: Check the HDMI cable
A faulty or damaged cable can cause a lack of connection between your computer and the external display, resulting in a non-functional HDMI port. Inspect the cable for any visible physical damage, such as frayed wires or bent connectors.
Fix 6: Ditch HDMI Connection
You may consider ditching the HDMI connection altogether and exploring alternative methods of connecting to your external display. Windows 11 supports various display connection options, such as DisplayPort, USB-C, or wireless display technologies like Miracast. By switching to a different connection method, you can bypass any potential problems with the HDMI port.
Fix 7: Update Windows
1. Open Settings by pressing the Windows + I keys.
2. Click on “Windows Update”.

3. Download and install the latest updates for your system.
Fix 8: Run SFC scan
1. Open Command Prompt as an administrator.
2. Type this command and press Enter:
DISM.exe /Online /Cleanup-image /Restorehealth

Fix 9: Manually select Connected Display
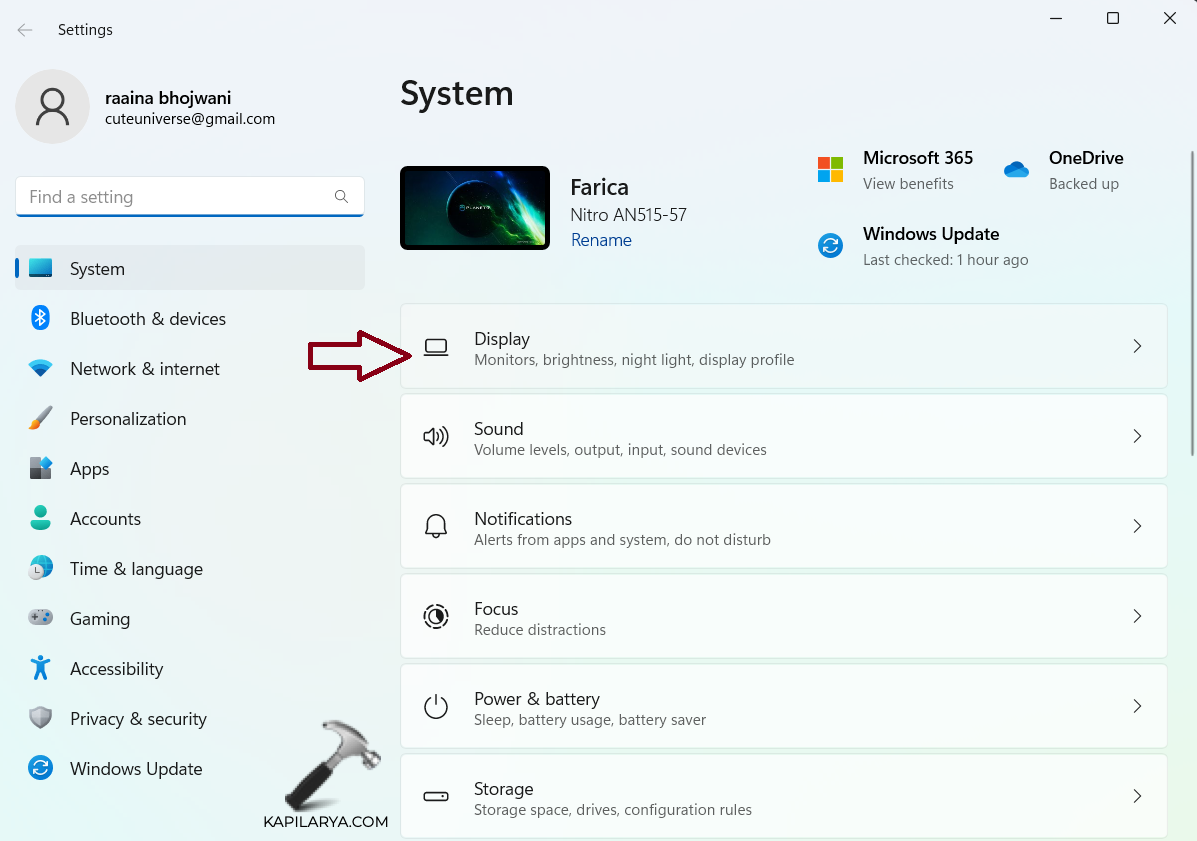
1. Open Settings and click on “Display”.
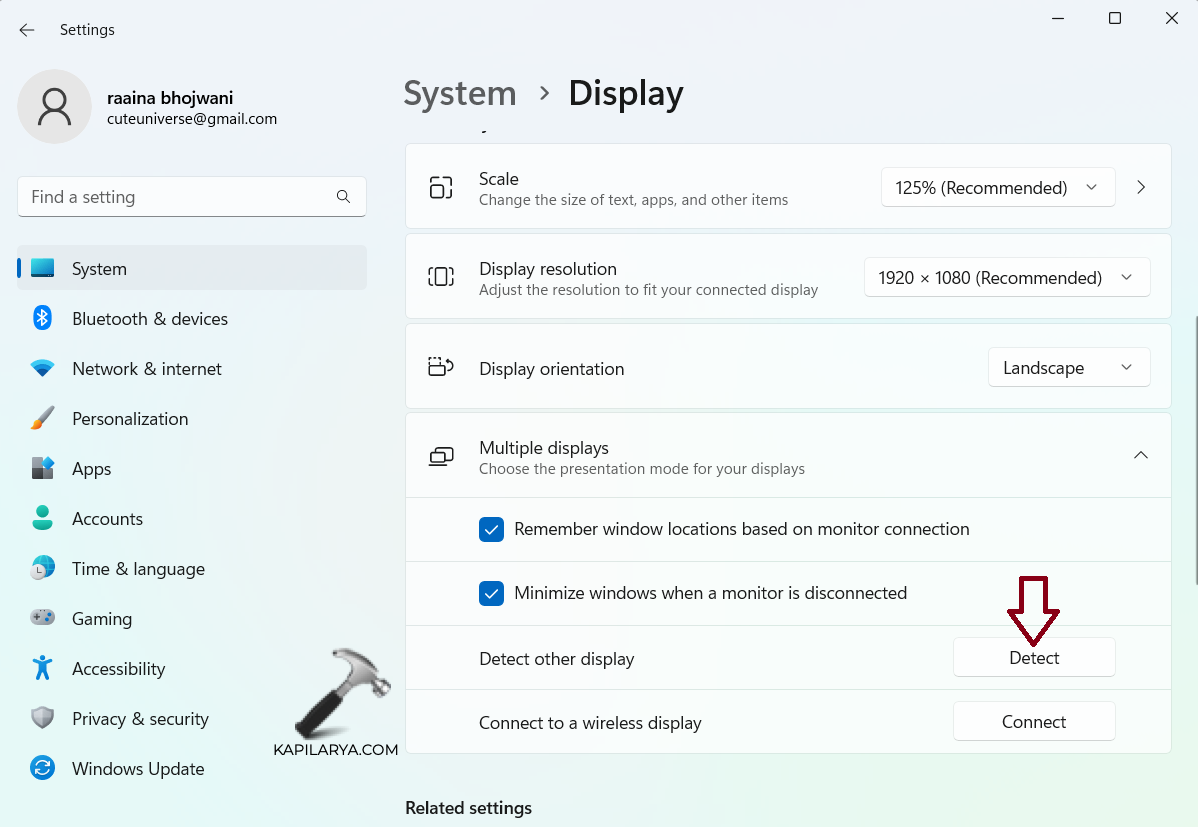
2. Click on the “Detect” button in the “Multiple displays” section.
Fix 10: Check HDMI Connection
Ensure that the HDMI cable is securely plugged into both your computer’s HDMI port and the corresponding port on the external display.
Sometimes, a loose or partially connected cable can lead to a lack of signal transmission.
That’s it!

Hi. thanks to your perfect website and helpful topics. I have a problem with my loptop. when i connect my loptop to smart TV with HDMI cable, the sound of videos or musics are not plauing in the TV and they are playing in the loptop yet! it seems intresting if I tell you that when i don’t connect the HDMI cable, in SOUND>Playback Devices , I can see the Smart TV device and in the propertis, it is written that this device was connecting by HDMI output, but when the cable is plugged in, the Smart TV device is been disapear!!! it is so wierd! it is just my loptop problem. because I tested My TV and My HDMI cable with a PC and it was work! please help me to fix it. sorry if my comment was not correct in English because I’m not good at English. i hope that I can say my propose correct!