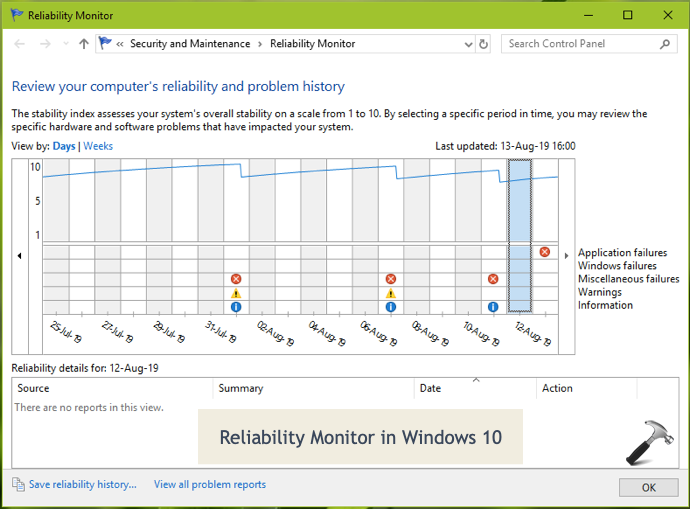
We all know that Reliability Monitor in Windows keeps an eye or tracks the system performance. The Stability Index associated with this monitor assesses your system on stability scale from 1 to 10. If your system is getting closer to 10 on stability scale, the system is getting stable.
So overall, Reliability Monitor is quite a good tool and helps you to keep your system running perfectly. It also provides information about critical events. If Reliability Monitor is no longer working on your system, here is how you can fix it.
Page Contents
FIX: Reliability Monitor Not Working In Windows
Part 1 – Reliability Monitor Not Working In Windows 10
1. Run System File Checker scan.
2. If SFC scan fails, run DISM command-line tool to fix inbox corruption repair.
3. Run System Maintenance troubleshooter from Settings app > Update & Security > Troubleshoot.
4. Open Control Panel > Security and Maintenance and under Maintenance, click on Start Maintenance link. Let this complete and see if the issue is resolved.
5. Reset Reliability Monitor using steps mentioned in our dedicated guide.
6. Perform repair upgrade, if issue still persists.
Part 2 – Reliability Monitor Not Working In Windows 8/7
If you’re still using previous Windows version such as Windows 8 or 7, you can reset Reliability Monitor using these steps:
1. Make sure you’ve hidden items enabled in File/Windows Explorer.
2. Open File/Windows Explorer, go to C:\ProgramData\Microsoft\RAC.
3. Under RAC folder, you’ll find PublishedData and StateData folders. If you like, backup all content under these folders, because we will erase it now.
4. Open PublishedData folder and delete all files inside it. Provide the UAC permissions, if asked for.
5. Similar to step 4, also delete all content inside StateData folder.
6. Now the Reliability Monitor should be reset. Give some time to Reliability Monitor to collect your system data. So check it back in one or two days and you’ll find that issue is resolved now.
If you still face the issue, try these steps then:
We recommend you to create a System Restore point first, before editing registry.
1. Open Registry Editor.
2. Go to HKEY_LOCAL_MACHINE\SOFTWARE\Microsoft\Reliability Analysis\WMI.
3. In the right pane of WMI registry key, set the WMIEnable registry DWORD‘s Value data to 1.
4. Close Registry Editor and reboot.
After restarting the system, the issue will no longer be present.
Hope something helps!