If you’ve just realize that your system is slow, the disk usage is comparatively high all the time, apps on your system doesn’t respond quickly, the reason behind this may by presence of disk errors.
When disk you’re using on your system have errors, bad sectors or have any kind of volume corruption, it is often recommended that you scan the disk. In this article, we’ll show two different methods, using which you can check errors on disk and also fix them.
Page Contents
How To Perform Disk Error Checking In Windows
Method 1 – Via File/Windows Explorer
1. Press  + E keys to open File/Windows Explorer.
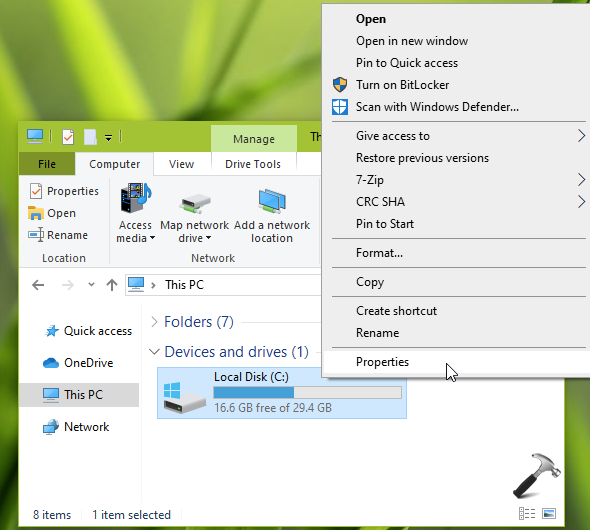
2. In This PC (in Windows 10/8) or Computer (in Windows 7), right click on the drive which you want to check for error. In the right click context menu, select Properties.
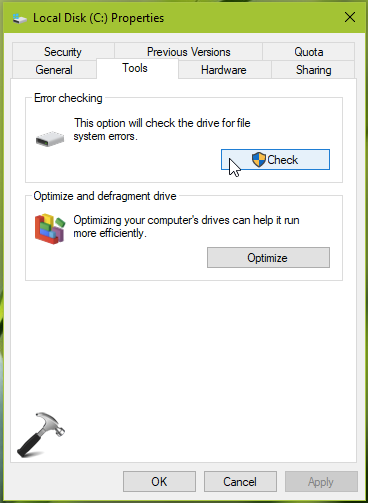
3. On disk property sheet, switch to Tools tab. Under Error checking, click on Check button. If you’re asked for administrative privileges, provide them.
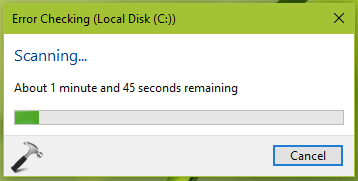
4. Next, in Error Checking window, click on Scan drive.

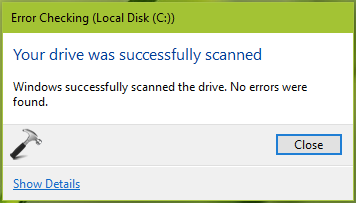
You’ll find that now disk error checking is started and it will be completed in few minutes.
After some moments, you’ll be notified, if there were errors found on your disk.
Refer Method 2, if you this method doesn’t works.
Method 2 – Via Command Prompt
If you’re not able to boot your system, or can’t try UI options method for anonymous reason, we’ve this alternative method for you. By using the chkdsk command line tool, you can directly scan and fix disk errors simply using Command Prompt. Here’s how:
1. In Windows 10, right click on Start Button and select Command Prompt (Admin). On older Windows editions such as Windows 8/7, you can open Command Prompt as administrator, using search.
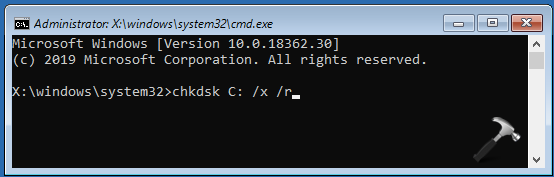
2. In Command Prompt window, type chkdsk C: /x /r and press Enter key.
Note: In above mentioned command, substitute C: with the drive you want to check.
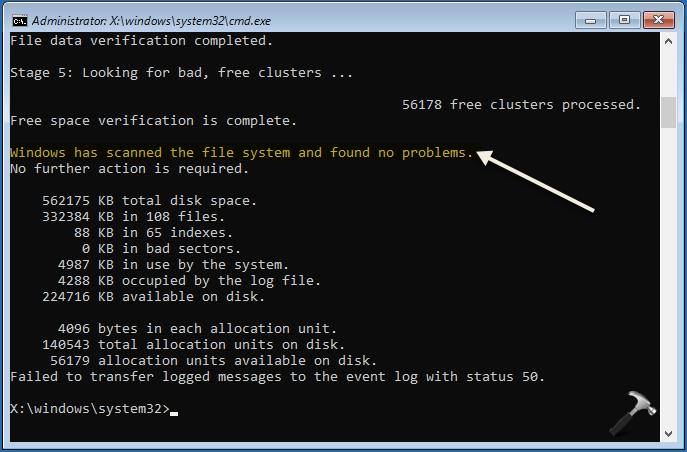
3. Let this command execution completed. After few moments, you’ll be notified the results of scan. If there were no issues, you’ll see Windows has scanned the file system and found no problems message.
So this is how you can check disk for errors in your Windows OS.
Hope you find the article useful!