Would you like to know how to stop sharing folder via Windows 11? You can easily turn off sharing in Windows 11 regardless of whether you did it by accident or simply no longer want people on your network to be able to view or edit your files. This guide will take you through the six tips that are useful in order to manage your shared folders successfully.
Page Contents
Ways to Check All the Shared Folders in Windows 11/10
You should know what folders are shared before you can stop sharing a folder. These are the two sure methods of checking.
Way 1: Check Shared Folders via fsmgmt.msc
This utility provides all shared folders within a single dashboard.
1. Press Win + R to open Run. You have to type and press Enter on this command.
fsmgmt.msc
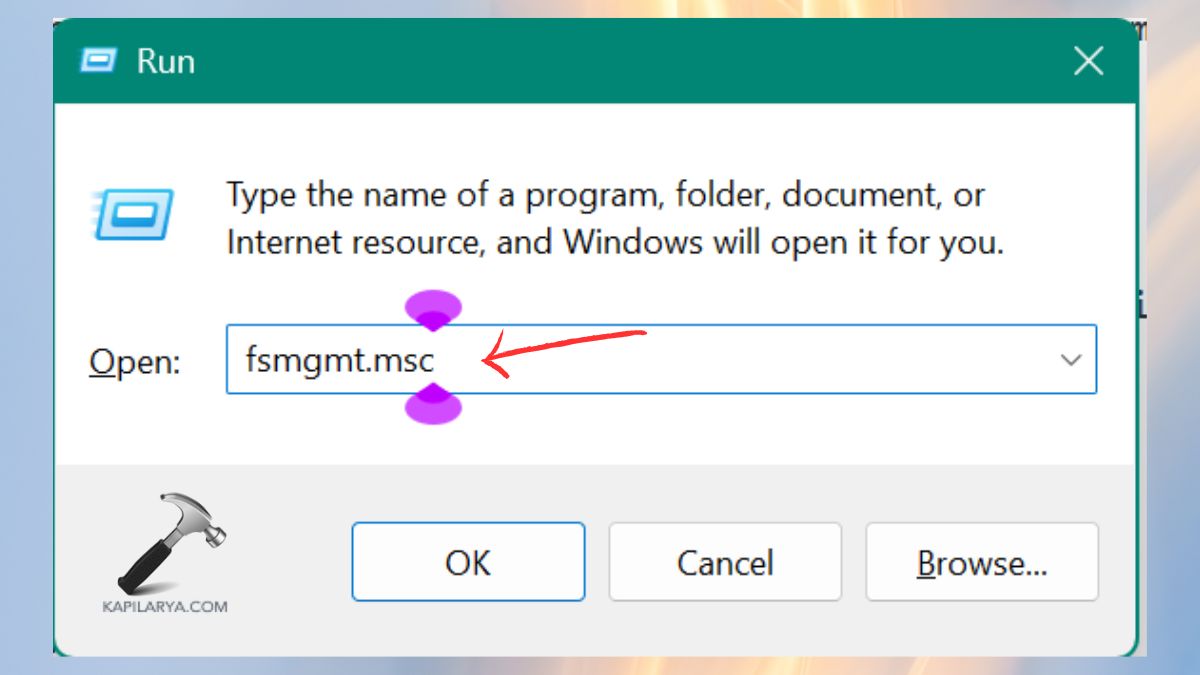
2. On the left window, Shared Folders and Shares. At this point, you shall view all folders that are shared actively on your PC.

Way 2: Check Shared Folders via Command Line (net share)
A command is also useful in quickly checking shared folders.
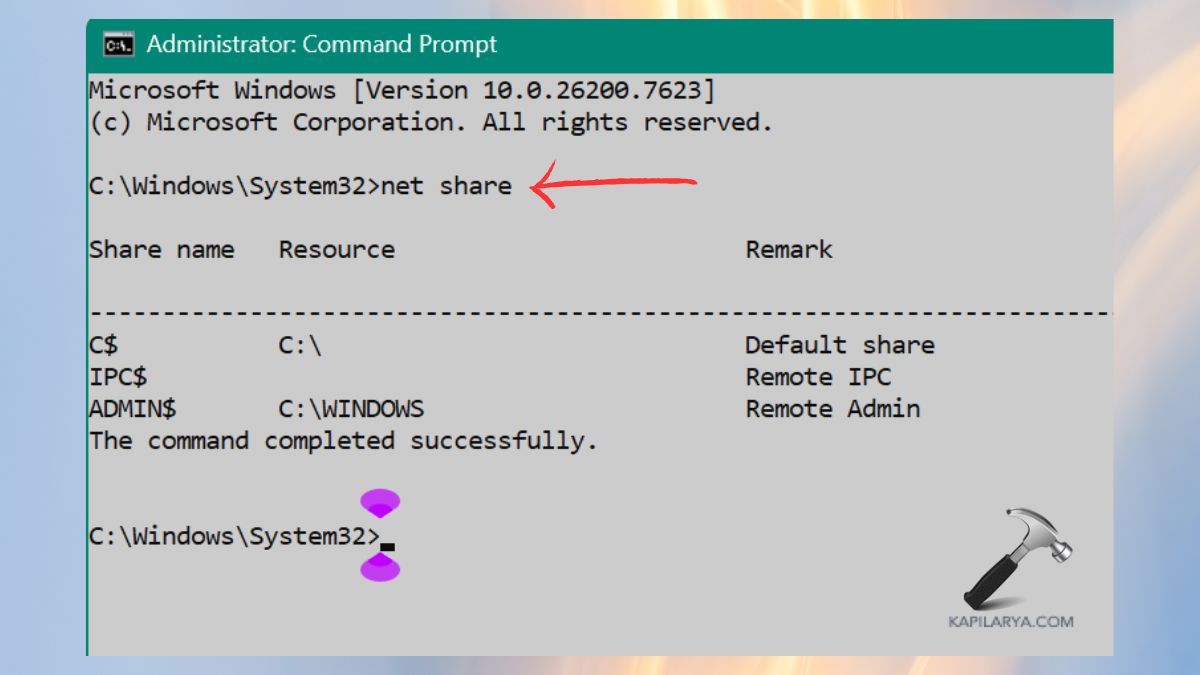
1. Press “Win and S” and type in the Command Prompt.

2. Type this command. Press Enter.
net share
On this list, you will find a list of all active shared folders on your system.
How to Stop sharing a folder in Windows 11
The six step-by-step methods are shown below. They are simple to know how to use and get you to quit sharing a folder in windows eleven.
Method 1: Stop Sharing a Folder Through File Explorer
It is the most simple and quickest process.
1. Open File Explorer. Access folder. Right- click on the folder > Properties.

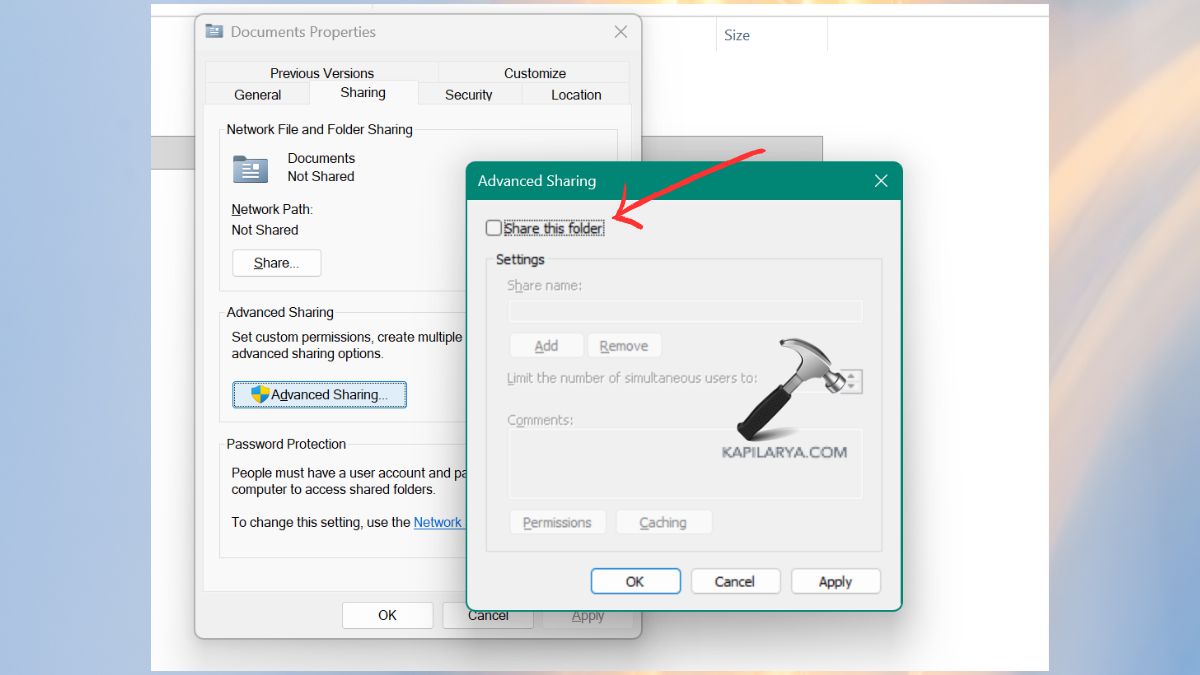
2. Go to the Sharing tab. Click Advanced Sharing.
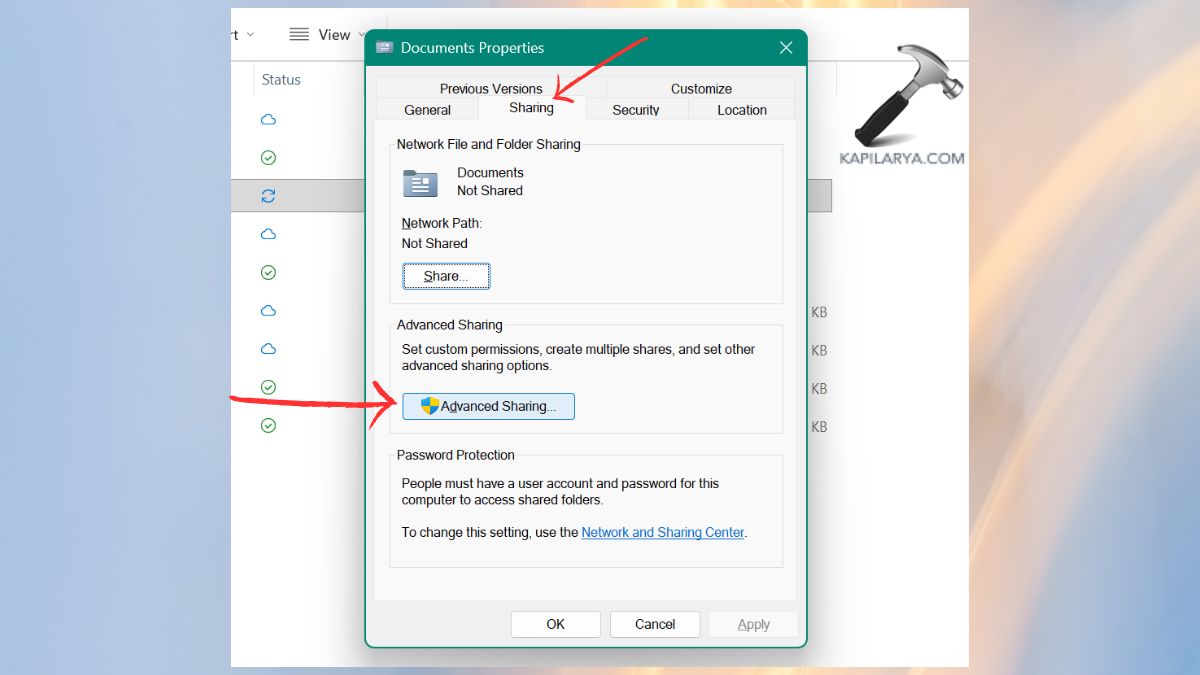
3. Uncheck the “Share this folder” option > and then click OK.
It is no longer possible to access this folder through the network.
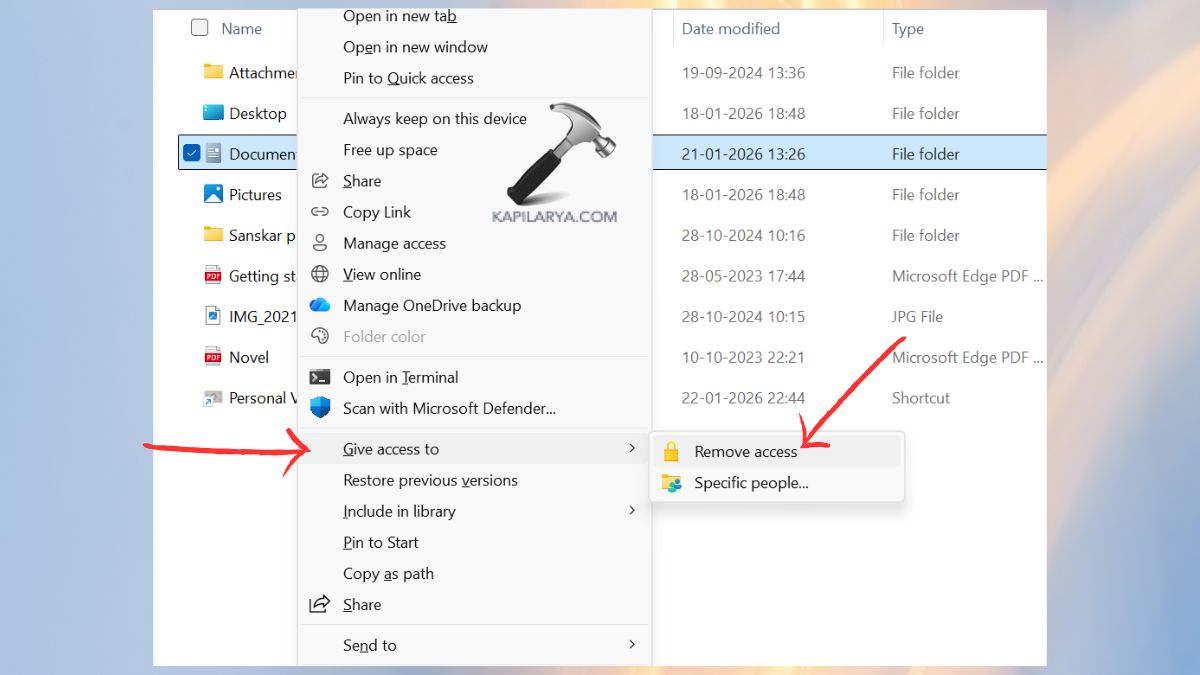
Method 2: Stop Sharing by Removing Access
Windows 11 has provided a direct removal access option.
1. Open File Explorer. Select the shared folder by clicking the right button.
2. Click Select Give access to > select Remove access. That folder will be immediately disabled in case of sharing.
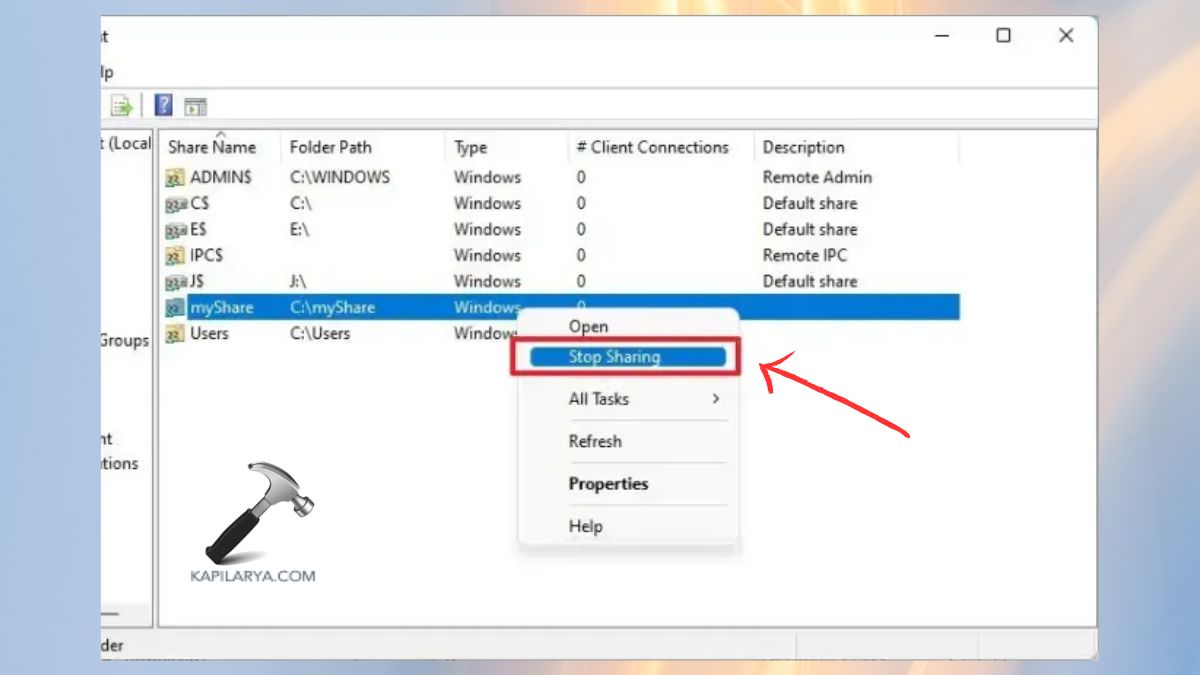
Method 3: Stop Sharing Using Computer Management
Computer management offers a share management tool in the form of a GUI.
1. Click on the “Windows + X” key and select Computer Management(Admin).

2. Go to System Tools > Shared Folders > Shares.

3. Click the right-hand folder share that you want to delete. Select Stop Sharing. Confirm the prompt.
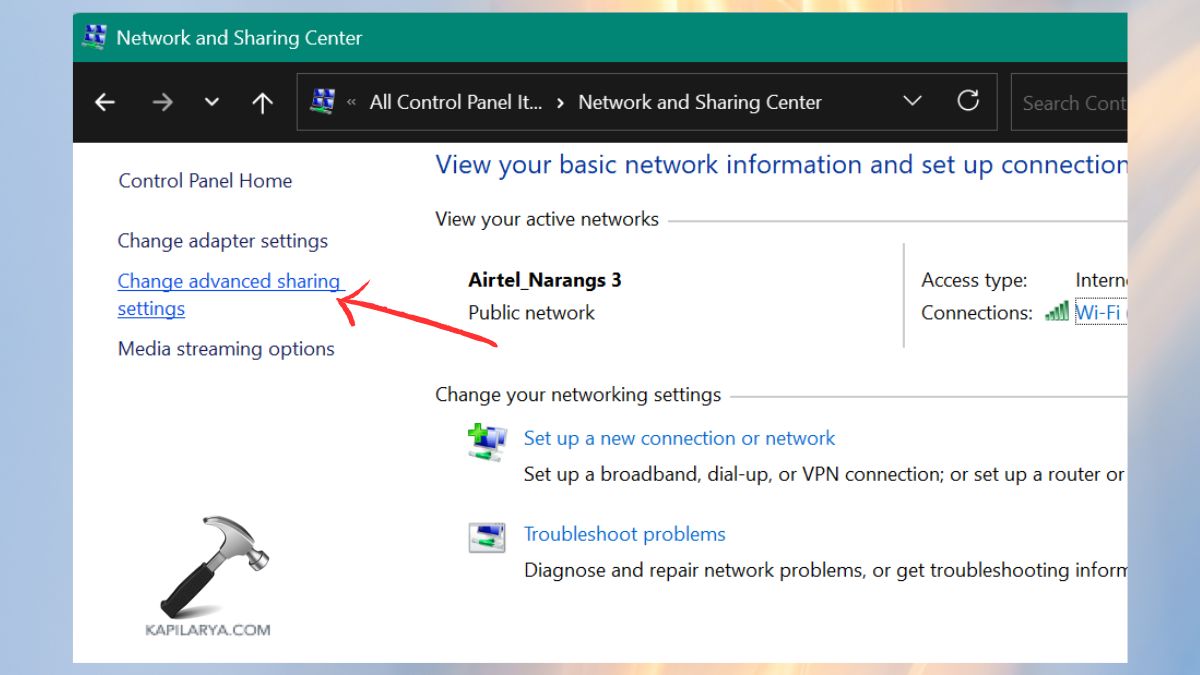
Method 4: Stop Sharing a Folder Using Control Panel
The control panel method may be used in case you wish to use old-style Windows tools.
1. Click on Control Panel > Network and Sharing Centre.

2. Click on the left-hand side Advanced sharing settings.
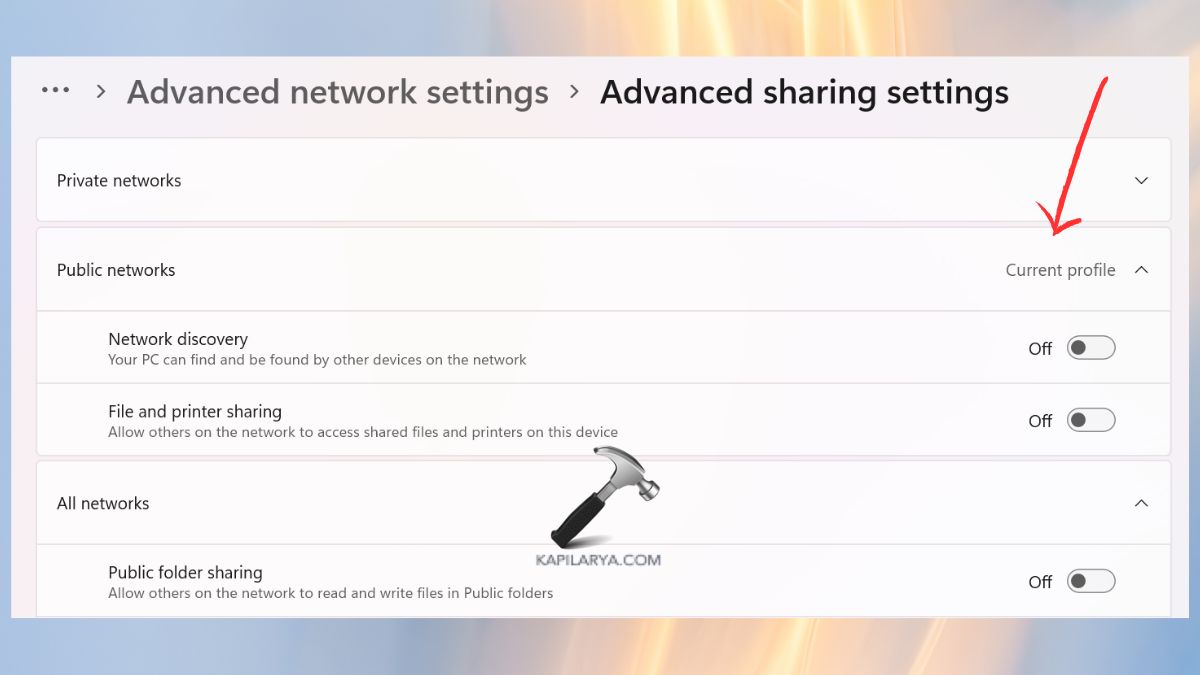
3. Expand All Networks and Public Networks. Swipe down and switch these settings off-
- Network Discovery
- File and printer sharing
This makes the sharing of public folders impossible, and it does not allow the automatic creation of new shared folders.
Method 5: Stop Sharing via Command Prompt
Just like me, if you are also a believer in cmd commands, then you can use this approach without any difficulties.
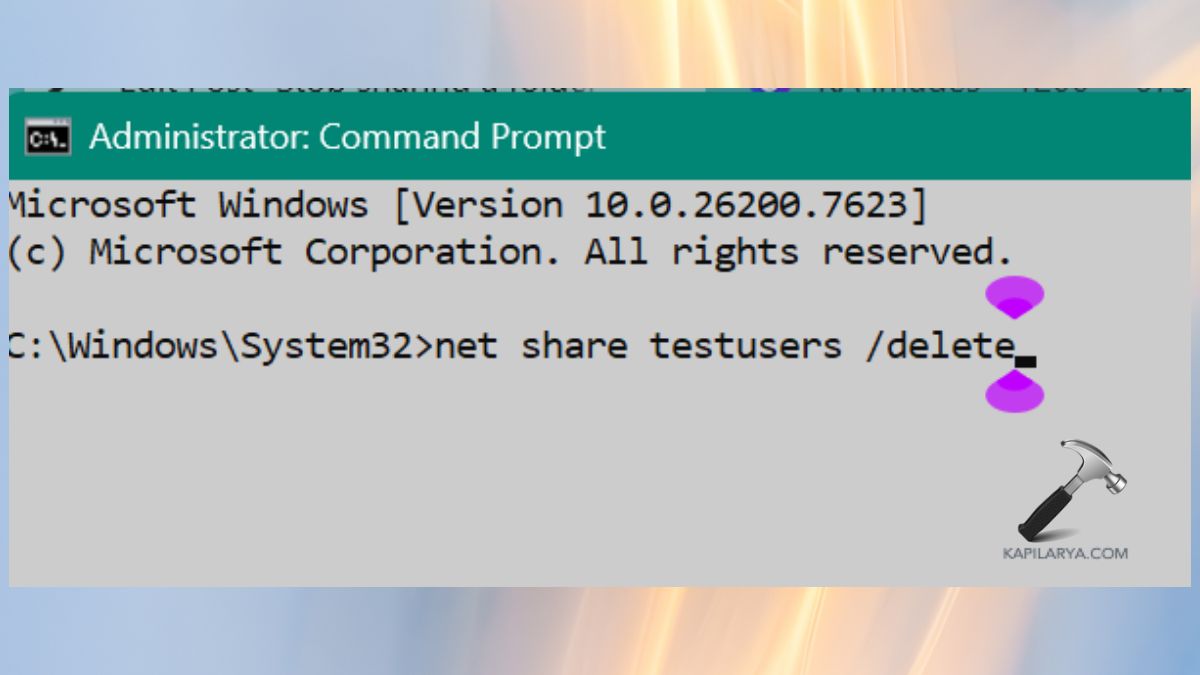
1. Open an Administrator Command Prompt.
2. Type the following command.
net share (shared folder name) /delete
Sharename is replaced with the real name of the shared folder name. Press Enter. After it is deleted, the folder is not shared on the network anymore.
Method 6: Using PowerShell Admin
PowerShell provides very accurate control to network shares.
1. Select (right-click) start-up > open Windows PowerShell (Admin). Or choose it from the Win+X keys.

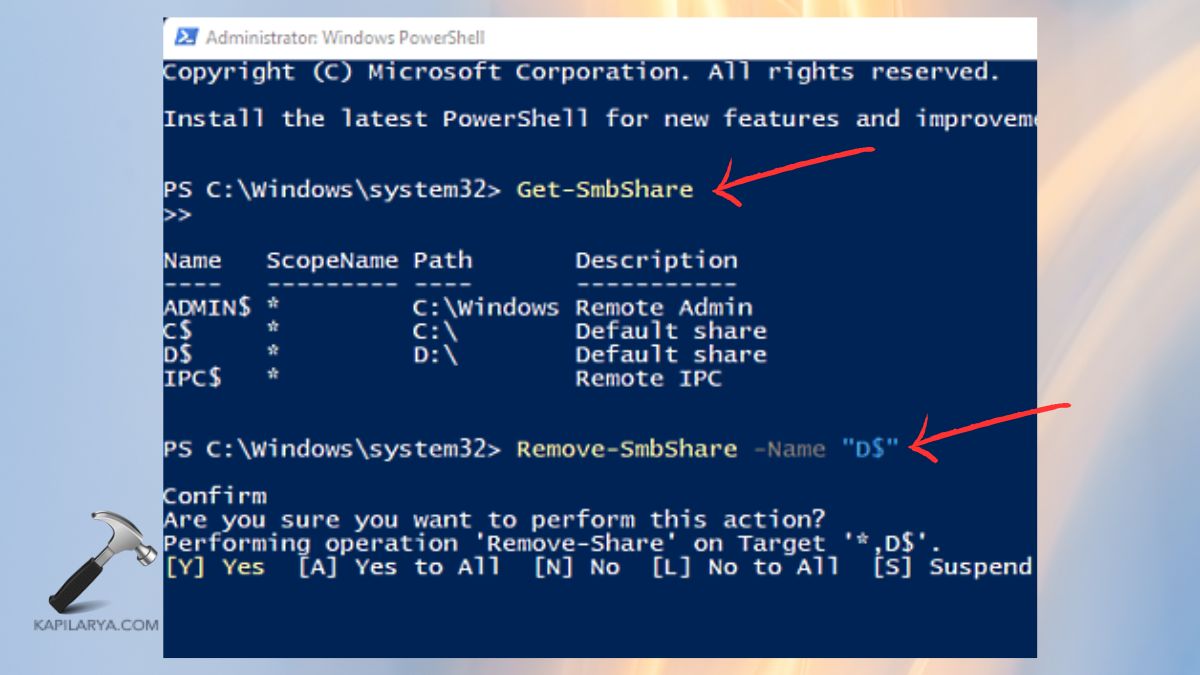
2. Enter the following command to get a list of shares.
Get-SmbShare
3. To delete a common folder, the following command is applicable. Confirm the action.
Remove-SmbShare -Name "(shared folder name)"
Frequently Asked Questions (FAQs)
Why should I stop sharing a folder in Windows 11?
Termination of sharing will ensure privacy, avoid any unauthorized access and limit chances of accidental file editing or deletion by people using the network.
How do I know if my folder is currently shared?
File Sharing You can use commands such as net share or can use something as fsmgmt.msc and Computer management to view shared folders in action.
Will stopping sharing delete my files?
No. Turning off folder sharing only gives you a network connection-free environment; your data is stored safely and untouched on your computer.
Can I re-share a folder later?
You may bring it back at any point in time through either the Sharing tab of File Explorer or in Advanced Sharing settings.
That’s it!


![The mapped network drive could not be created [Detailed fix]](https://www.kapilarya.com/assets/Network-Drive-768x511.jpg)