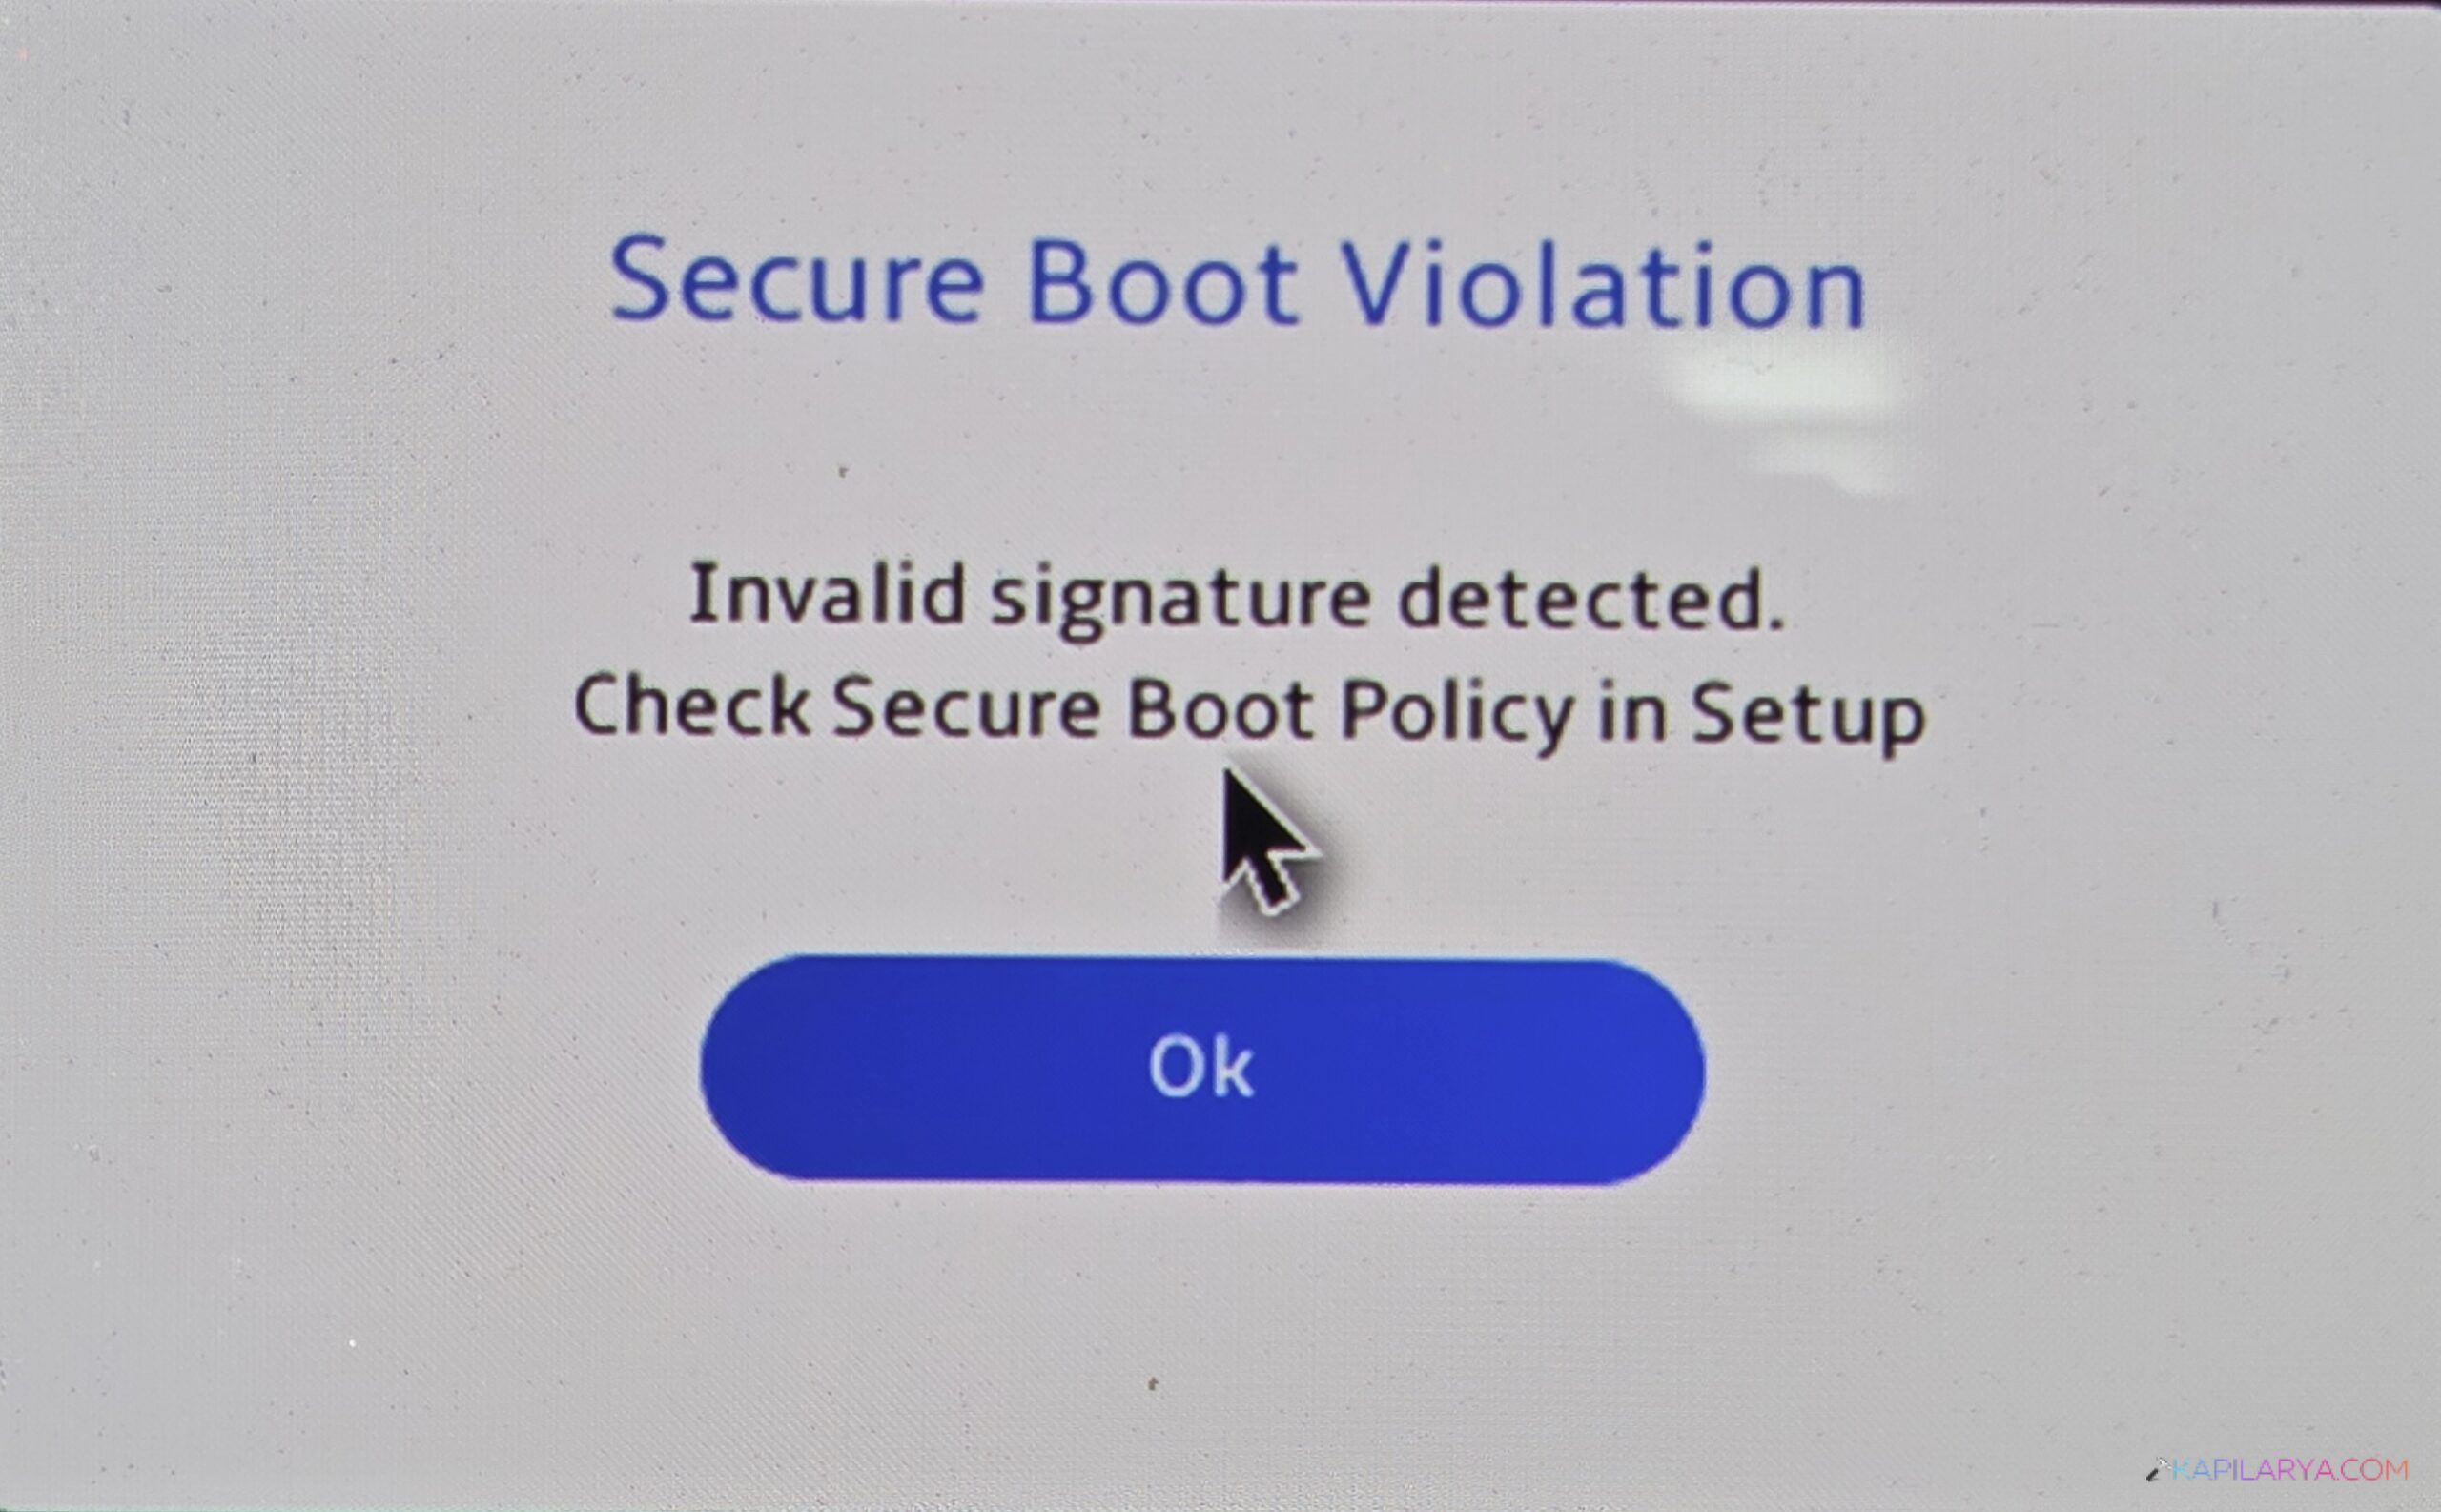
In case you get the error message of Secure Boot Violation, Invalid Signature Detected when booting Windows 11 or installing new hardware/software, this is where you will find the solution. This Secure Boot error typically occurs when the system suspects that a driver, bootloader, or file you are attempting to load lacks a valid digital signature.
Thus, this article will take you through the steps to effective solutions, the reasons why this mistake happens, and how to select the appropriate approach based on your system.
If Windows 11 doesn’t boot normally, follow this guide to fix Windows 11 stuck in an infinite boot loop.
Page Contents
What is the Secure Boot Violation: Invalid Signature Detected Error
The first time you see the Invalid Signature Detected message, it may seem like a mere boot glitch, but Secure Boot is a significant part of PC security. Secure Boot is a security option in UEFI/BIOS that makes sure that your PC only loads trusted operating systems and drivers. It protects your device from Rootkits, Boot-level malware, Unauthorized firmware modifications, and Corrupted bootloaders.
These could be the reasons that does not fulfill those trust requirements:
- Recent Windows updates.
- Unsigned/outdated drivers.
- Modified boot files.
- New hardware.
- Dual-booting operating systems.
- TPM or BIOS misconfiguration.
When Secure Boot issues this warning, then it is protecting your PC. But it also requires your assistance to correct the misconfiguration. This guide will assist you to solve it without jeopardizing the security of your system. Now, let’s jump into the working fixes.
Fix Secure Boot Violation, Invalid signature detected
Secure Boot Violation-Invalid Signature Detected error is annoying, but you can fully fix it with the help of the following three methods.
Fix 1: Temporarily Disable Secure Boot in BIOS
This is among the fastest methods of overlooking the secure boot violation error, particularly when you have just installed new hardware, dual-boot software, custom drivers, or an unsigned operating system.
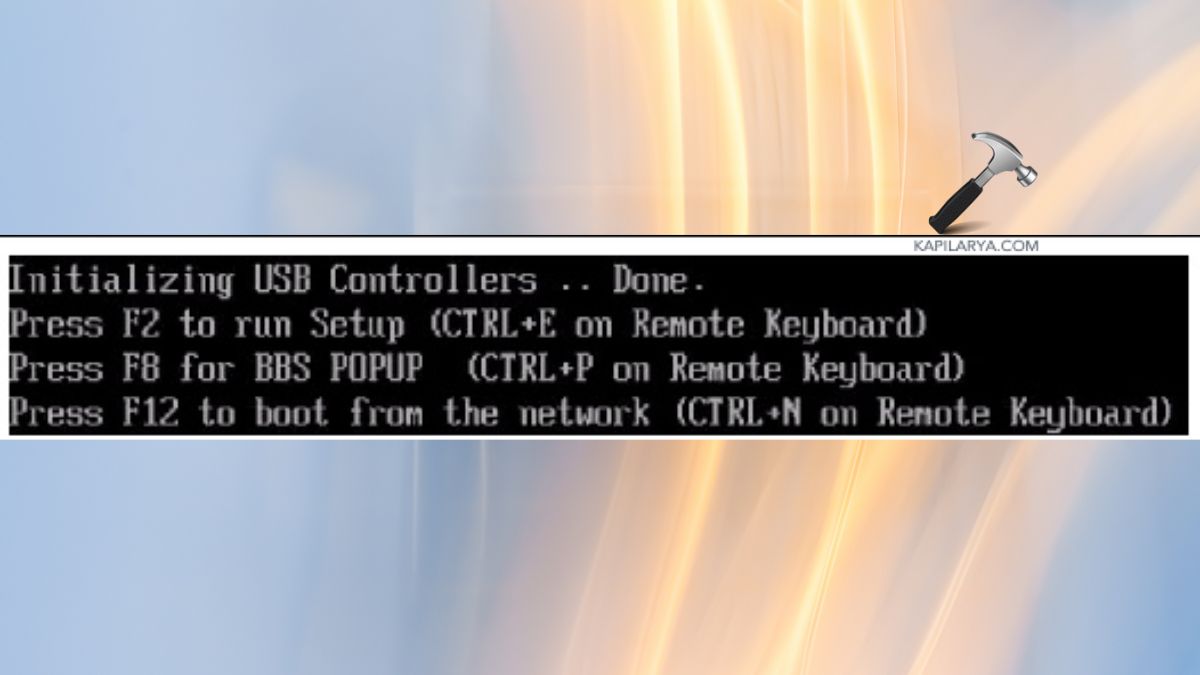
1. Turn off your PC. Power it on and immediately press F2 / F10 / F12 / DEL / ESC (depends on your manufacturer).
2. Boot into the BIOS/UEFI Setup. Click on Security, Boot, or Advanced Boot Configuration.
Note: In case you are not sure how to enter BIOS on your device, check the instructions of the manufacturer on how to enter BIOS.
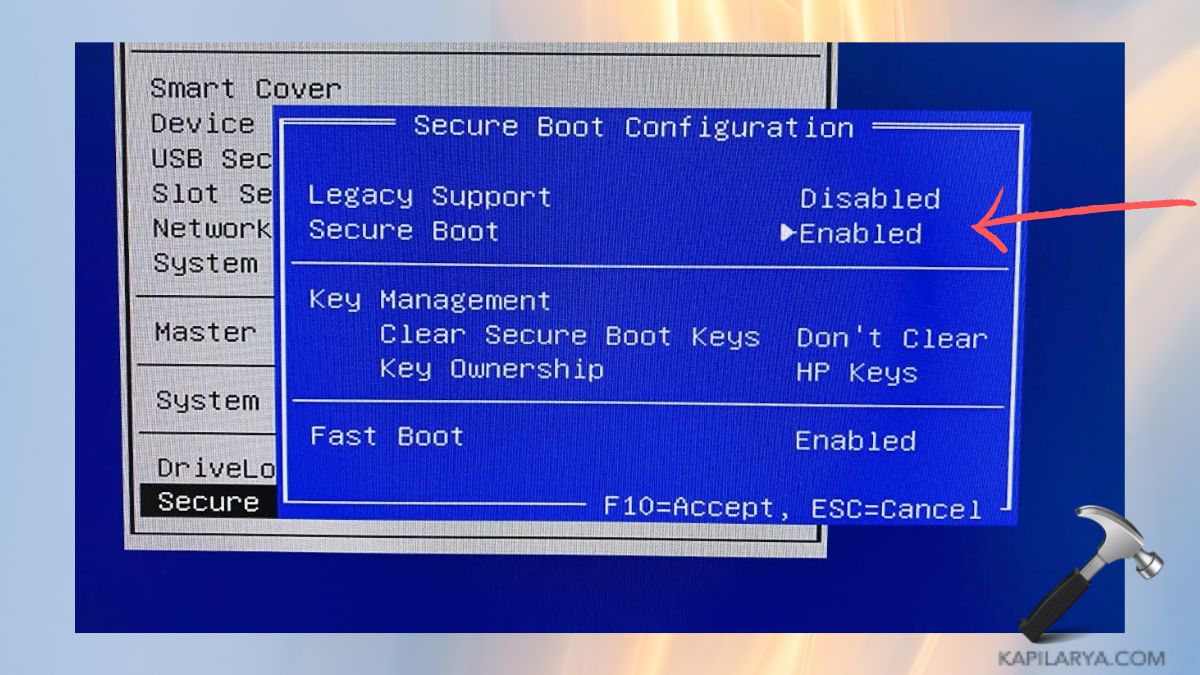
3. Find Secure Boot > Disable it.

Press the F10 key to save settings and reboot your PC. You have to temporarily disable the Secure Boot. Because it can be re-enabled when Windows loads correctly.
Fix 2: Temporarily Disable Digital Driver Signature Enforcement
When the problem arises during Windows installation, software installation, or driver update, it can usually be fixed by disabling the Digital Driver Signature Enforcement.
1. Restart the PC/laptop. On loading Windows, press Shift and Restart.
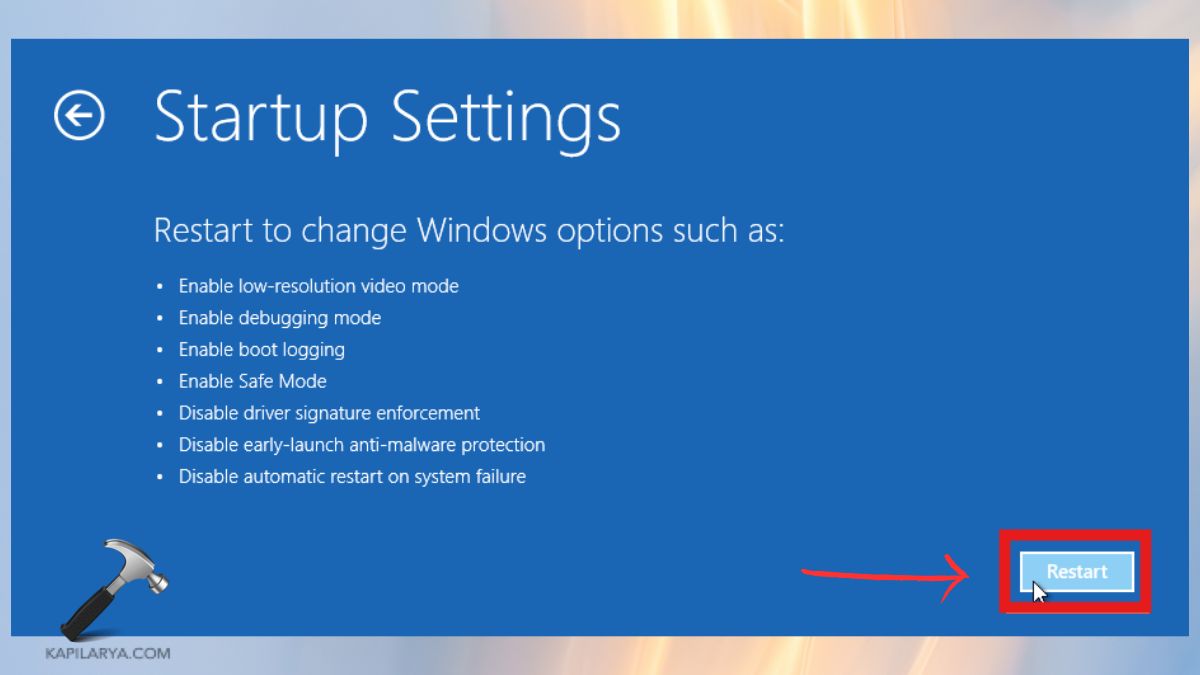
2. In the blue screen, select: Troubleshoot > Advanced Options > Startup Settings.

3. Click Restart. Press 7 or F7 to Disable driver signature enforcement. Finally, your PC will reboot with signature enforcement turned off.
Attempt to install the software or driver again. This comes in very handy with tools like custom drivers, utility applications or older hardware drivers.
Kindly don’t leave driver signature enforcement for a long time, as it might reduce your device security.
Fix 3: Change Secure Boot Mode / Modify BIOS Secure Boot Configuration
In case the error of Secure Boot Violation – Invalid Signature Detected still occurs despite the simple fixes, it is possible to modify the Secure Boot configuration on a more profound level to fix the corrupted boot files or signature conflicts. Hence, take the entire step-by-step procedure below:-
1. Make sure the Secure Boot is Disabled, as done in the first solution. Save and exit BIOS (F10 on most devices). Your computer will now attempt to boot normally into Windows.
2. Then, open File Explorer.

3. Go to this way:-
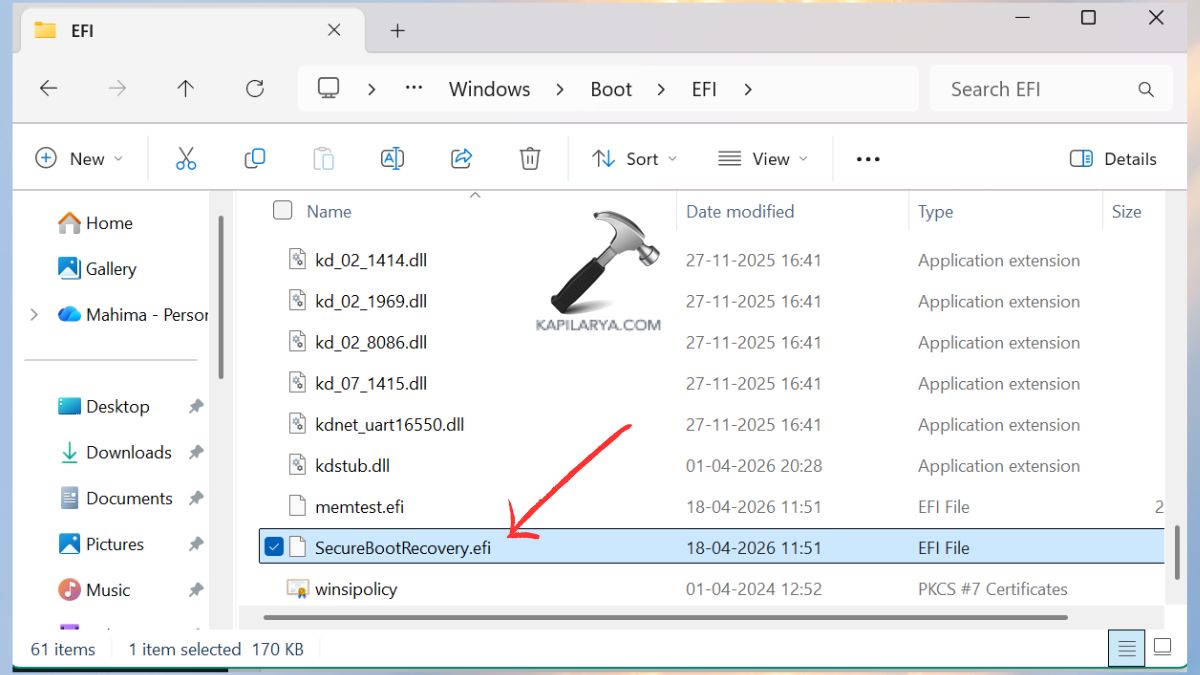
C:\Windows\Boot\EFI
Look for the file “SecureBootRecovery.efi”.
Note: In case your device lacks the file SecureBootRecovery.efi, you can omit the rest of the steps and go directly to the re-enabling of Secure Boot.
4. Insert the USB flash drive. Right-click on it and choose “Format”.
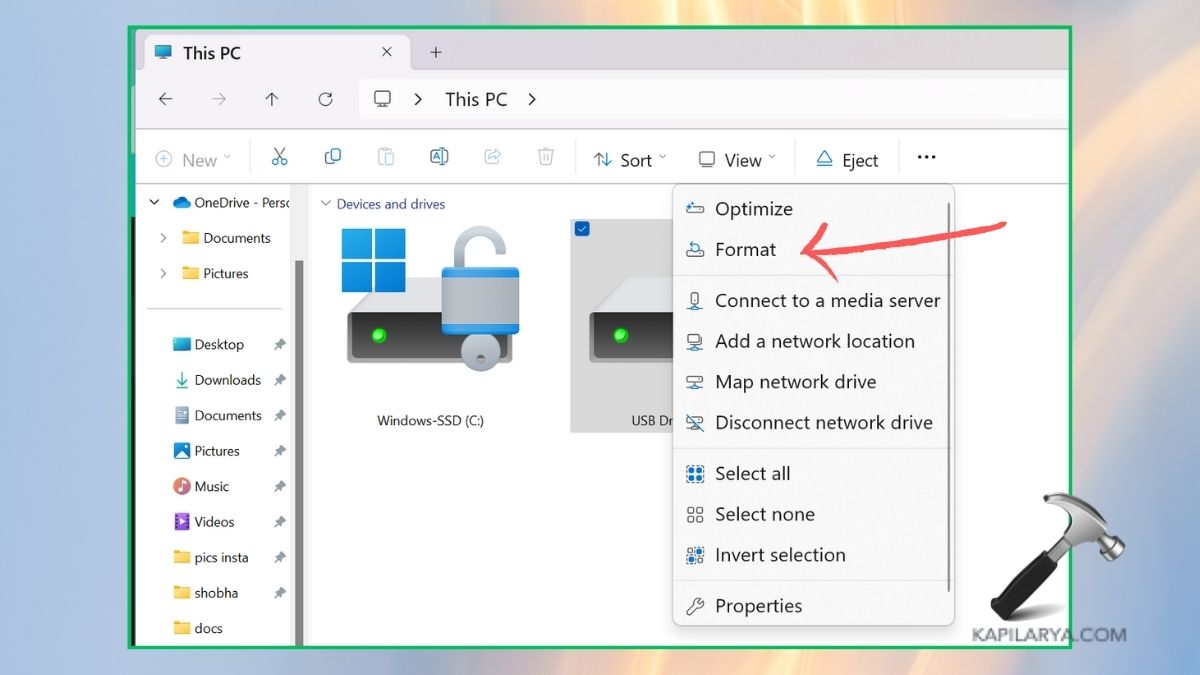
2. Format it as “FAT32”.

3. After formatting, open the USB drive. Make a new folder called EFI. Open the “EFI” folder and create another folder named “BOOT”.
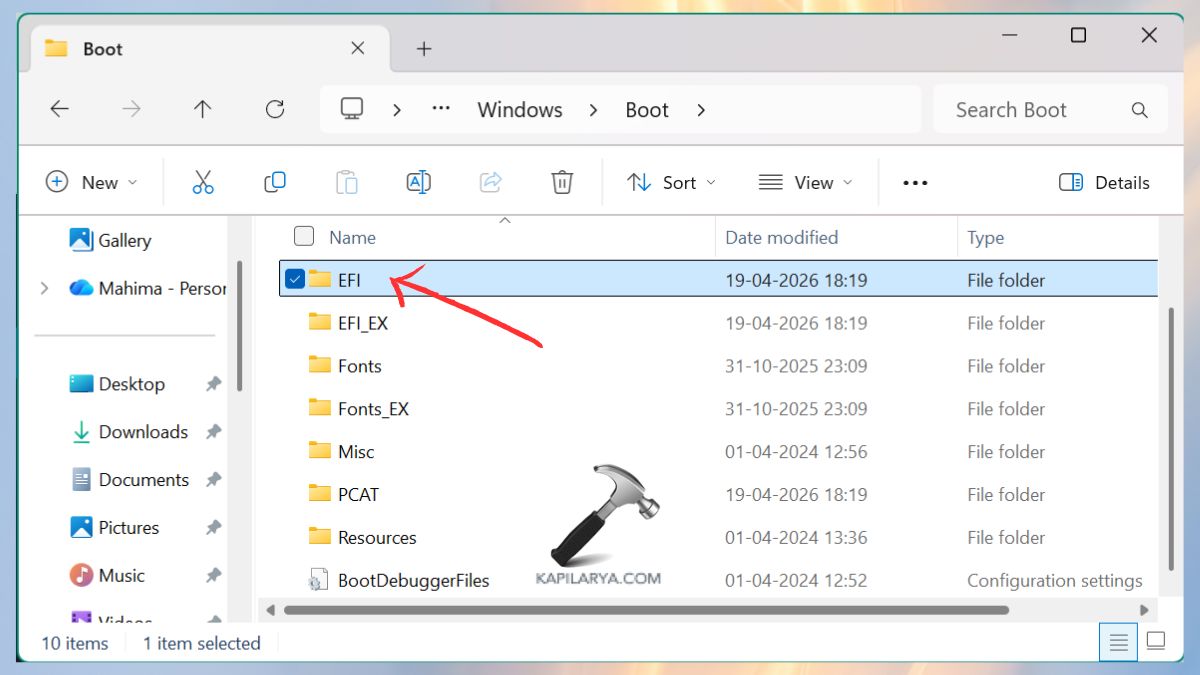
4. After, return to this way.
C:\Windows\Boot\EFI
Copy the file “SecureBootRecovery.efi”. Paste it inside the “BOOT” folder on your USB drive.
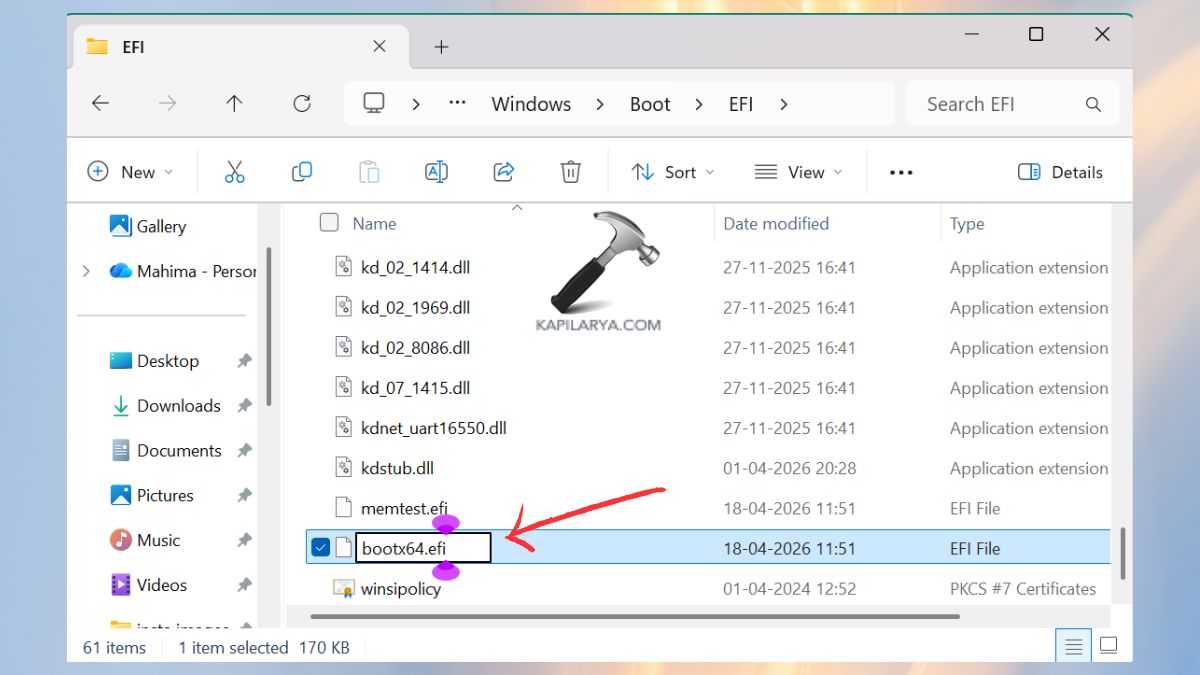
5. Click the file with the right-click button and select Rename. At this point, change its name to: “bootx64.efi”. This enables your system to accept it as a legitimate boot file.
6. Restart your computer. Hold Esc and press the Power button. In the boot options list, select “Use a Device”. Then, choose your USB drive.
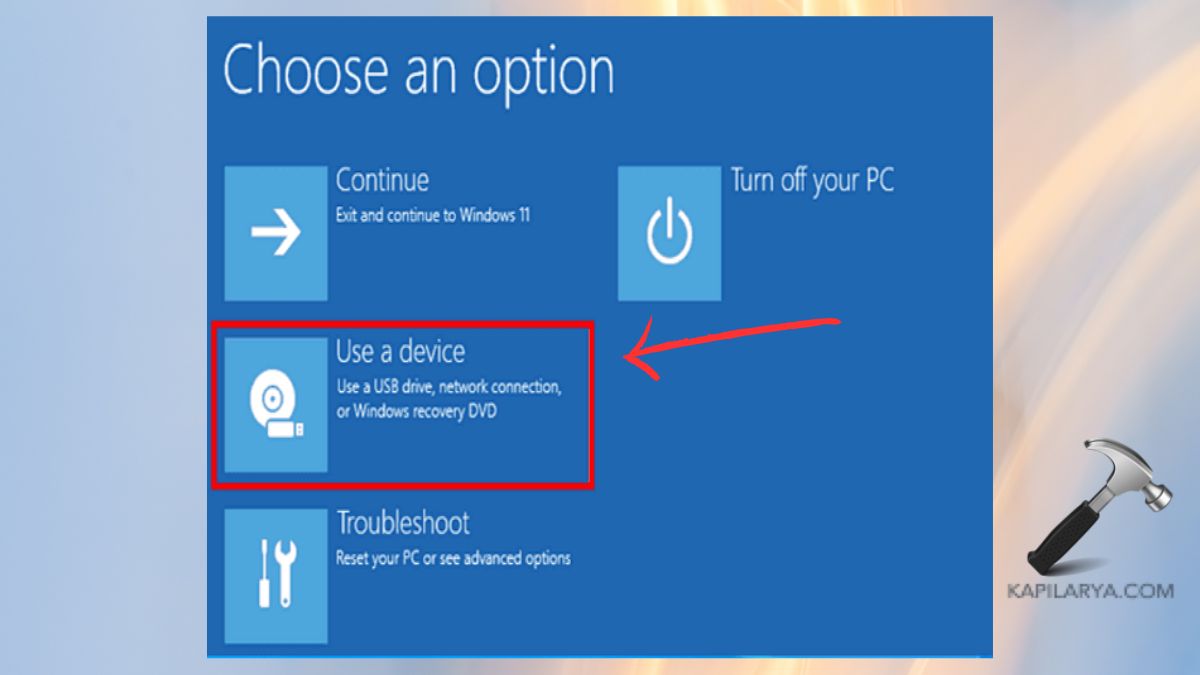
Automatically, your system will boot up via the USB and reboot the required secure boot files. Wait until the system shows a recovery message and then wait until the automatic restart.
7. At this point, we are going to re-enable Secure Boot in BIOS, which we turned off previously in the first solution.
Frequently Asked Questions (FAQs)
Is it safe to disable Secure Boot?
Yes, but temporarily. Secure Boot defends your system against rogue bootloaders. Make sure to turn it on again when the problem is resolved.
Why does Secure Boot show Invalid Signature Detected?
Due to the file or driver you are attempting to load is not digitally signed or does not meet the standards of trusted certificates of Microsoft.
Does disabling Driver Signature Enforcement affect security?
It reduces security in the short run. After installing your required driver/software, turn it back on.
Will resetting BIOS fix the Secure Boot Violation?
Yes, sometimes. Resetting BIOS to default settings or resetting Secure Boot keys resolves signature conflicts.
That’s it!