In this step-by-step guide we will see how to install Windows Server 2025 Preview Build using ISO file. Previously I have shared you how to download Windows Server 2025 ISO file you can check out that article here. And now we will see how you can install Windows Server 2025 using that earlier downloaded ISO file.

Microsoft previously announced Windows Server 2025 as next edition. The company would be releasing evaluation versions, also known as preview builds. Windows Insiders would report feedback about these preview builds, and hence final RTM version should be crafted.
If you already have Windows Server 2025 Preview Build using ISO file, you can create a bootable USB for installation using this guide.
Page Contents
How to install Windows Server 2025 Preview Build
Manual steps
1. Boot using Windows Server 2025 bootable USB. Select Windows Setup.
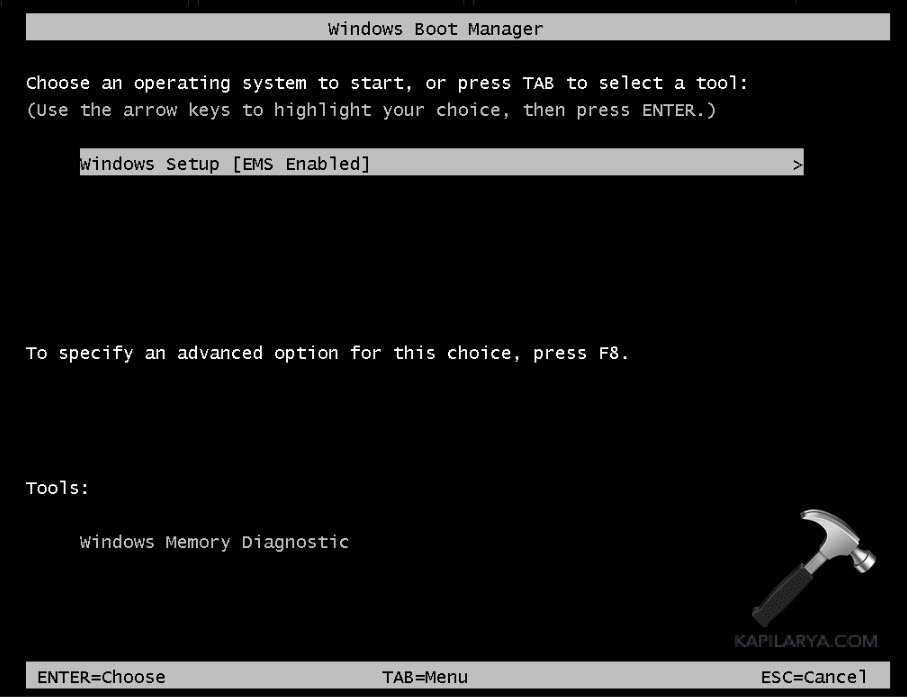
In few moments, setup will start loading files.

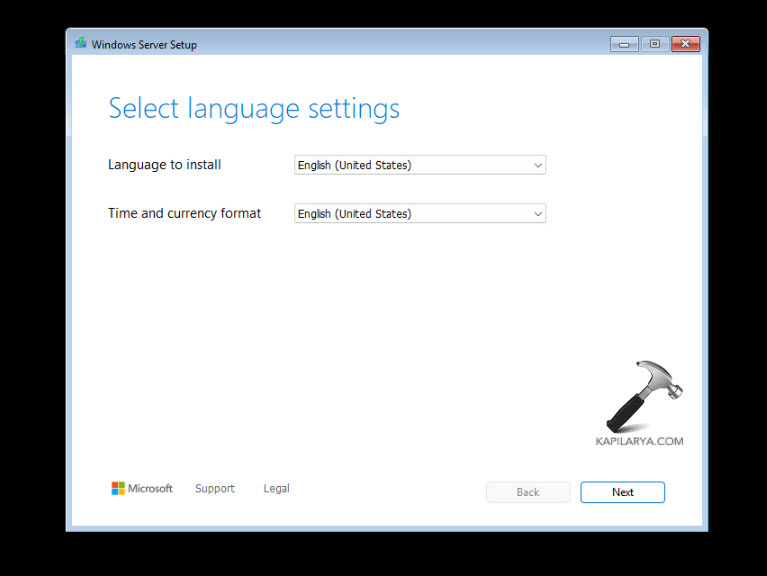
2. Select the language you want to install. These settings are pre-selected based upon Windows Server ISO file you downloaded. Still you can make your choice and click Next.
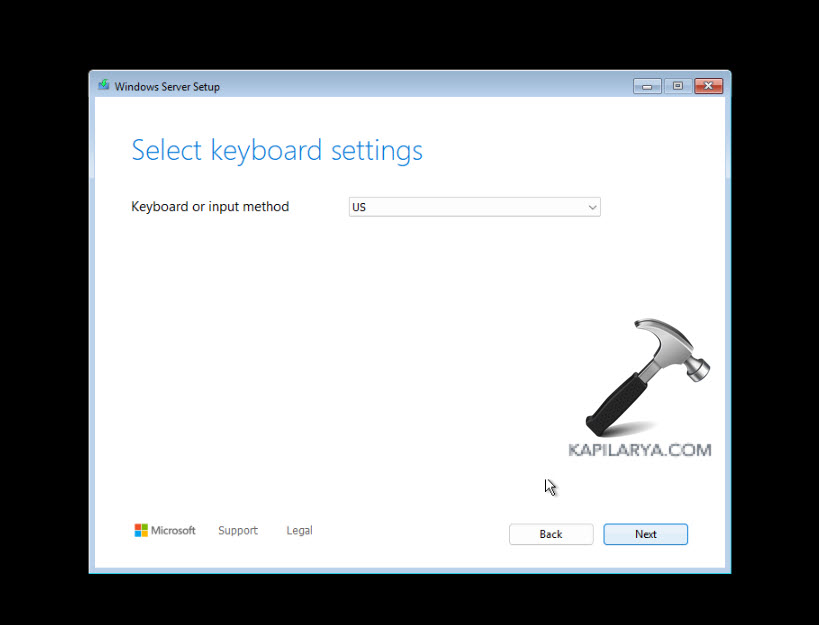
3. Then select keyboard settings.
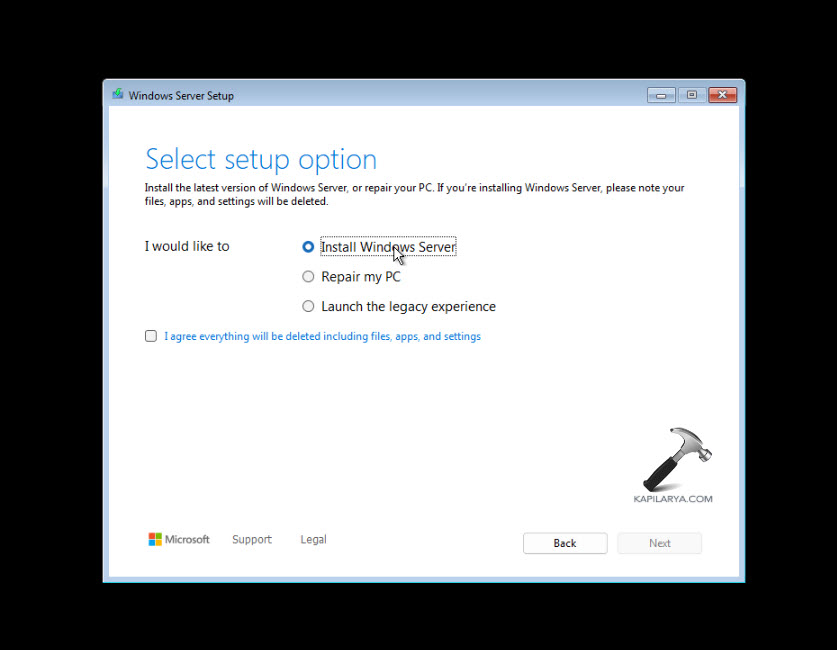
4. Under Select setup option, choose Install Windows Server.
5. Then type-in the product key you’ve for your server installation.

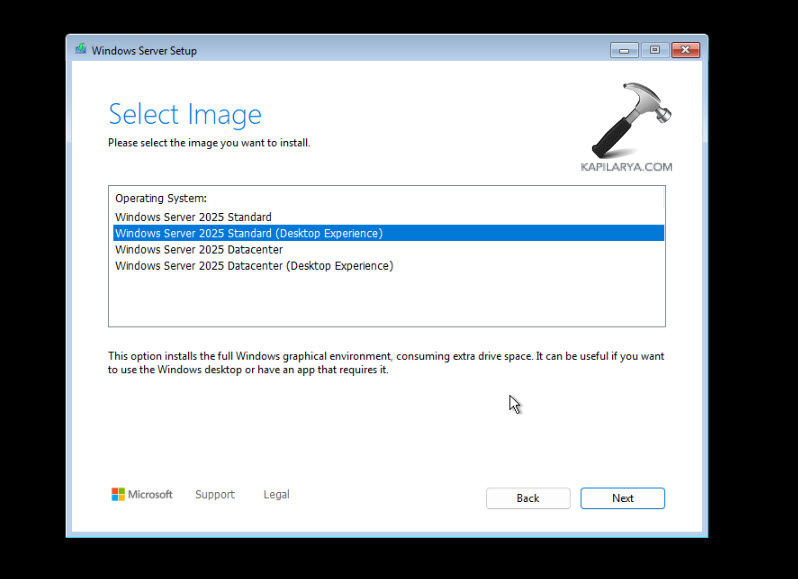
6. Next, select the variant you’d like to install. If you want non-graphical user interface, you can select Windows Server 2025 Standard. If you want GUI based installation, select Windows Server 2025 Standard (Desktop Experience).
7. Now Accept the licensing terms.

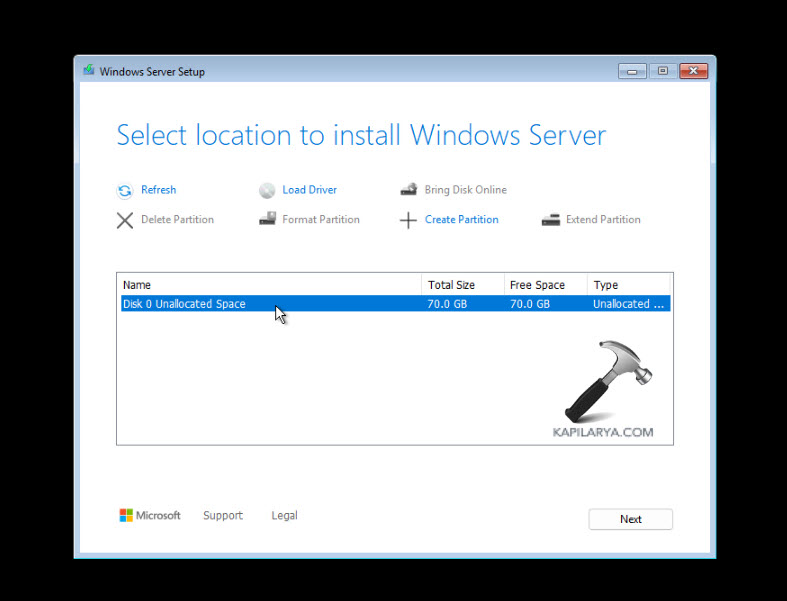
8. Next select the disk you’d like to install Windows Server.
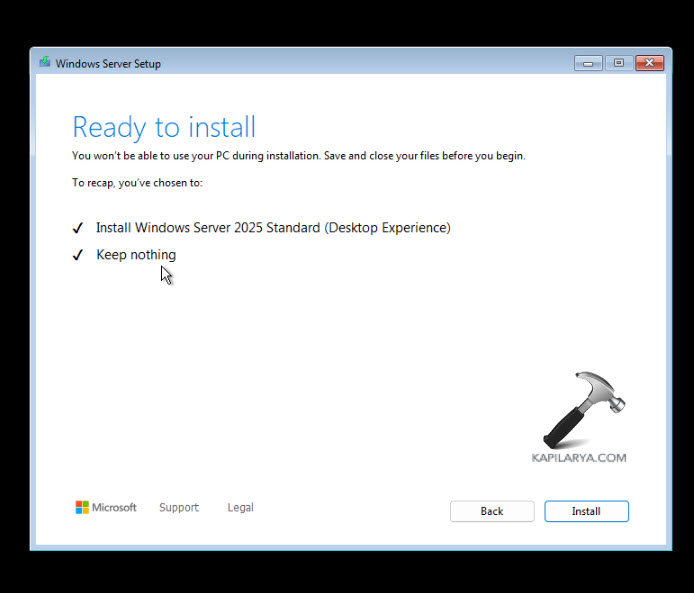
9. On the Ready to install screen, click Install to proceed installation.
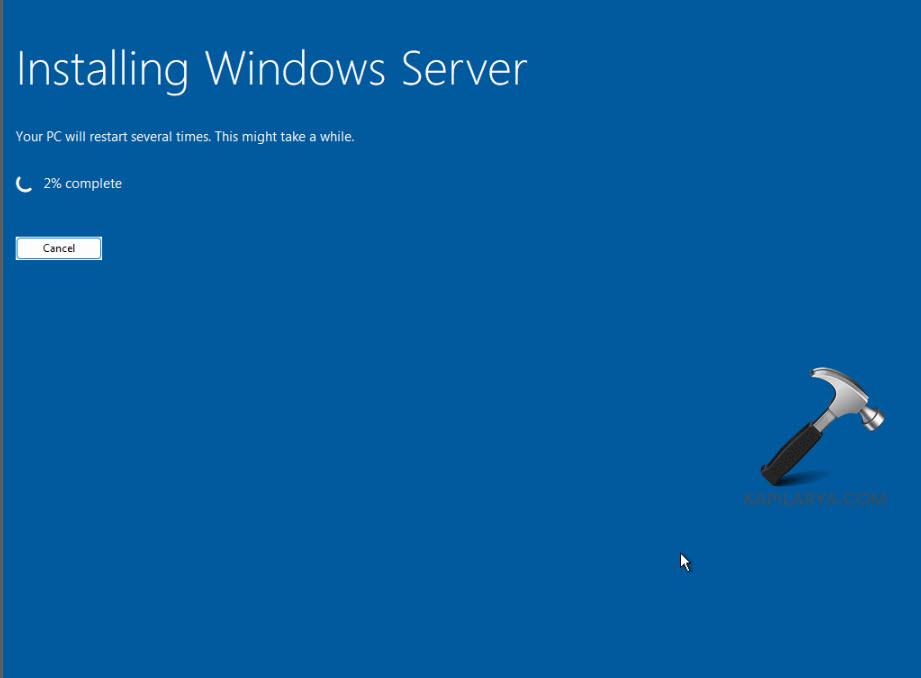
Your system will now restart and begin installation.
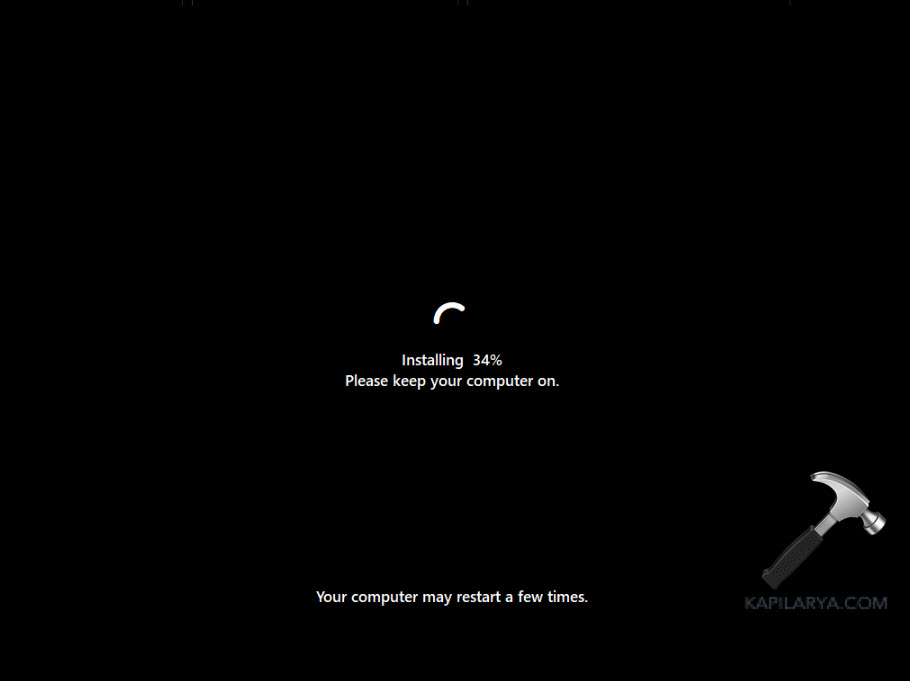
Once installation reaches 100%, system will restart.
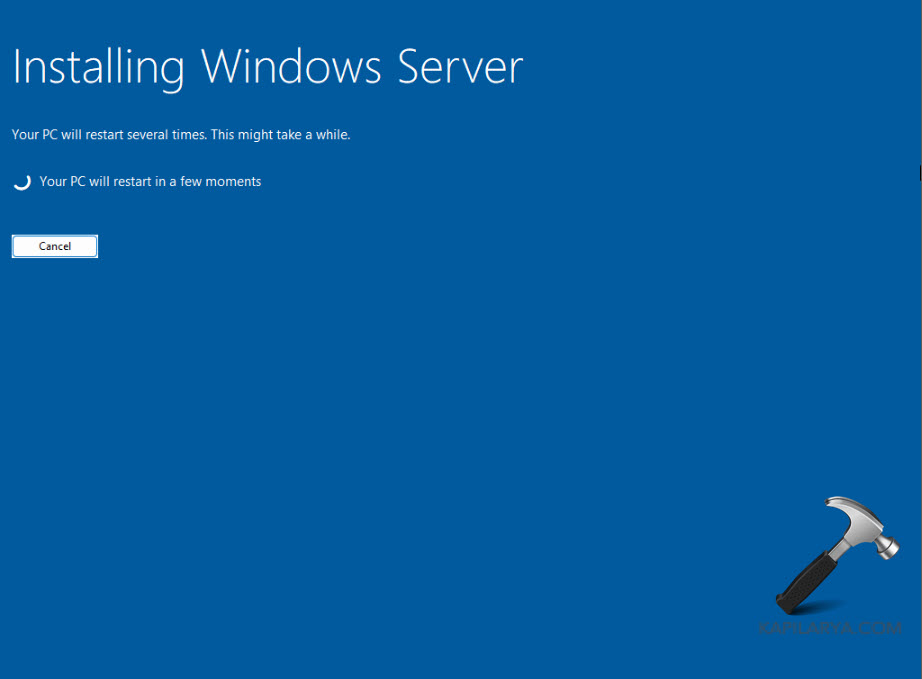
It will again restart to finish installation.
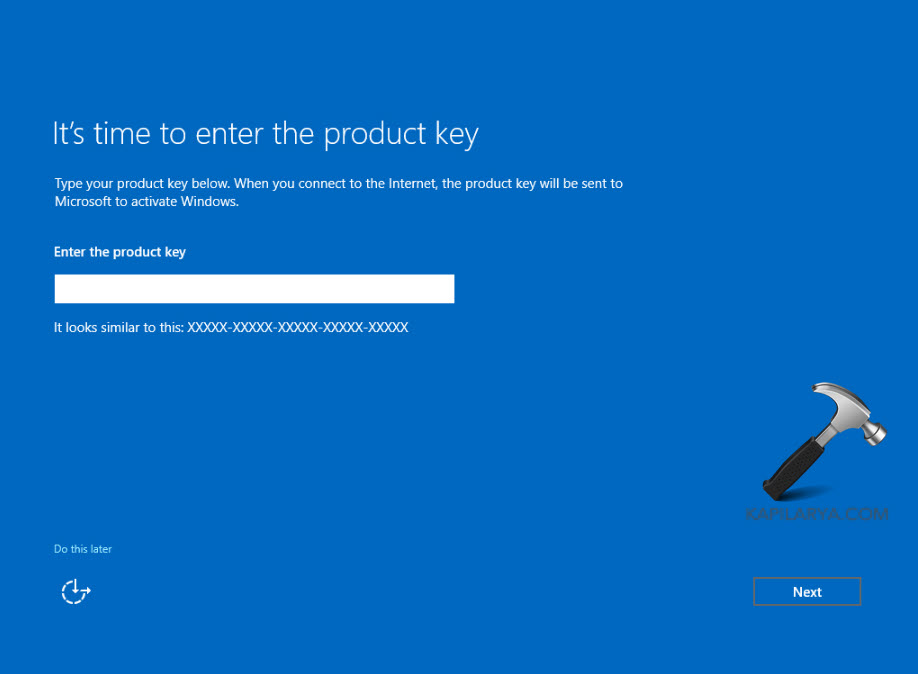
10. Now you’ll be asked to enter product key, if you skipped in step 5. Enter your key.
11. Again, accept licensing terms.

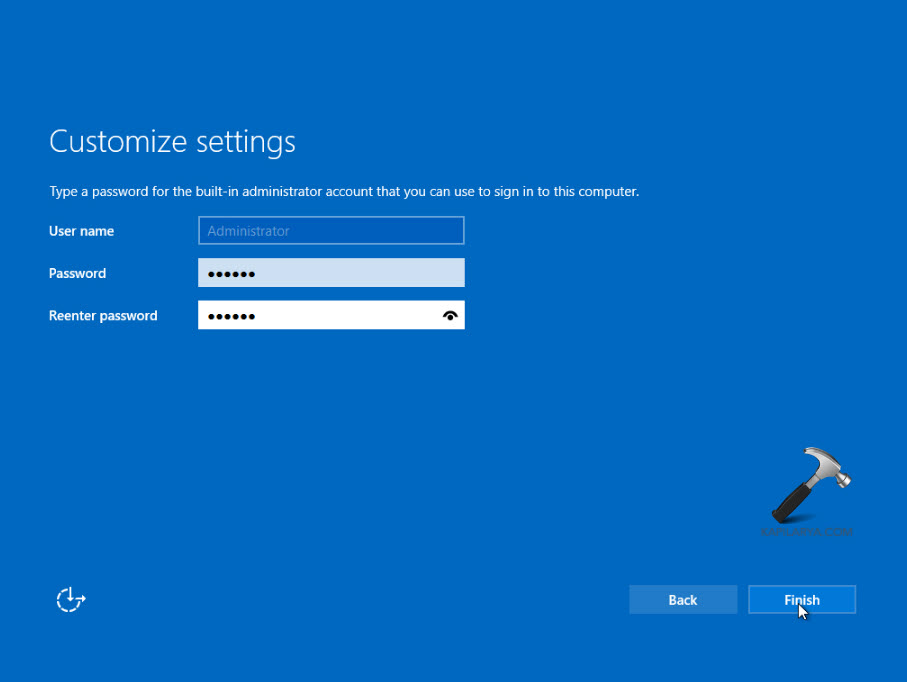
12. Under Customize settings, you can choose a complex password.
13. Now you should be on lock screen, press Ctrl+Alt+Del to unlock.
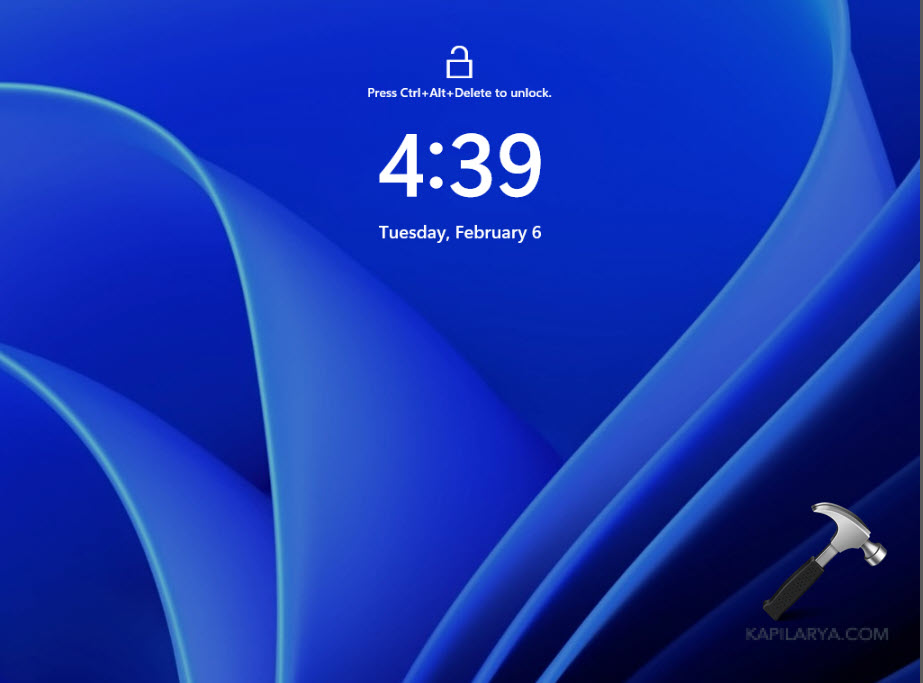
14. Type your password you setup in step 12, to log-in.

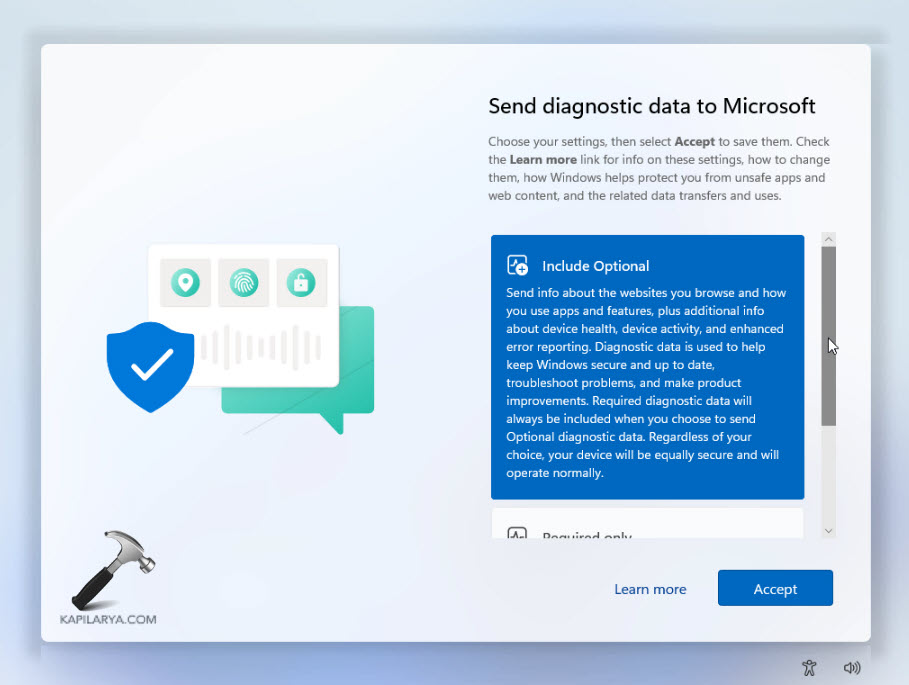
15. Since this is preview build, you’ll be asked whether you’d like to send diagnostic data, select this.
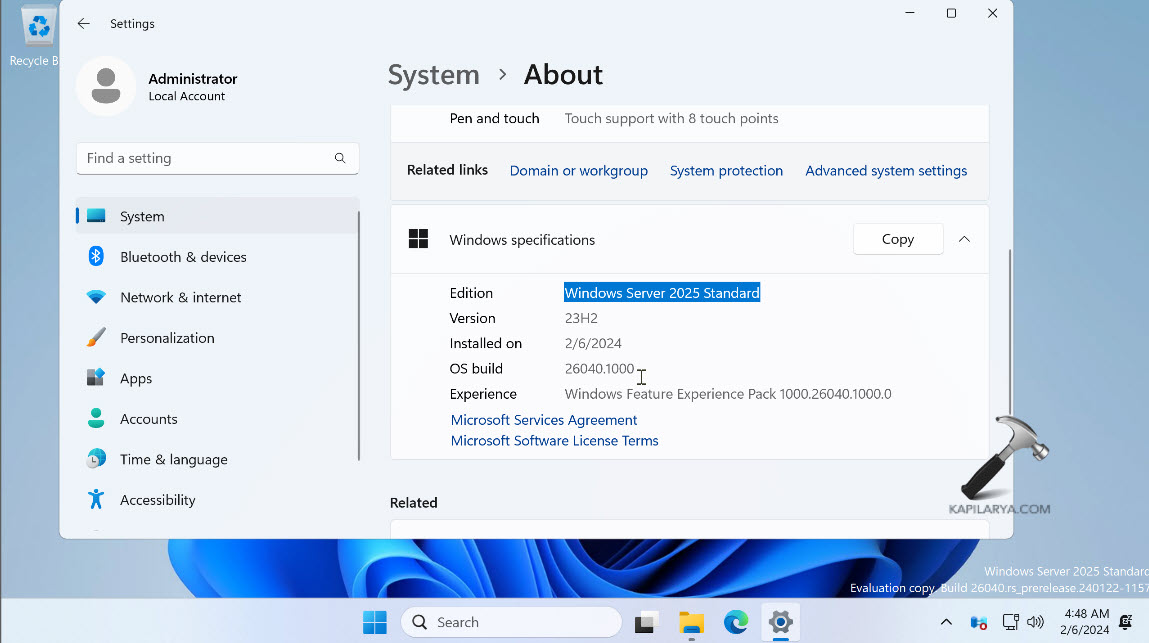
16. Finally, you should be on Desktop. You can now check your version at Settings > System > About.
Video guide
You can also refer this video guide for further assistance:
That’s it!