
In Windows 11, users can employ a metered connection to manage the data usage. This helps them in keeping within their data usage limits. On a metered connection, users can limit the amount of data usage. Also, Windows stops using the connection entirely once it reached the set data limit. For Wi-Fi or Ethernet, you can set up a metered connection in Windows 11 in the following manner.
So, now let’s see how to perform this action!
Page Contents
Set up a metered connection in Windows 11
Part 1: Setting Up a Metered Connection
In order to set up a metered connection in Windows 11, go through the following instructions:
1. In the first place, press the Windows + I keys simultaneously on your keyboard to open Settings. After that, go to the Network & internet tab and then, choose the Wi-Fi or Ethernet, whichever your connection type is.
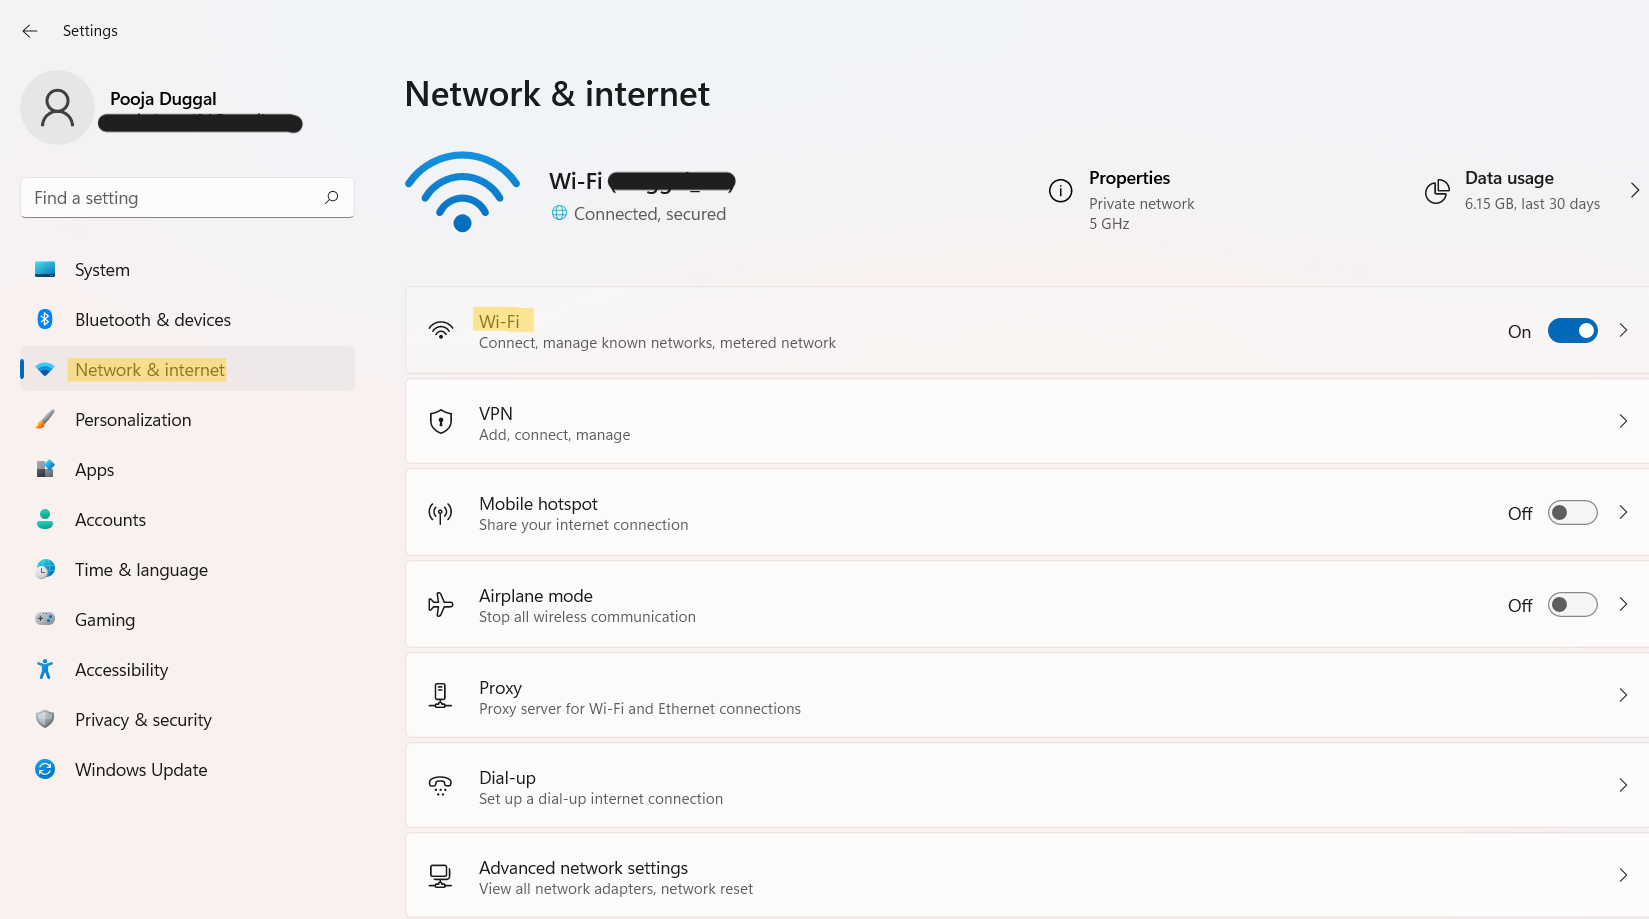
2. Next, click on your Wi-Fi properties to access the connection properties.

3. Now, look for the Metered Connection option and toggle to switch On present next to it.

Once done, you will get a notification from apps like OneDrive saying, “This PC is on a metered network.” This comes up because some applications do not run in the background on a metered connection.
Part 2: Configuring Data Usage on a Metered Connection
Once you have enabled a metered connection, you can even set a data limit that Windows can employ over a metered connection.
1. In order to configure data usage, click on Set a data limit to help control data usage on this network. This option is present below the Metered Connection tab.

2. Now, you will come across Usage statistics for the installed apps on your system. You need to choose the Enter limit tab present at the top.

3. In the next window, you can set data limit for the metered connection. To do so, first choose the Limit type as Monthly and then, select the Monthly reset data and Data limit. Once done, click on the Save button.

4. Next, your Windows 11 PC will be configured to use a metered connection. This will reduce the Windows data usage. Once you have exhausted your set data limit, Windows will stop employing that connection.
So, this is how to set up a metered connection in Windows 11 hassle-free!
Related: How To Configure Metered Connections In Windows 10.


![The mapped network drive could not be created [Detailed fix]](https://www.kapilarya.com/assets/Network-Drive-768x511.jpg)

![Stop sharing a folder in Windows 11 [Guide]](https://www.kapilarya.com/assets/Network-768x522.png)