
While many budget laptops come with basic VGA webcams, even some separate webcams might not offer the best image quality for video calls and streaming. To address this issues, Windows 11 now offers new Windows Virtual Camera feature that allows you to wirelessly connect your mobile phone or tablet camera and use it in any video app on your Windows 11 PC.
In this article, we’ll show you how to setup your high-quality Android mobile camera as a native webcam on your Windows 11.
Page Contents
Connect Mobile Camera to Windows 11
If your PC webcam is bad or absent, you can connect your mobile camera wirelessly and use it as a webcam on Windows 11. To do this, follow these quick steps:
1. First, open Windows Settings (Windows + I).
2. Navigate to the “Bluetooth & devices” tab and click the “Mobile devices” tile on the right.

3. Then, turn on the “Allow this PC to access your mobile devices” toggle and click the “Manage devices” button below.

3. If you are signed into a Microsoft account, select an account to sign in.

4. Then, click the “Add device” button.

5. Next, scan the QR code with your mobile device.

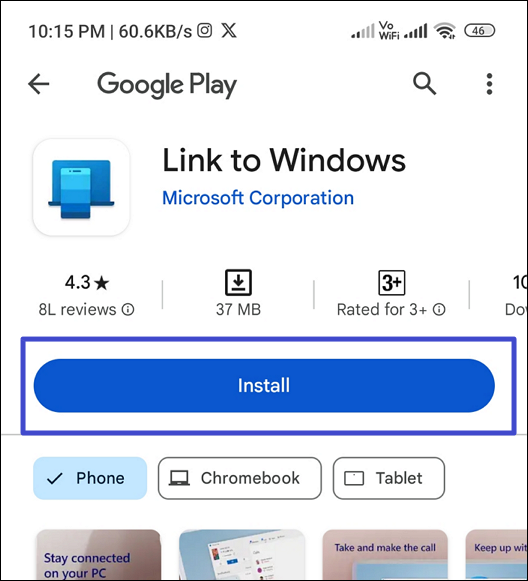
6. Then, use the QR code to install the “Link to Windows” app on your mobile device and make sure you’re signed in to the same Microsoft account as the one on your computer.
7. After that, enter the verification code displayed on your PC’s “Manage mobile device” window into the Link to Windows app on your mobile phone.

8. After that, click “Done“.

9. Once your mobile device is linked, click “Continue” on your PC.

10. Make sure your mobile phone toggle and “Use as a connected camera” toggle are turned on under My devices.

Use Mobile Camera as Webcam on Windows 11
Once your mobile phone is wirelessly connected to Windows 11 computer, you can start using them like the native webcam.
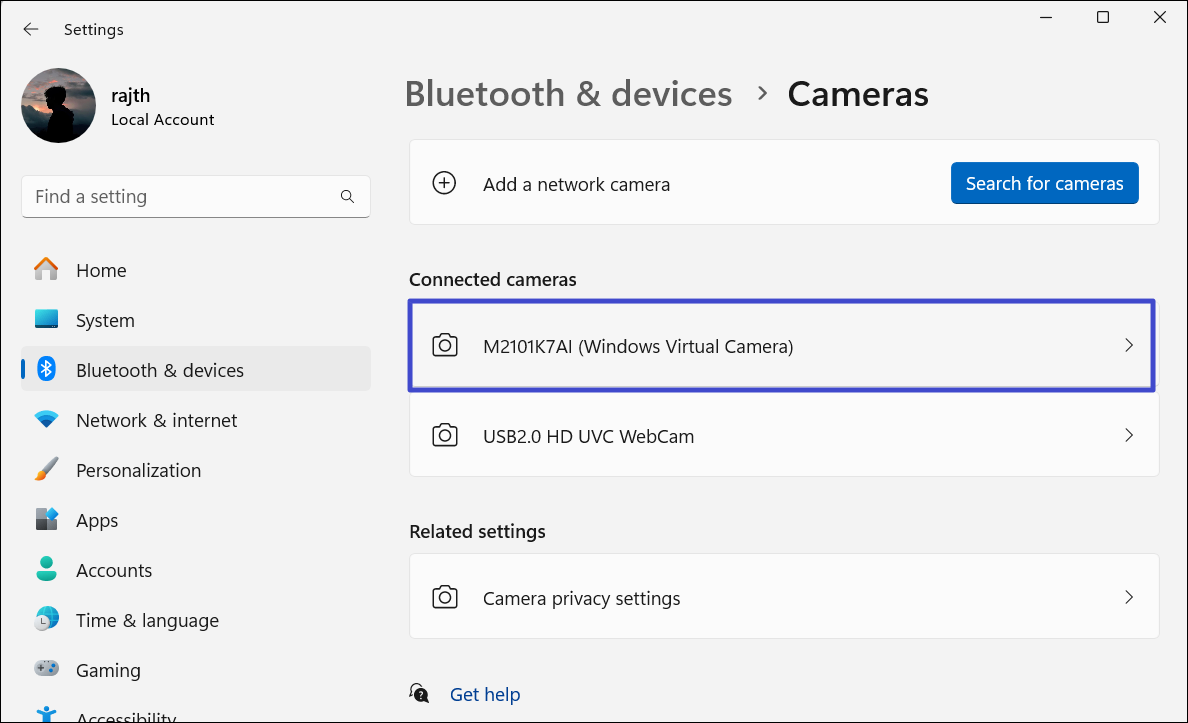
1. After enabling the mobile device, go back to “Bluetooth & devices” settings in the Settings and select “Cameras“.

2. Then, choose the your mobile camera with the name (Windows Virtual Camera) under the Connected cameras section.
3. Then, click the “Send notification” button in prompt box.

4. Next, allow the Link to Windows app to access your camera on your mobile device.

5. Once your mobile camera is connected, you’ll see the Switch to front (back) and Pause video controls on both your PC and your mobile device.

6. You can use the Switch button to switch between your primary and secondary cameras on your mobile.
Now, you can access your mobile’s camera using any apps (like Skype, Zoom, etc.) from your Windows 11 PC.
That’s it.
![Guide to open RW2 files in Windows 11/10 [6 Options]](https://www.kapilarya.com/assets/Cam-2.jpg)