
The 12 important things to do after a clean install of Windows 11 are the most interesting steps to make sure that your PC performs well, is secure, and is just the way you want it. Clean installing your computer will provide it with a clean start, erasing old files and junk, but it will also need some necessary adjustments to get the maximum out of it.
You can make your experience with Windows 11 more comfortable and secure by changing settings, installing required tools, and enhancing security. Here, we will discuss 12 tasks that you must try immediately after a clean install of Windows 11 to optimize your PC.
Page Contents
Get to Know – 12 important things to do after a Windows 11 clean install
#1 Install Drivers for Better Performance
Installation of all the necessary drivers is one of the most significant steps after a clean install of Windows 11. Drivers make sure that your hardware (graphics card, sound card, Wi-Fi adapter, printer, etc.) is functioning properly.
1. Visit the site of your PC manufacturer (Dell, HP, Lenovo, etc.) and get the latest drivers.
2. Install NVIDIA, AMD, or Intel GPU drivers to enable the graphics to run smoothly. Install the latest network and audio drivers to enhance connectivity and sound quality. After successful installation, restart the system.

#2 Check for Updates
Windows 11 updates are periodically issued by Microsoft to address bugs, introduce new features, and enhance the security of the system.
1. Click on Settings icon and then Windows Update section. Click on Check for updates and install available updates.
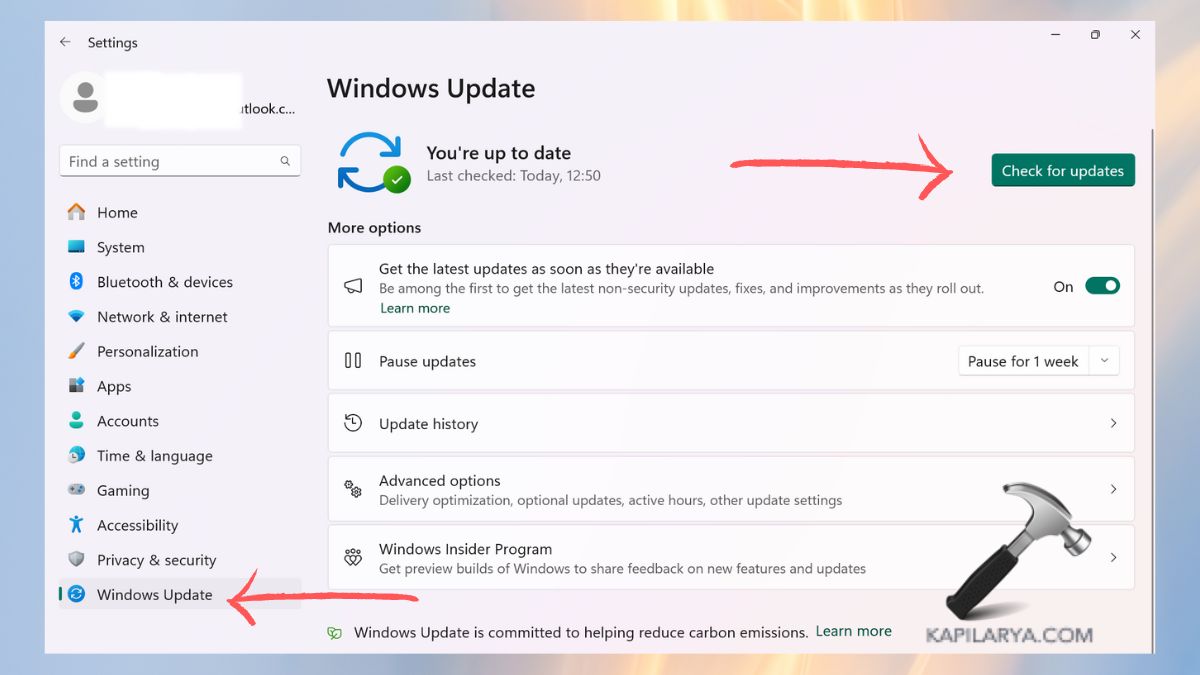
2. Reboot your computer when updates are complete.
This keeps your Windows 11 current and safe.
#3 Set Privacy & Security Settings
Windows 11 gathers information to personalize and update. It is always in your control to change your privacy settings.
1. Select Settings > Privacy & security. Tap on Location tab.
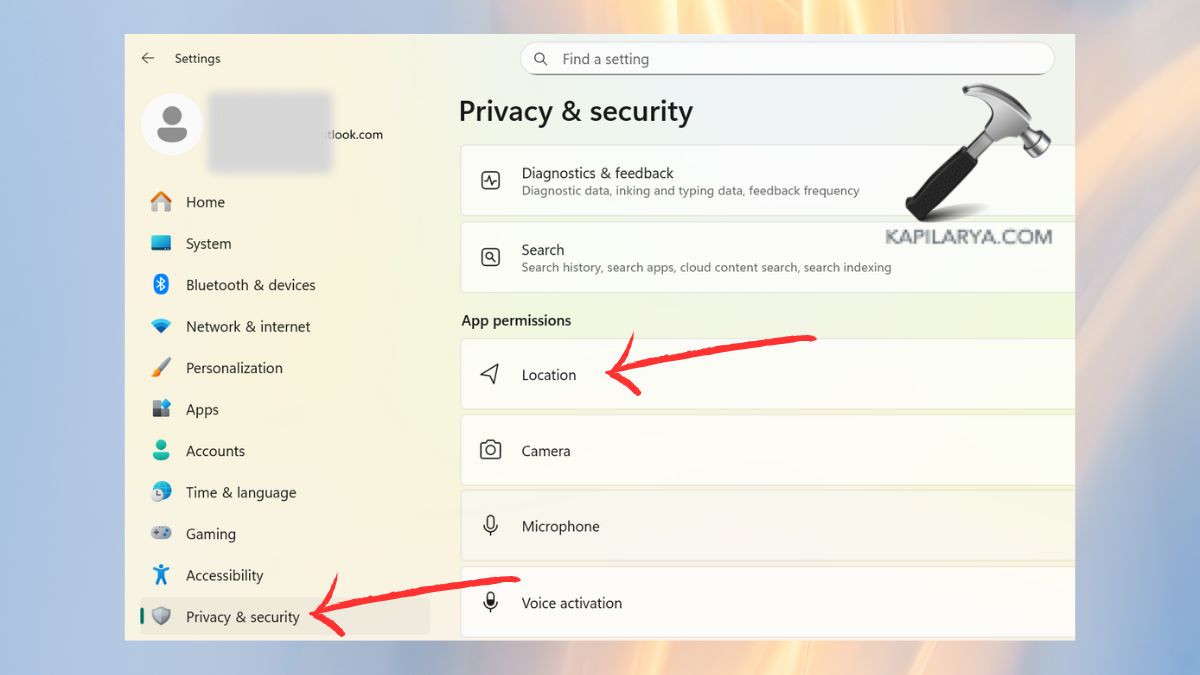
2. Turn off location services/tracking when not in use.

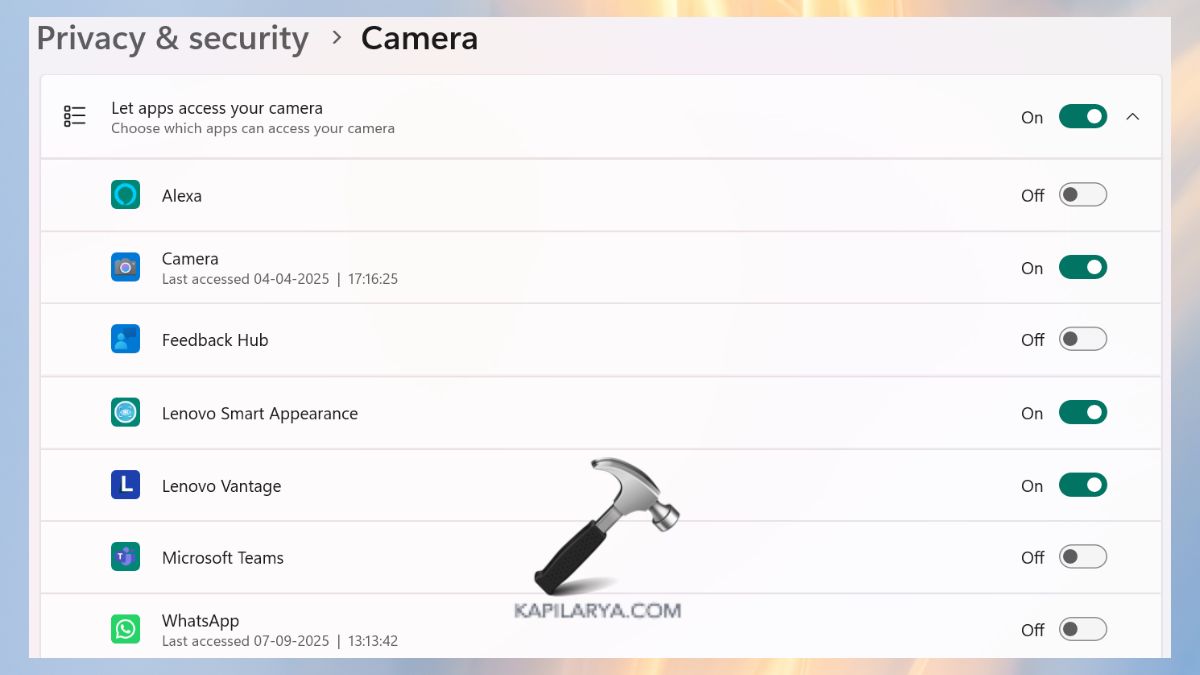
3. Also, block apps that you do not want them to have access to your camera, microphone, or files.
#4 Create a System Restore Point
A System Restore point is a safety net. You can restore your PC to a working state in case something goes wrong.
1. In the Start menu, search for “Create a restore point”.

2. Tap on Configure. Select the option – “Turn on System Protection” and make a restore point.

This assists you in undoing changes without reinstalling Windows.
#5 Clean Up the Storage
Windows usually leaves behind remnants of files that consume storage after installation.
1. Click on Settings > Storage > Storage Sense.
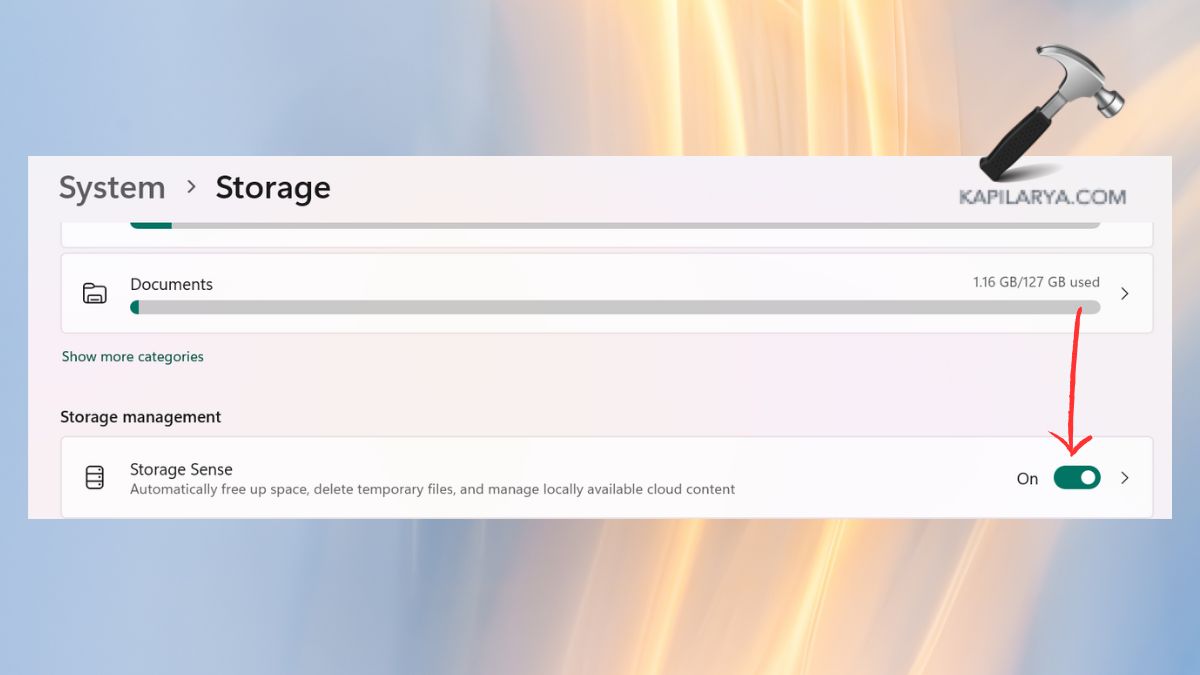
2. Erase junk, old updates, and temporary files by tapping “Keep Windows running…”. Toggle on the Automatic User content cleanup for deep cleaning with Disk Cleanup.
This liberates space and increases system speed.

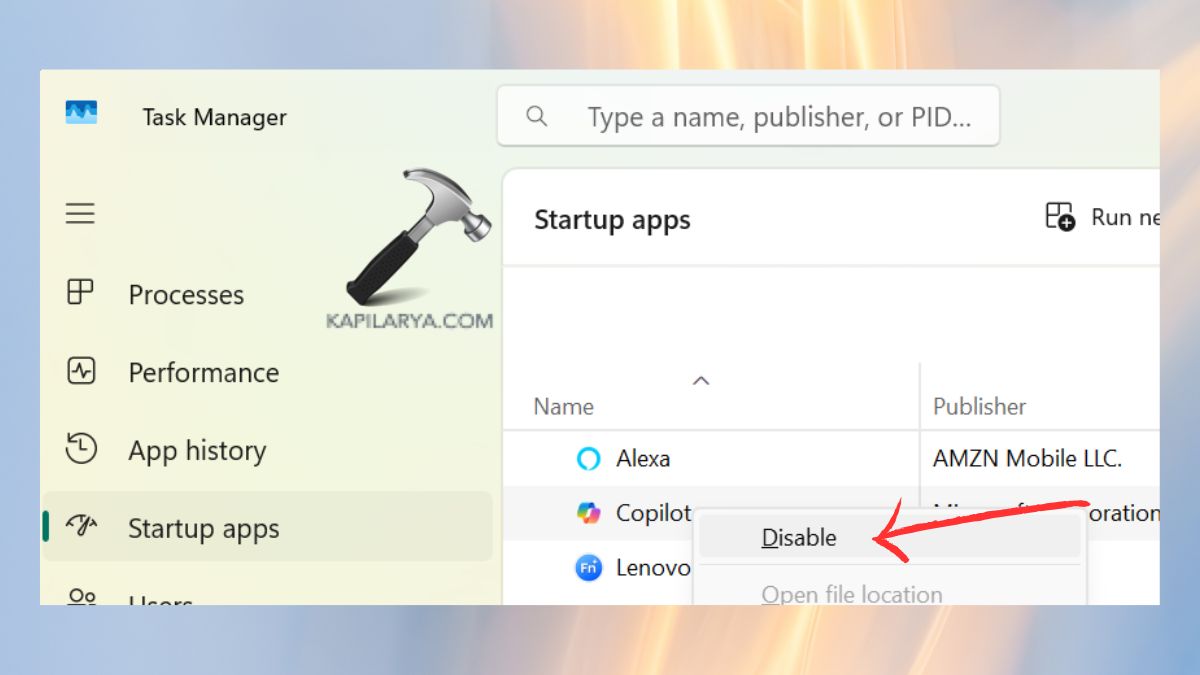
#6 Disable Unwanted Startup Services
There are too many startup applications that can begin with Windows, which slows the boot time.
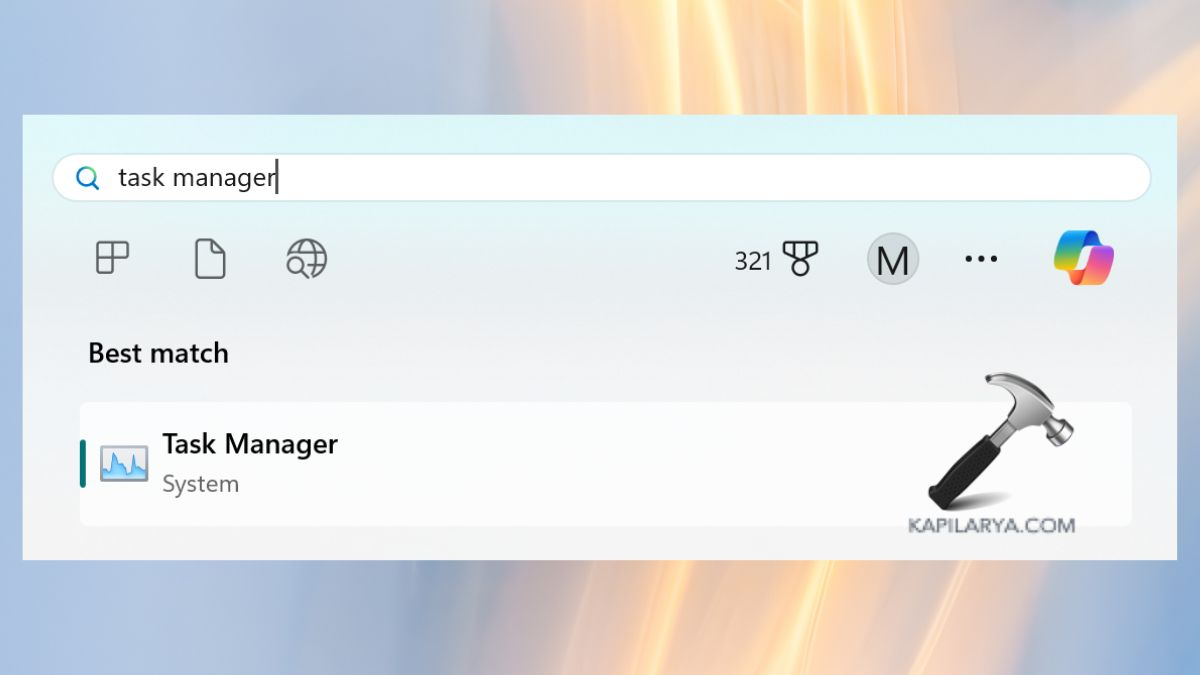
1. To open Task Manager, press Ctrl + Shift + Esc.
2. Go to the Startup tab. Turn off apps you do not require during startup. This guarantees quick booting and problem-free running.
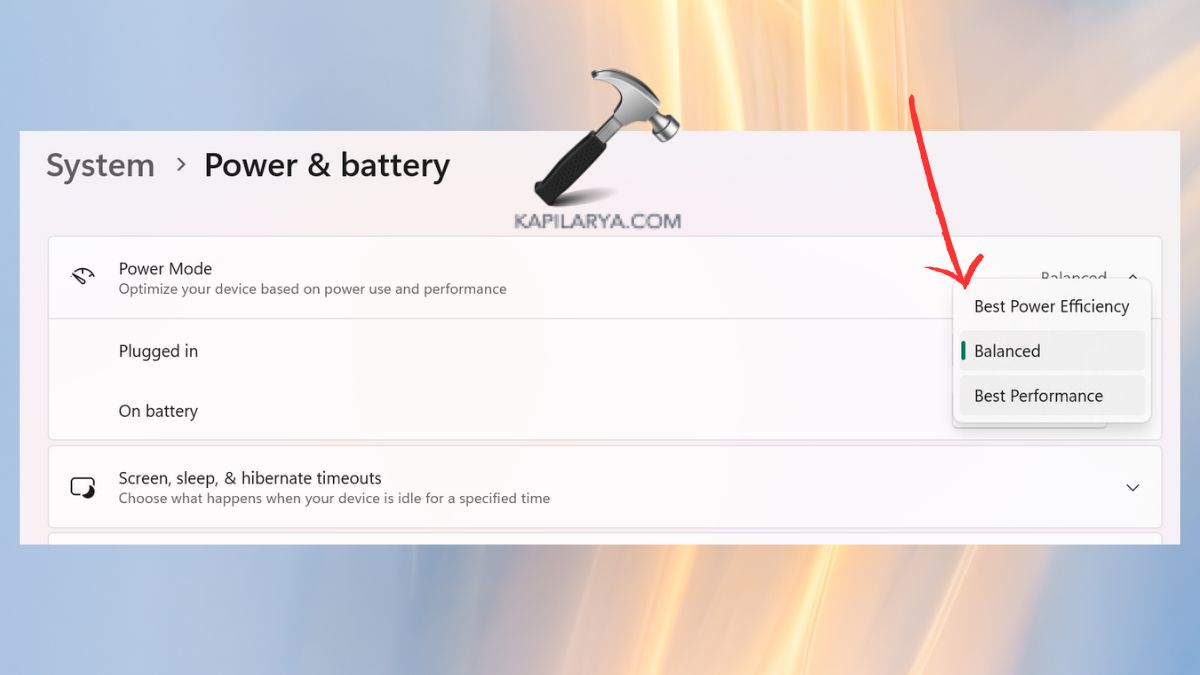
#7 Check Power Settings
Power optimization can either enhance battery life or performance.
1. Select Settings > System > Power & battery.

2. Choose the settings:
a. In laptops: select Balanced or Best Power Efficiency.
b. In case of desktops or gaming: select Best Performance.
#8 Uninstall Unnecessary Apps
Windows 11 is frequently pre-loaded with some applications, and some of them you may not use. Their removal saves space and enhances the speed of systems.
1. Click on the Settings menu, then Apps, and Installed apps.
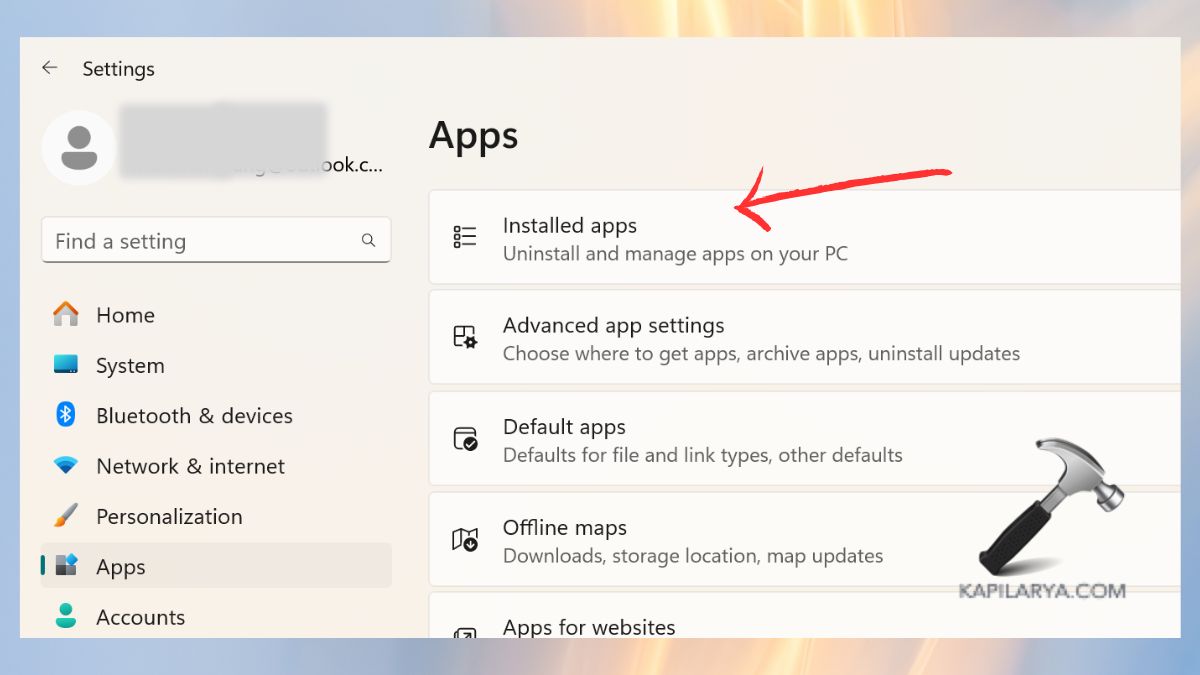
2. Swipe through and delete/uninstall unused apps.

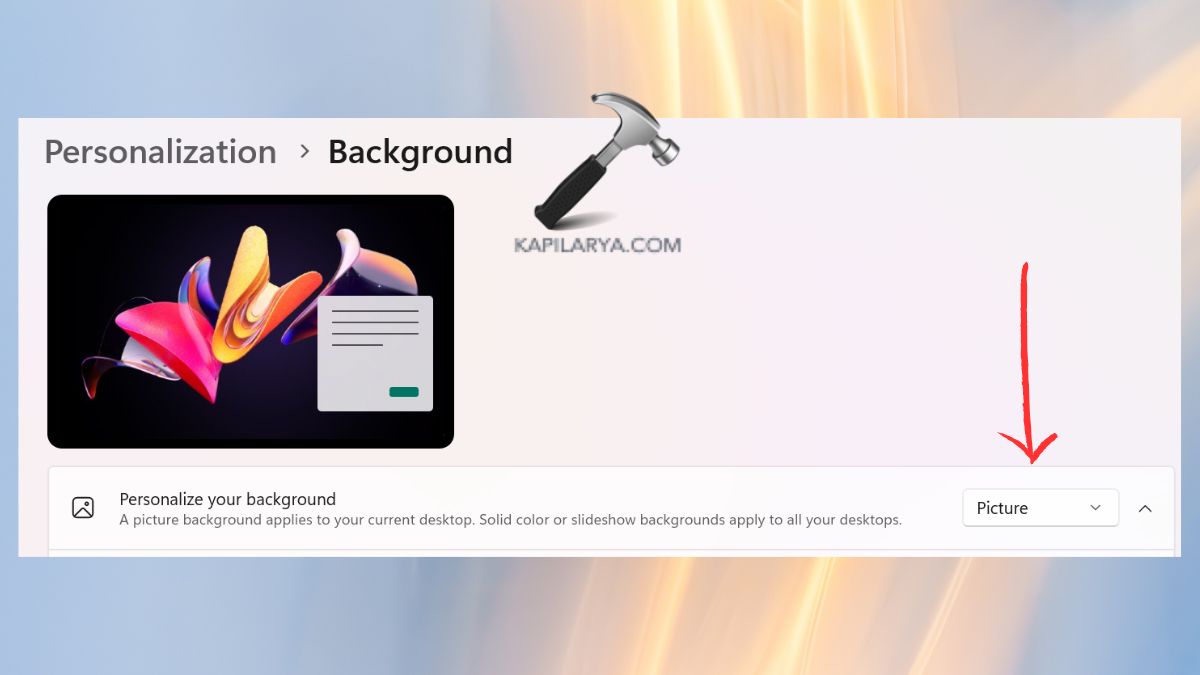
#9 Personalize Windows 11
Cleaning and installing reformats your desktop. Whether it is a laptop or a desktop, personalization makes the PC look like yours.
1. In the Settings, click on the Personalization section. First, get to Background.

2. Change wallpaper, colors, and themes as per your preference. Toggle dark and light mode.
Pin your favorite apps in the Start menu and Taskbar.
Pro Tip: In case you are an individual who desires to become more focused and productive, simple designs with fewer taskbar icons would be appropriate.
#10 Set Up OneDrive for Backup
Windows 11 includes OneDrive, which can make your files safe in the cloud. Unless you can use OneDrive, you may use Google Drive or Dropbox.
1. Login with your Microsoft account on your Windows 11 PC. Or open OneDrive folder by searching on Start menu.

2. In the Account section, tap on “Choose Folders”. Click on folders (Desktop, Documents, Pictures) to be synced.
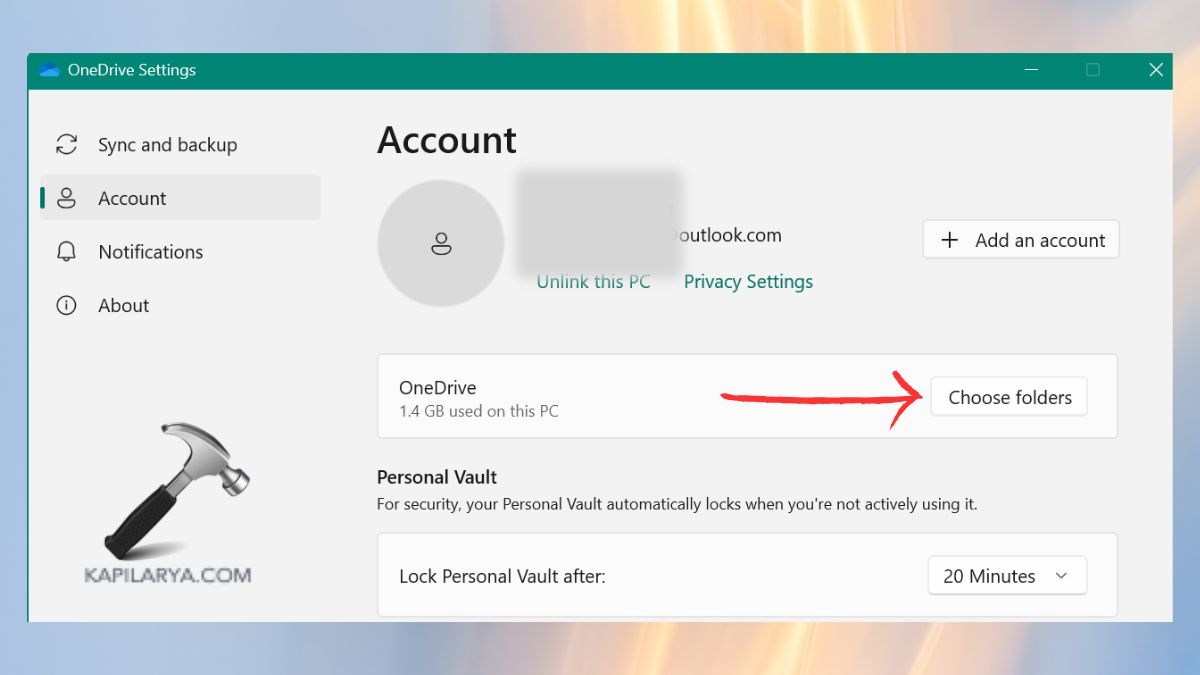
Store your files on other devices or back up files in the event your PC malfunctions.
#11 Pin Useful Apps to Taskbar & Start Menu
Pinned apps are time-saving and productive. Pin just the most frequently used apps in order to prevent clutter.
On any app, right-click and Pin to Start or Pin to Taskbar.
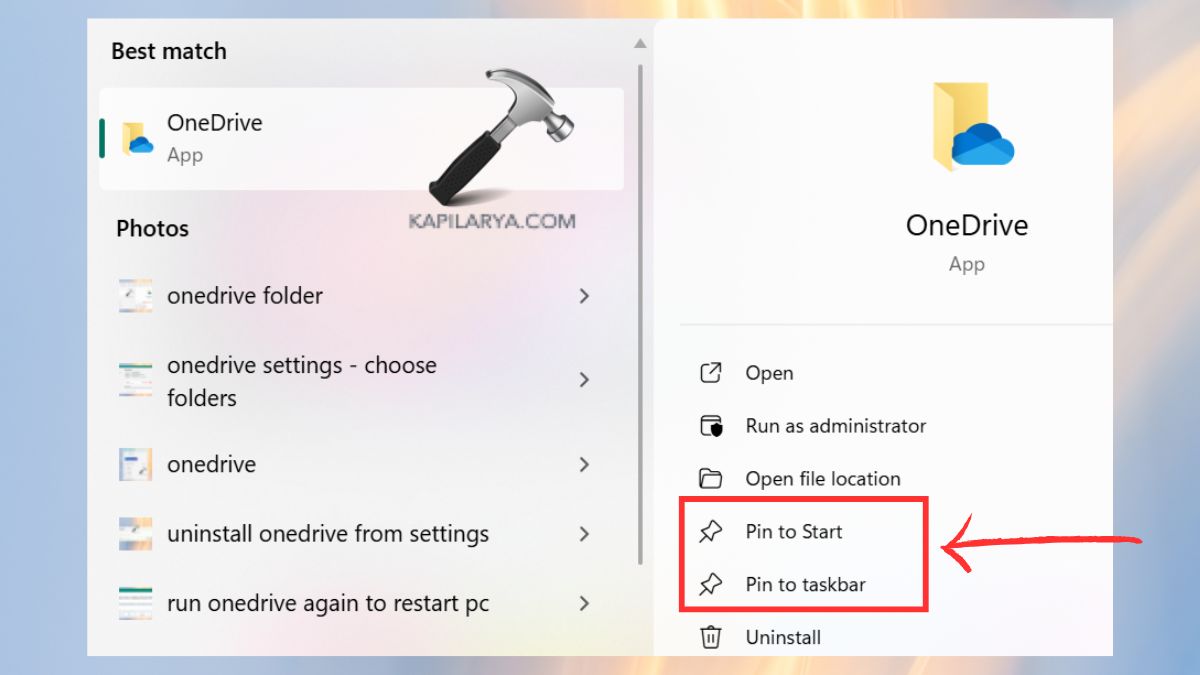
You can sort them in order of importance (e.g., Browser, File Explorer, Word, Excel).
#12 Make Sure Your Windows Is Protected by an Antivirus
A clean install leaves your PC clean, but vulnerable until you secure it. Although Windows Security (Defender) is a feature with robust security, most users would like to have another security layer with third-party antivirus software.
1. Go to Settings > Privacy and security > Windows Security.

2. Make sure Virus and threat protection are on. Activate real-time protection to do constant scanning.
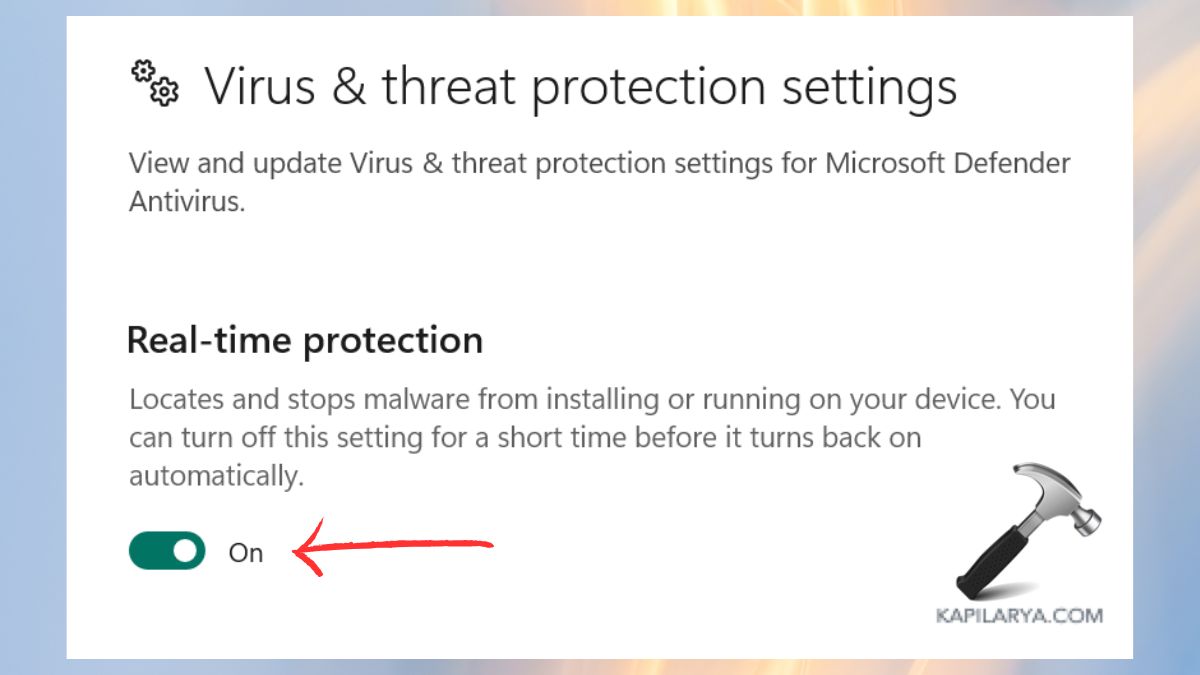
Alternatively, put in place a well-known antivirus to have additional features such as ransomware protection.
Frequently Asked Questions (FAQs)
That’s it!

![[GUIDE] How To Make Clean Install Of Windows 10](https://www.kapilarya.com/assets/windows_10_wallpaper_1705148703-768x432.png)